Breaking News! Charlie critically injured! More News at 11.

One of the things I agree with @cyclicalobsessive is that you shouldn’t be deliberately wasteful if you can get virtually the same thing for a lot less power within the requirements of your experimental protocol.

Even if the batteries last for days at a time between recharges, any type of rechargeable battery, regardless of chemistry, has a limited number of charge/discharge cycles. So, like a SSD or other flash media, limiting the number of write, (“recharge”) cycles is important.

He achieves that by using a less power-hungry Pi. Since I want to experiment with the Pi-4 vs Pi-3, that’s not a consideration, but I don’t mind sharing tips on how to do little things to save large amounts of juice.

Here’s the article by the way
https://learn.adafruit.com/sipping-power-with-neopixels

If you want, try writing a sample program that alternates between full power and half power (255 vs 128) at every keystroke. You will see what I mean.

1 Like

Here’s a valuable illustration of the difference between 255 and 128 brightness settings:

leds_duty-cycle.mp4.txt (68.3 KB)

(shaking head)
I can’t even upload a simple mp4 file. . . .

1 Like

I’ve had similar issues at this site (and others) - the content management system only allows certain file types to be uploaded. But they seem to base it on extension, so you can upload just about anything by appending a “.txt” extension.
/K

1 Like

Thanks for the article reference. I actually have an Adafruit Circuit Playground to experiment with (I love Circuit Python).
/K

1 Like

I have the upgraded version of that, a Gemma MO or two, a bunch of NeoPixel strips, and some other Adafruit goodies - fully intending to mess with them but have not had the chance. So far granddaughters, my wife’s “honey-do” list, and Charlie have kept me busy.

One project I did was to take a couple of metal hair-bands, some neopixels, a couple of Gemma MO’s. two small LiPo batteries and some milk-bottle caps to make a couple of programmable LED headbands for the granddaughters. They love them, but never wear them.

I should update the software in them to make better use of gamma correction though.

2 Likes

Very cute.

The article was very interesting. As I was googling today, I found that Microsoft actually has an emulator in VS Code for the AdaFruit Circuit Playground Express and Clue boards, as well as the BBC Micro:Bit.
VS Code Device Simulator Express
I didn’t try it, but looks interesting. And a way to get a feel for the hardware w/o having to invest. I do use VS Code now as my primary editor.

Agree with that completely as a general philosophy.
/K

1 Like

Just in case anyone is curious about how to repair a piece of laser-cut acrylic sheeting, (which I suspect is something similar to Lexan), this is what I did.

Since it appears that the kind of clear plastic acrylic used for the GoPiGo cannot be solvent-welded, (at least not with the selection of solvents I have), and since this stuff is one of a very few things that crazy-glue won’t stick to, I had to find another way.  Research on the web lead to one inescapable solution - epoxy.

Having used epoxies before, (I really should write an article here on adhesives), I knew that for the best and strongest bond, I wanted to use a “slow-setting” epoxy.  (Fast setting epoxies like “5 minute epoxy” often provide a relatively “brittle” joint and are not really suitable for flexing or torsion loads.)

The epoxy I used here was some “J-B Weld” two-part epoxy.  Other slow-setting two-part epoxies, (like Poxi-Pol in Europe), can also be used.

I particularly like J-B Weld because the two parts are different colors - black and white - which helps you to know when they are thoroughly mixed.  This is especially important - and is one of the reasons I’m not particularly fond of “five-minute” clear epoxies - you can’t tell if they’re fully mixed.

I then glooped some on both sides of the broken edges, placed them down on a slick, shiny piece of paper, and pressed them together being careful to keep them both flat, aligned, and tightly pressed together.  You will get some “ooze-out” which can be trimmed later.

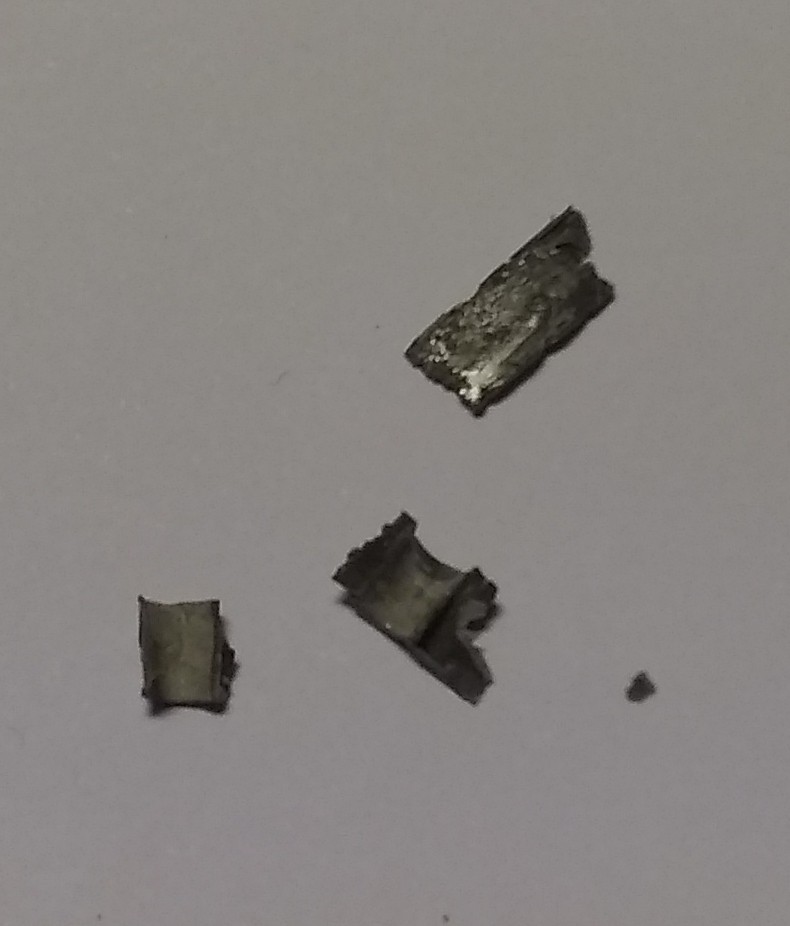
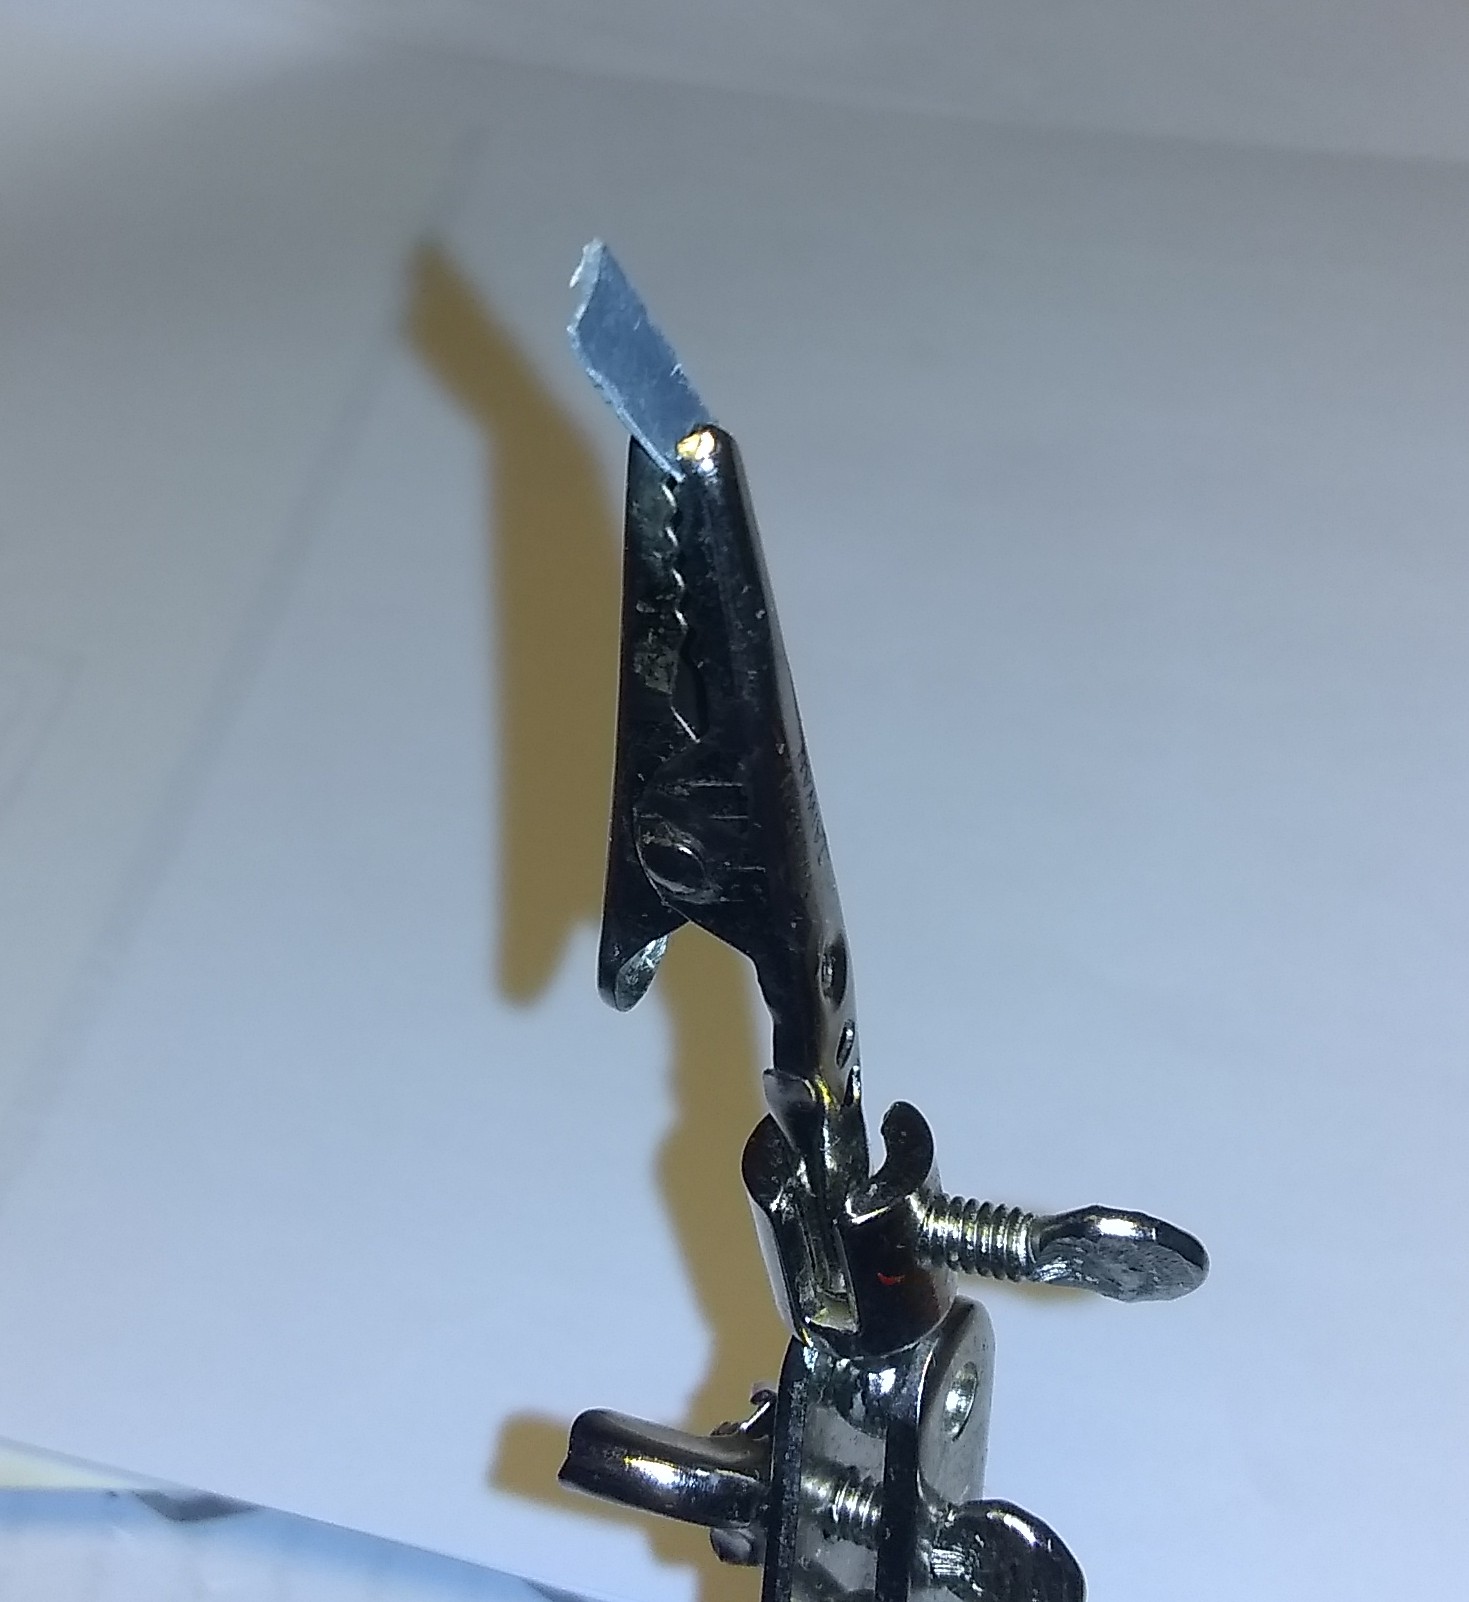
After the epoxy had cured for about a day, I removed it from the paper - then I removed the paper from the epoxy - and trimmed off the excess with a sharp razor-knife.

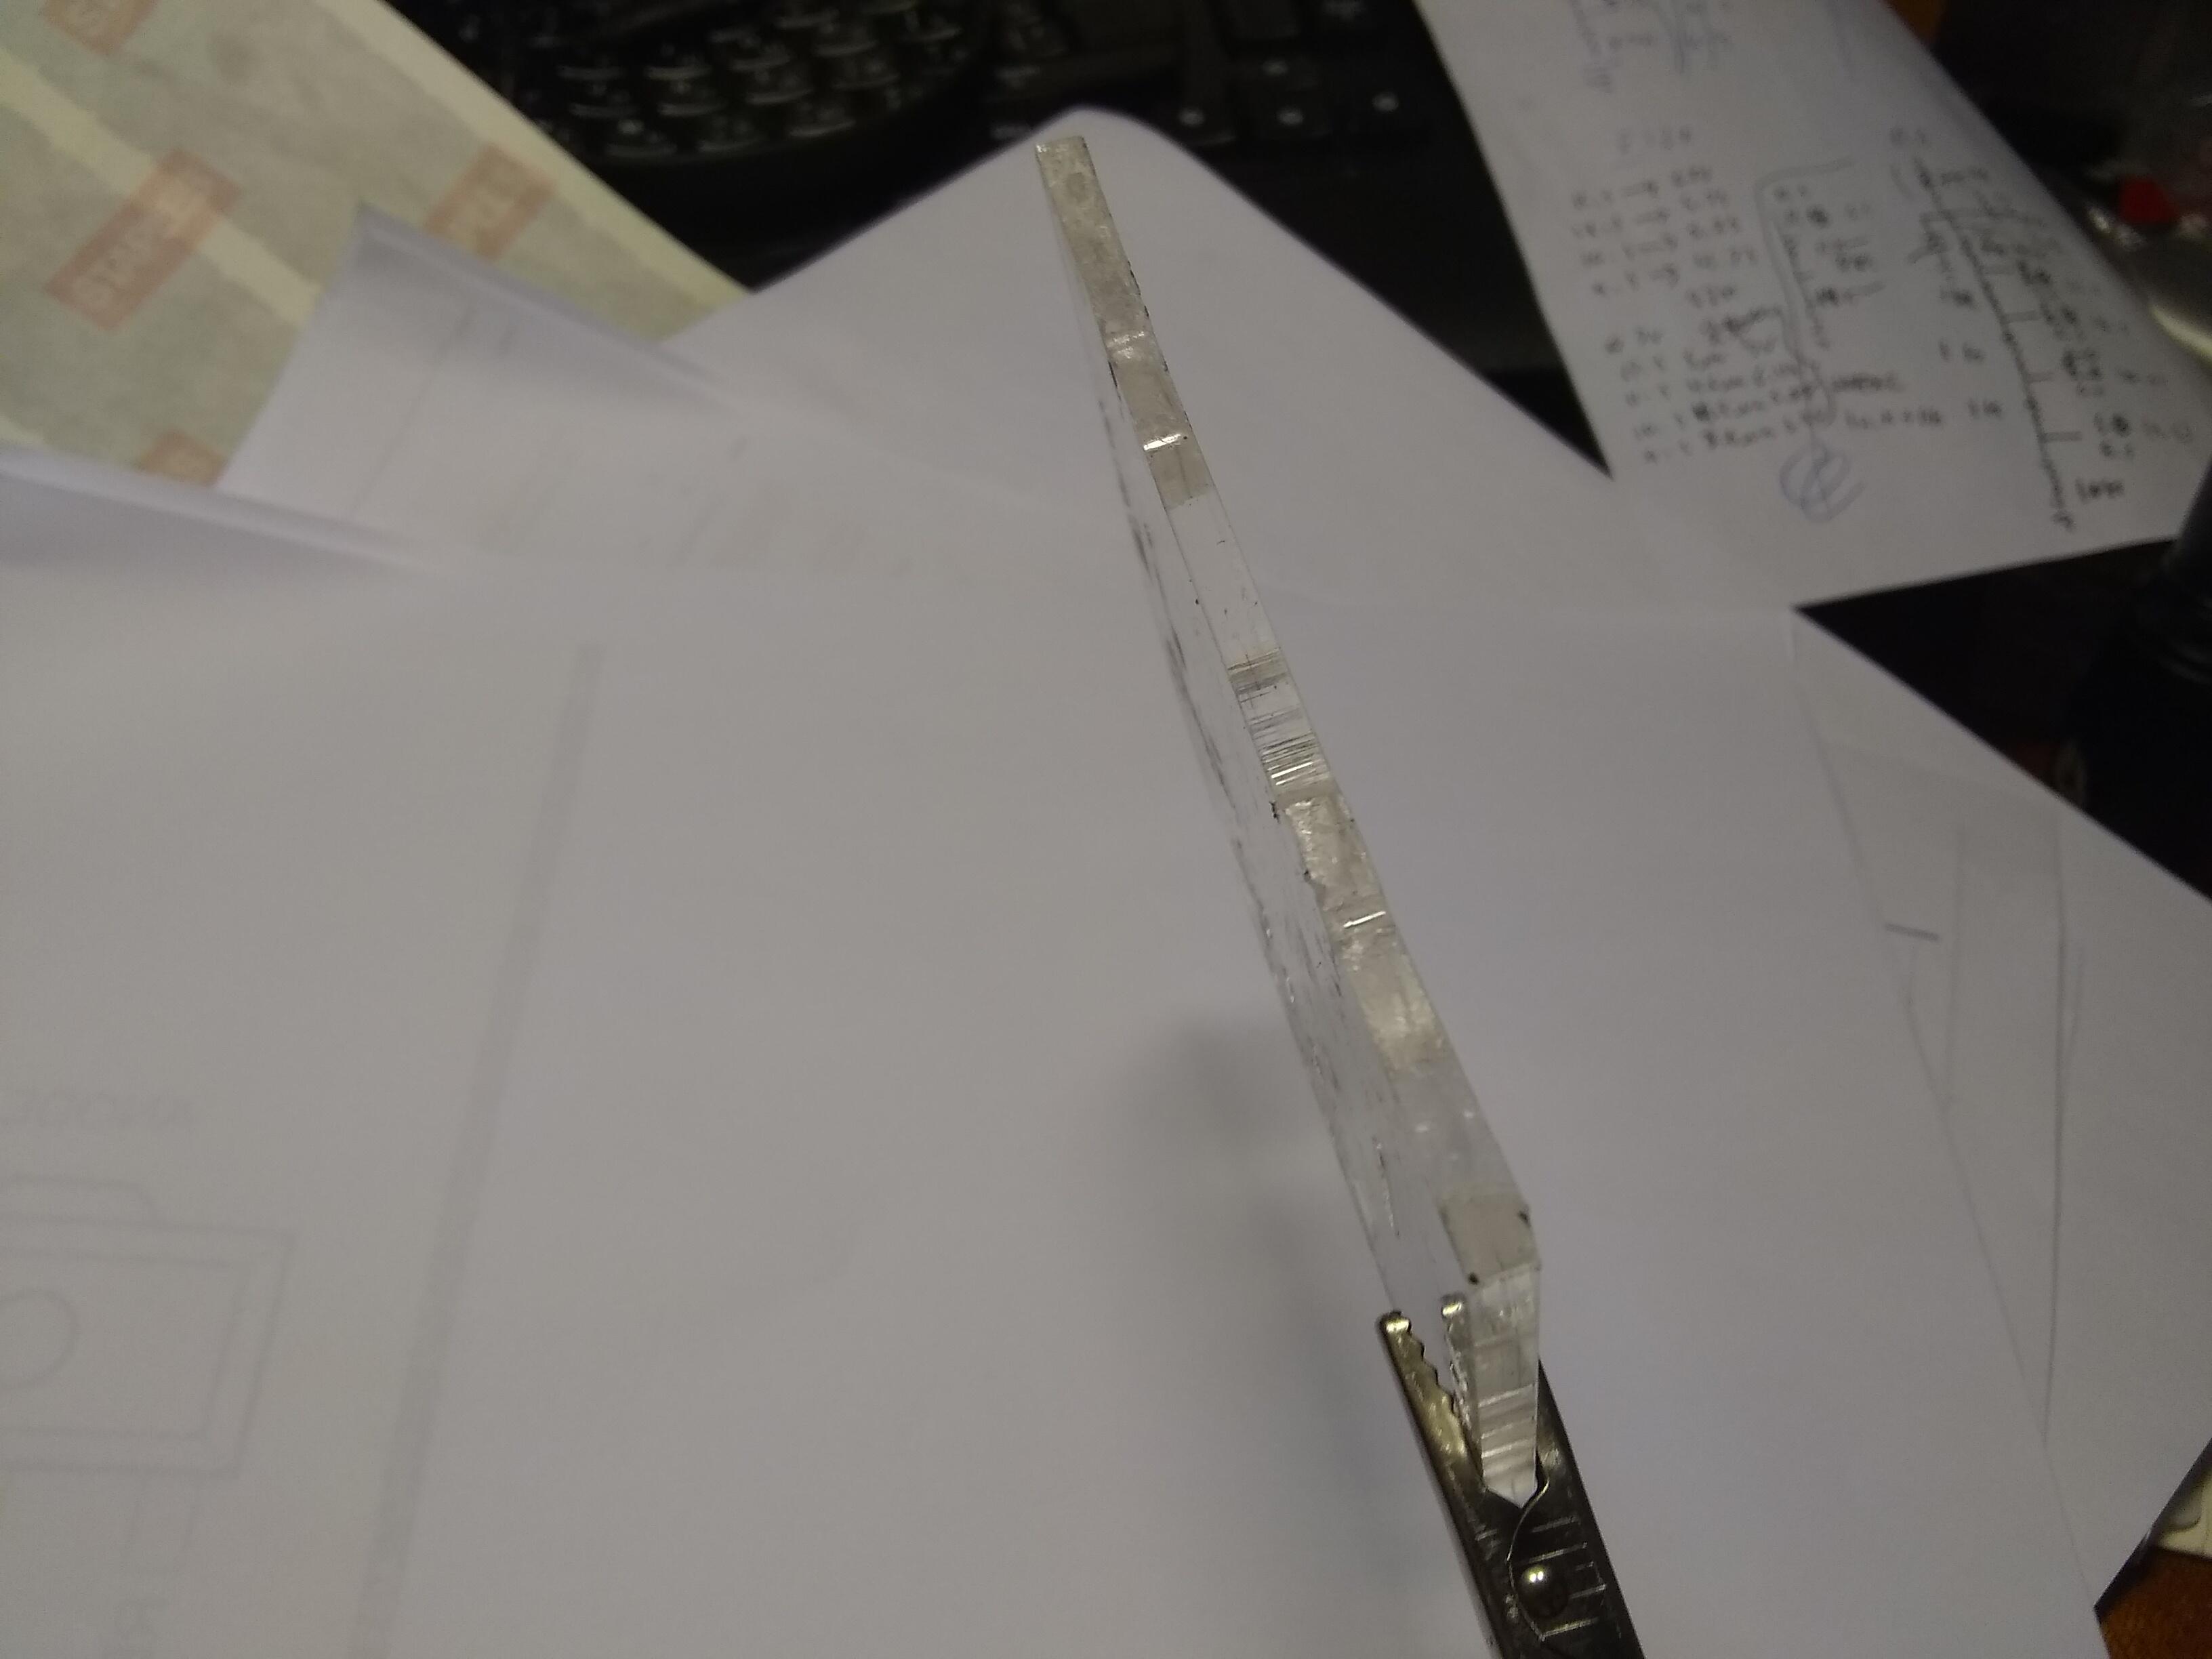
After smoothing things off the best I could, I trimmed the excess from the internal slot and re-drilled two mounting holes that had become filled.

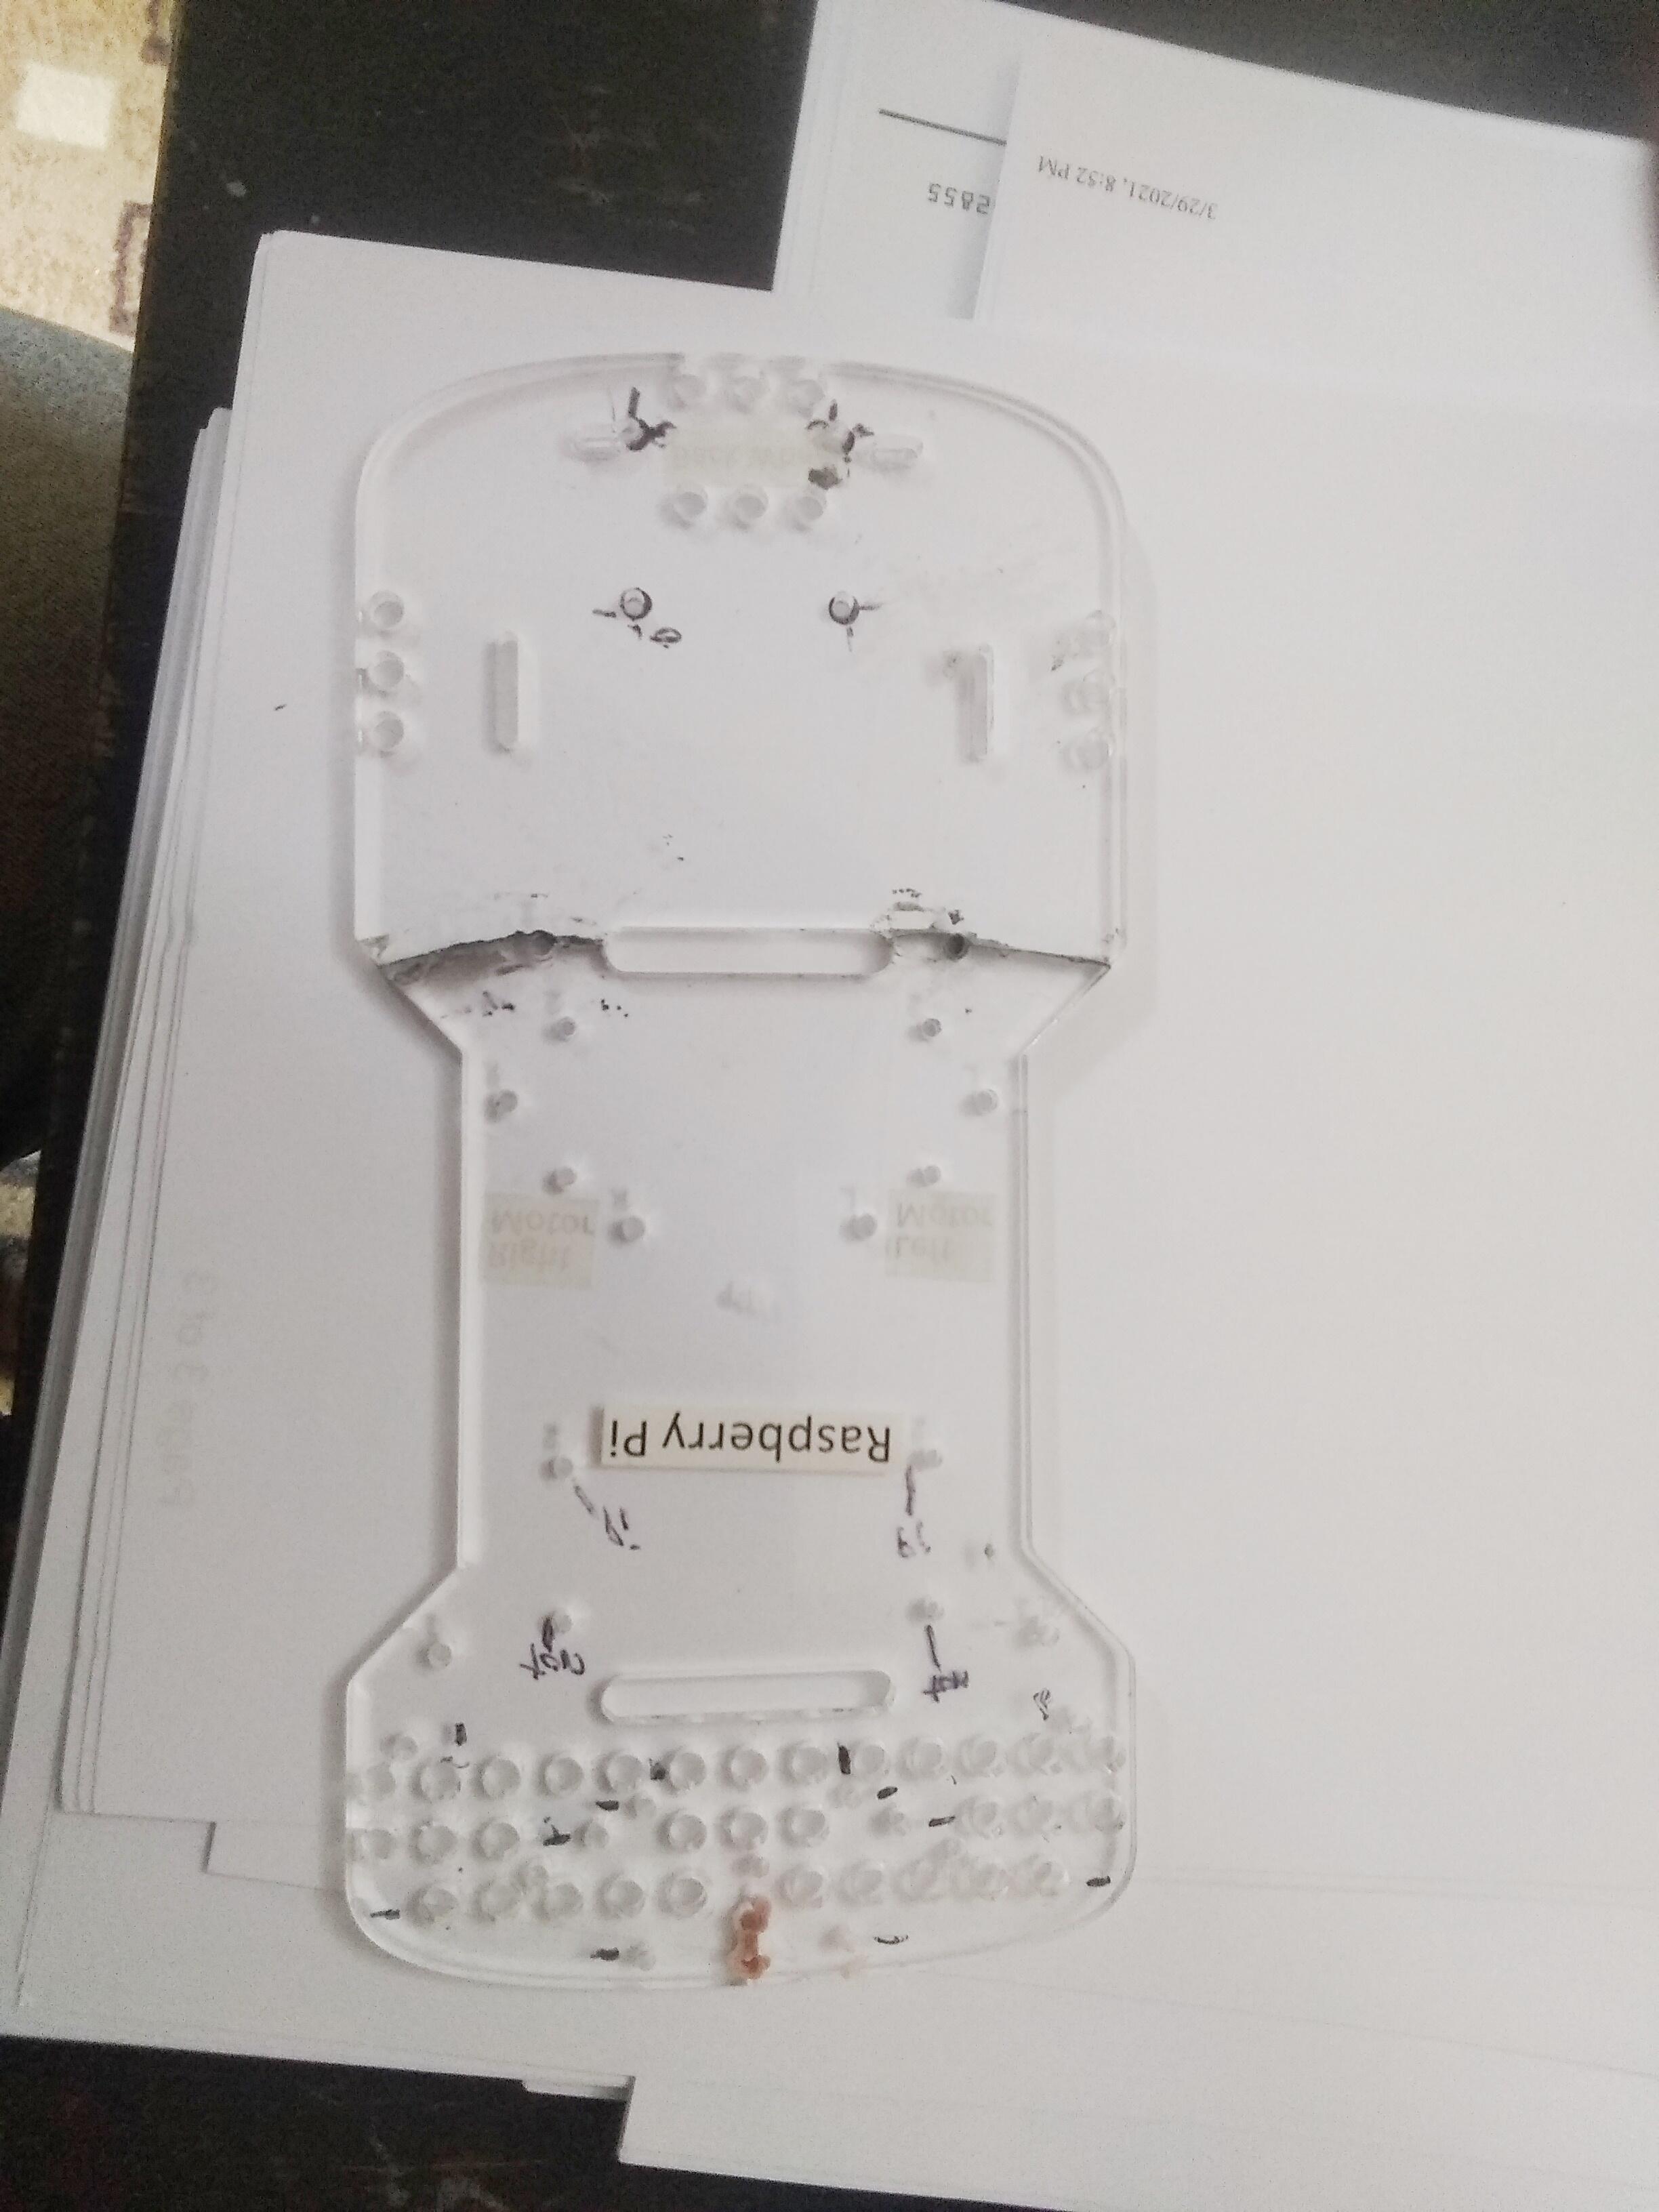
The result is shown below.  The black marks are alignment marks for holes I needed to drill in Charlie’s replacement base-plate to fit the custom additional add-ons that were installed.

I haven’t tried bending it across my knee, but some simple torsion tests lead me to believe that this will be quite sufficient if I ever need to replace Charlie’s base-plate again.


1 Like

Good to know. I have JB Weld but don’t know that I would have thought of it in this setting. I probably would have tried a CA glue, but that is often not great on this kind of plastic (and is terrible on polycarbonate if that’s what these are).
/K

1 Like

I don’t know if Lexan and polycarbonate plastic are the same thing, but I wouldn’t be surprised since they use Lexan for bullet-proof shields in places like banks.

As far as CA adhesives are concerned, they’re often much less useful than the manufacturers would lead you to believe.  There are “black” varieties that can be found in well stocked hobby shops.  Since “black” CA is mixed with colloidal neoprene, (like from used tires), it is a bit less brittle.

My go-to adhesives for things like this are either solvents for plastic welding, (like model-glue, a 50-50 mix of Toluene and Xylene), or epoxies for less suitable plastics and metals - or plastic-metal bonds.

PVA glue for wood, casein glue, (like Elmer’s), for paper, and contact cement for just about everything rounds out my adhesive tool-box.

Often gluing things like plastics is a matter of finding the correct solvent to weld them together with - a solvent-welded plastic joint, done correctly, is as strong or stronger than the original plastic.

Unfortunately, only a relatively small subset of plastics are suitable for solvent welding.  Polystyrene, polybutarine, (sp?), and some formulations of PVC/ABS are suitable for solvent welding.  Most others need to be glued with epoxy, if they can be glued at all.

I think Lexan is polycarbonate. I learned the hard way using locktite on screws I was screwing in to polycarbonate - just made it very brittle and easy to crack.

Your glue regimen sounds very straight forward and sensible - I have too many glues in my “glue box”, so often face analysis paralysis on which glue to use.

Agree that solvent welding is the best option when it’s available, but unless you know exactly what the plastic is, it can be difficult to determine the right solvent.

/K

2 Likes

I have a fool-proof method - find an inconspicuous place and rub some solvent on with a Q-tip. If it softens and becomes sticky, I’m golden!

One of the problems with CA adhesives is that they soften with heat.  Therefore if you put the handle back on a coffee-cup with crazy-glue, it can come off when heated.  They also absorb water, especially hot water, so putting it in the dishwasher is a bad idea.

1 Like

Good tip.

And good point about CA and heat - I’ve used a heat gun before to “unglue” something. Didn’t know that about water though.
/K

2 Likes

Here’s another tip:

If you’re fixing tiles, and they’re glued down with the older-style brown mastic, soak it in acetone. The mastic will fizz like it’s been dipped in acid and eventually soften and either come off on its own, or can be easily scraped off.

Just be careful, acetone is highly flammable and this should be done outdoors if at all possible.

I have the same “problem” because some adhesives work better on certain things than others. Though 90% of the repair projects can be done with what I specified before, I have others too, like windshield mirror adhesive for gluing to glass, some conductive lacquer for fixing and gluing down rear-window traces, etc.

The big problem is that adhesives have a relatively short shelf-life - and many are not trivially cheap so it can be expensive to keep a good array of glues in stock.

One other thing:
Scotch double-sided tape is a phenomenal general-purpose adhesive if you need to glue two flat things together.  I use it to replace the E-ink screen in my wife’s book when she breaks it, and things like the SSD drive on Charlie’s back are stuck down with double-sided tape.  It makes a great bond, but can be, (carefully!), removed if necessary.

2 Likes

Update July 15th, 2021:

Total failure of the repaired joint with the epoxy coming off in chunks leaving no residue or trace of adhesion.

Viz.:


As you can see, there is virtually no trace of the adhesive on the plastic.

The “chunks” were removed by use of a razor knife and any remaining residue was removed using a fingernail.

I do not know why the adhesive failed.

Thought:
Possible moisture incursion into the joint? It’s been hot and humid, but a good bond shouldn’t have that kind of a problem.

I am going to try to re-repair with a different epoxy after re-cleaning the joint with acetone and pure alcohol.

We’ll see what happens.

@KeithW,
I guess this didn’t work. . . . :sob: :thinking:

@cleoqc,
What techniques do you folks use to repair acrylic body parts?

2 Likes

Well that’s a bummer.

I found this about working with acrylic

There is a solvent glue that seems to be specifically for acrylic. It’s available on Amazon:
https://www.amazon.com/Weld-Acrylic-Adhesive-Applicator-Bottle/dp/B0096TWKCW
But I suspect delivery to Russia wouldn’t be possible (even if it weren’t cost-prohibitive).

/K

2 Likes

We don’t. We just replace. And we hate it. It’s very wasteful :frowning:

3 Likes

AFAICT, (As Far As I Can Tell), the correct verb is “was”, not “is”, as it appears to be out of stock everywhere with no estimate when it will be back in stock.

Weld-on’s Russian offices claim to have never heard of it.

I found a liter bottle of a solvent used to “finish and smooth” the surfaces of virtually every kind of hard plastic known to man. Expensive as hell. Bought a can. Tried it on the broken pieces and it did nothing.

I’m still searching.

@cleoqc,

Do you know what kind of plastic this is? Polycarbonate? Something else?

That’s weird - it shows in stock for me. Maybe it’s a location issue? Not from Amazon per se - it’s sold and shipped by a third party. That can always be a little dicey.

Good luck in finding a solution (or more correctly - in finding the right solvent to make a solution :slight_smile: )
/K

1 Like

I discovered that after I posted the update.

Apparently, (for Russia at least), nobody has any stock. Off of a VPN, it’s a horse of a different hue.

I found a alledged supplier. Apparently you order from them and they order from some guy on eBay in West Nyack NY.

Also, and this is important, there is no indication of the age of the can of adhesive. If the can is too old, you can end up with a can of Jello instead of solvent.

Neither the home site or any subsidiary site mention it.

Any search for “solvent for acrylic”, whether on Yandex, (Russia’s “Google”, invented by the same guy), or any US search engine brings me back to Weld-On 4 (or 3).

If I buy it, it will end up costing me something like 2x or more because of overseas shipping.

@cleoqc,
Is there any chance you (M.R.) can buy a can and try it on the laser-cut acrylic parts you have broken, if you didn’t toss them? I’d really rather not pay almost $100 for yet another solvent that doesn’t work.

I don’t even know if it ships internationally.
:thinking: :grimacing: :roll_eyes:

P.S.
This being stuck overseas B.S. is beginning to REALLY VACUUM ROYALLY and I don’t need it as there is a neighbor who raises a cow, and some goats, and there’s enough B.S., (actually C.S./G.S.), for anyone who wants it.
:face_with_symbols_over_mouth:

(My next door neighbor has about an acre under cultivation and makes regular wheelbarrow trips for it. Great for when you have friends over for a BBQ!)
:nauseated_face:

2 Likes

Doesn’t that get you about 10 GoPiGo3 Spare Chassis Kits (knock off one or two for shipping)?

2 Likes