The instructions here: dexterindustries/build don’t match exactly the parts I got in my kit. In other words, there are bags of parts, screws etc, that are mentioned in the tutorial which are not the same as what I got. Are the instructions out dated or is there something else to worry about?
1 Like
Welcome to the forums and to the GoPiGo3.
Suggest you send an email to support@modrobotics.com with a photo of the parts that do not match the picture.
(You may be able to post a picture here on your second post, not sure when the system gives that privilege.)
As a GoPiGo3 owner, I am curious about what might have changed.
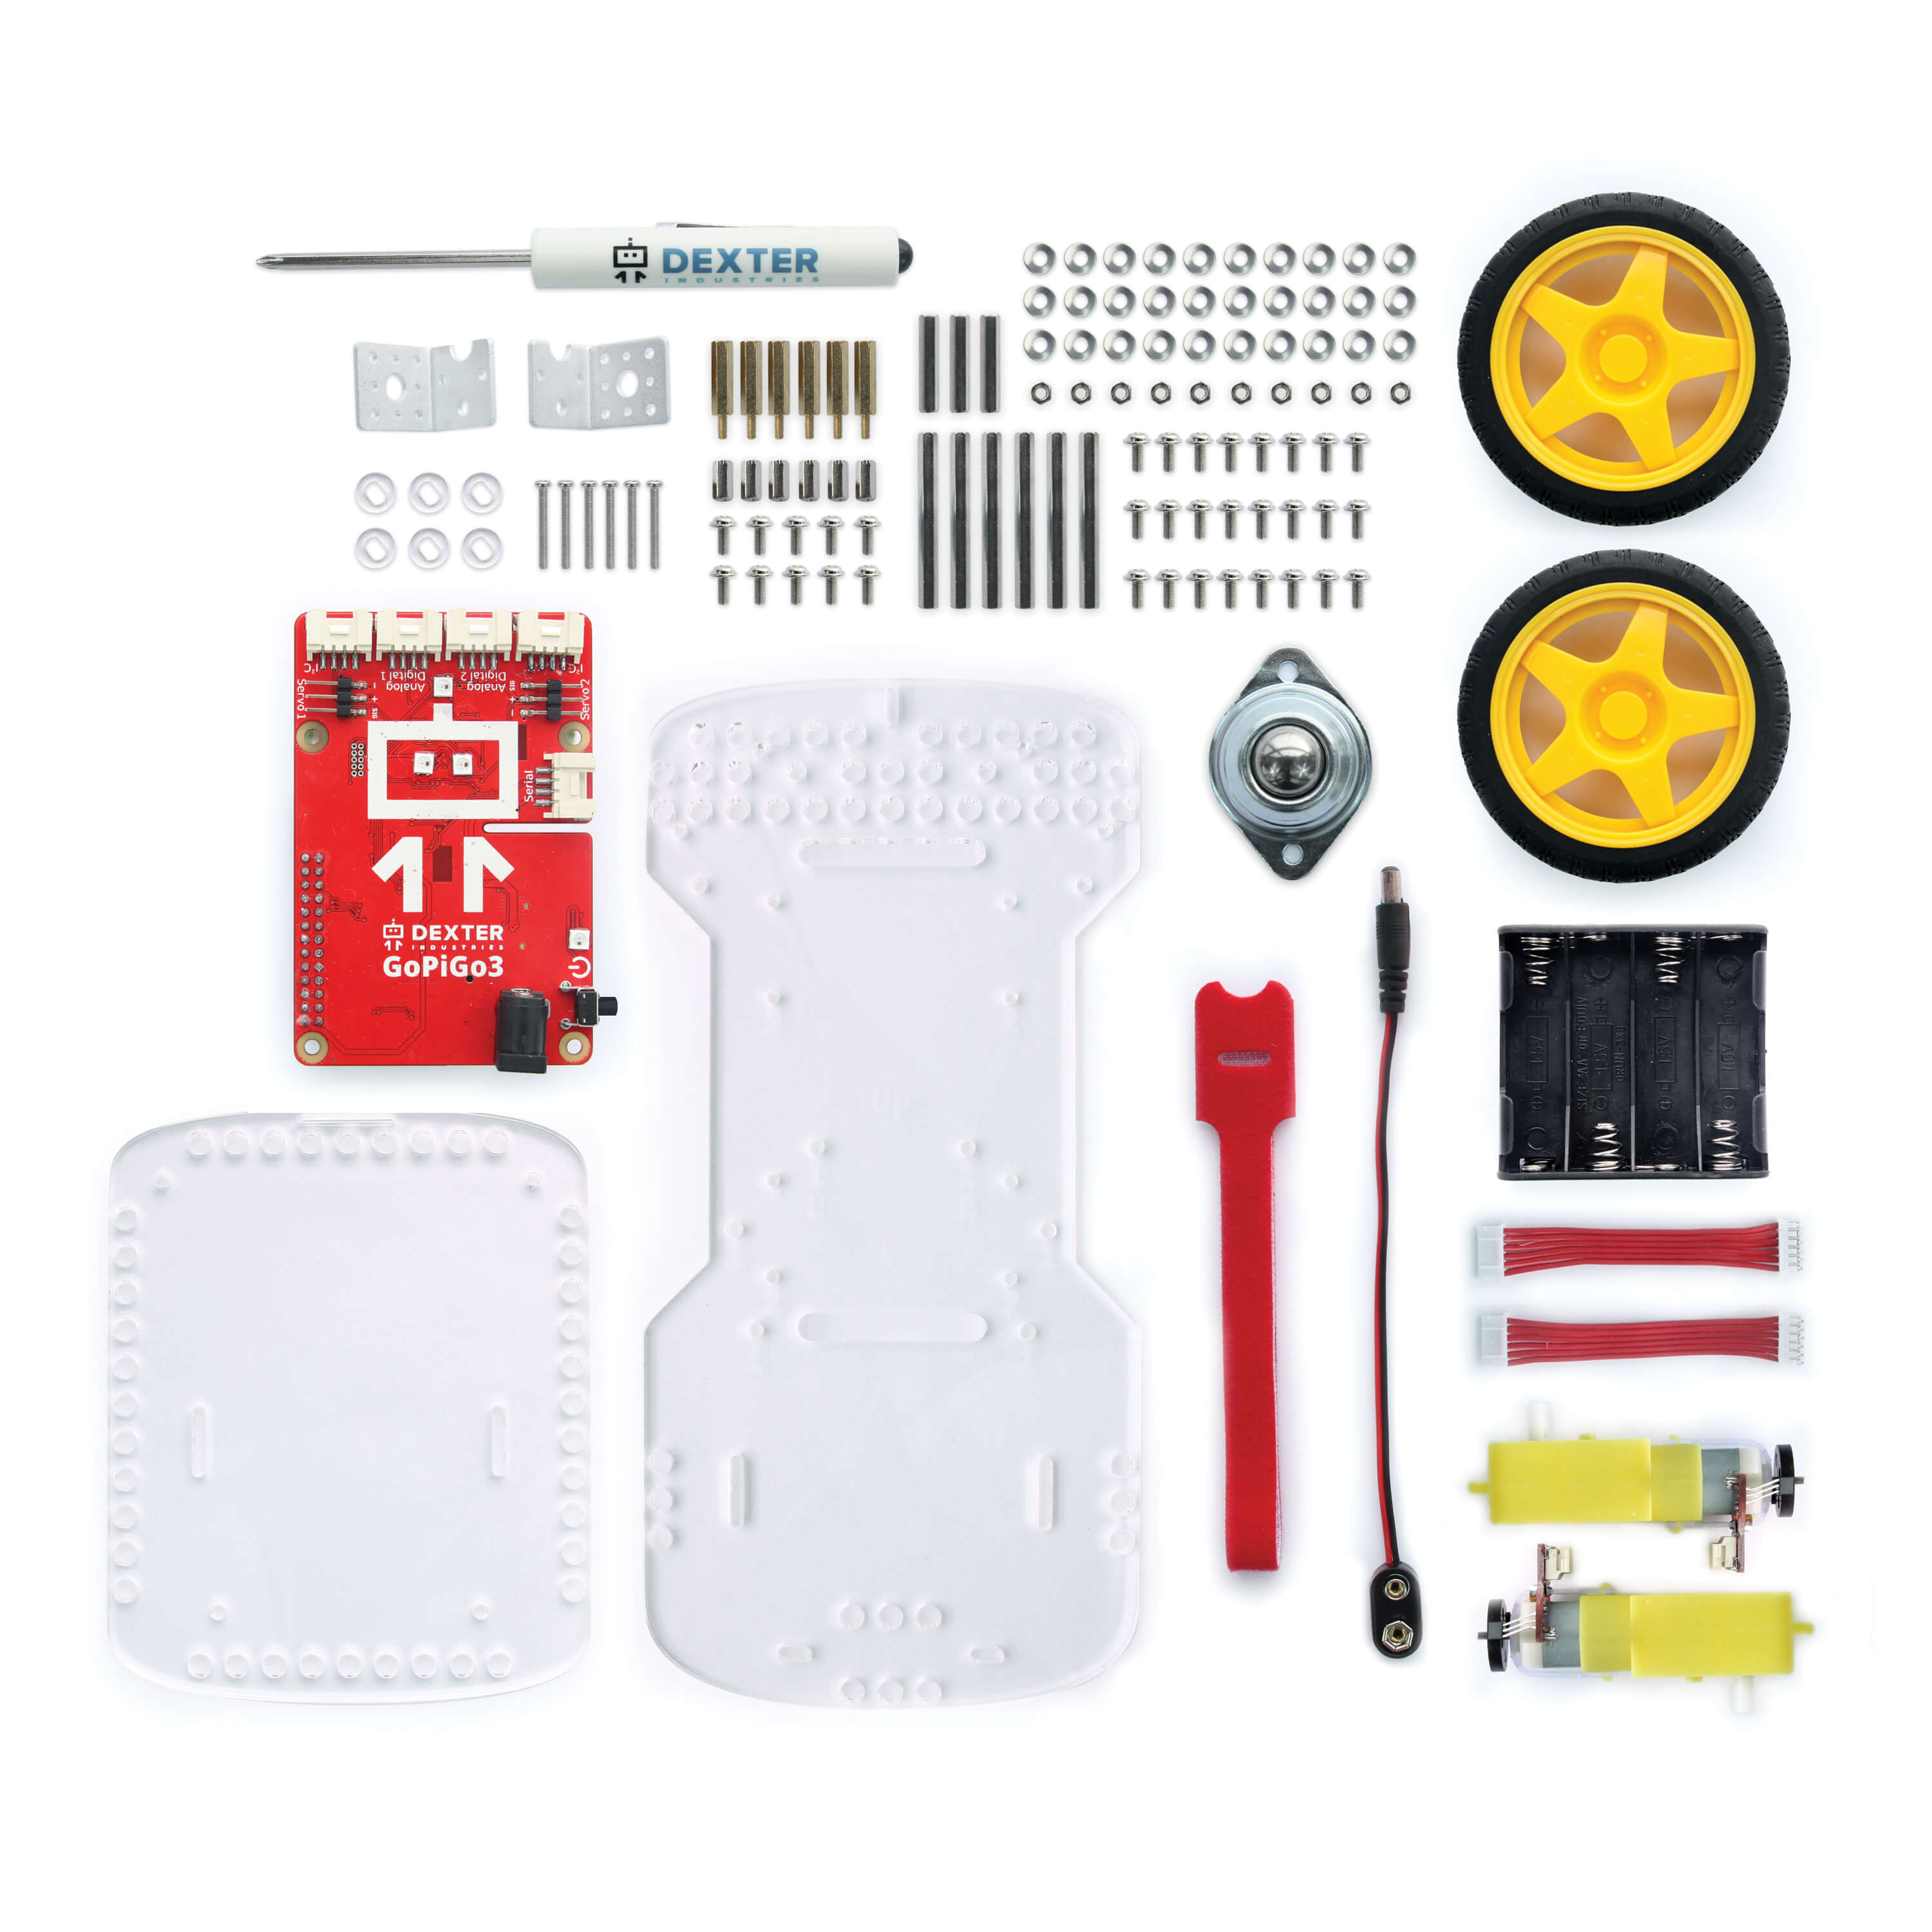
This is the directions and parts picture you are referring to?
“Curious Minds” want to know:

1 Like
Yes those are the instructions. The changes are so far very minor. The baggies with little parts dont have the same labels and it seems that the parts in each baggie are sort of random. But no big deal.
I was also wondering if there was an “official” mount for the distance sensor. Is that one on yours?
2 Likes
There is actually two common methods in the DI tutorials first the blue DI sensor mounts, https://shop.dexterindustries.com/sensor-mount/
and second the DI servo package
https://shop.dexterindustries.com/shop/sensors-accessories/sensors-actuators/servo-package
I had a tilt-pan mount from a prior robot, so I used that, but have not used the tilt capability at all.
1 Like
Greetings!
The kit I bought had the servo and mount for the distance sensor. If your kit didn’t include that, I would get one as a first step. Like @cyclicalobsessive, I also upgraded to a pan and tilt mount later on to support a project I am working on.
Welcome in and show off your GoPiGo when it’s done!
P.S.
Don’t forget the googly eyes - they’re a hoot!
Then again, everyone here knows I’m a fan of the eyes - you go ahead and do whatever you want to do. 
1 Like