Lot of info on the old [servo] variant but little on the new. Where can I find out how to attach the newer GoPiGo3 sensors [distance, ultrasonic, camera] on [the white mount] with the servo?
.-----------------------------.
Update: Apologies for the very poor wording but I am new to GoPiGo. I tried to edit the above [more text in brackets] - wish there was strike-out formatting!
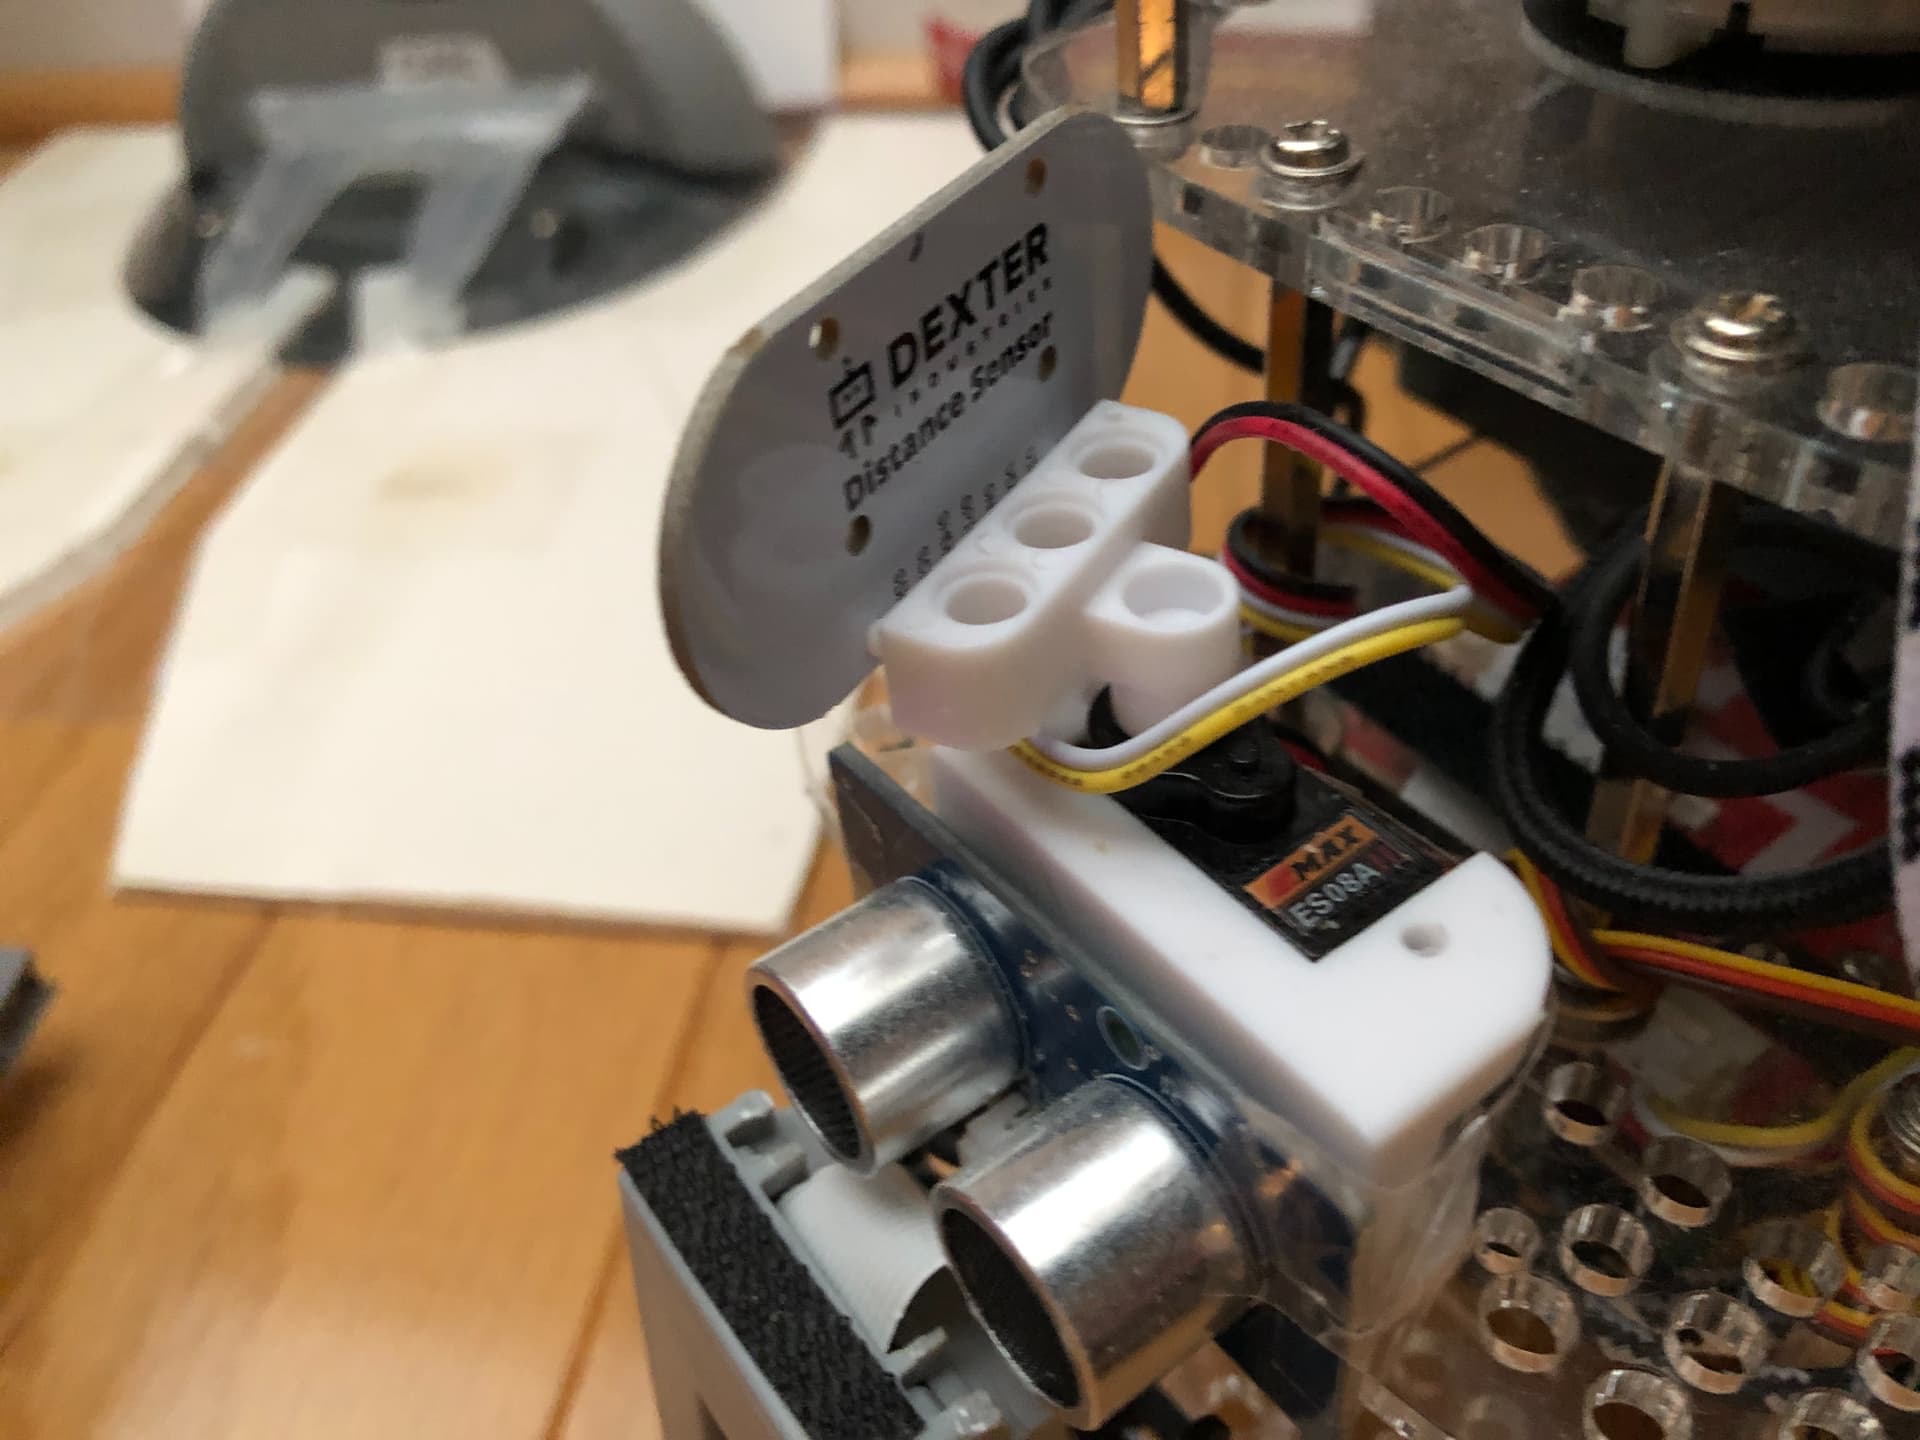
So, what I am really focused on is attachment of the Distance Sensor and Pi Camera to the servo.
Finding official documentation on how to use the new [servo] mount (white plastic) is hard to find. It would be great if there were “how to install links” at the order page for each item.
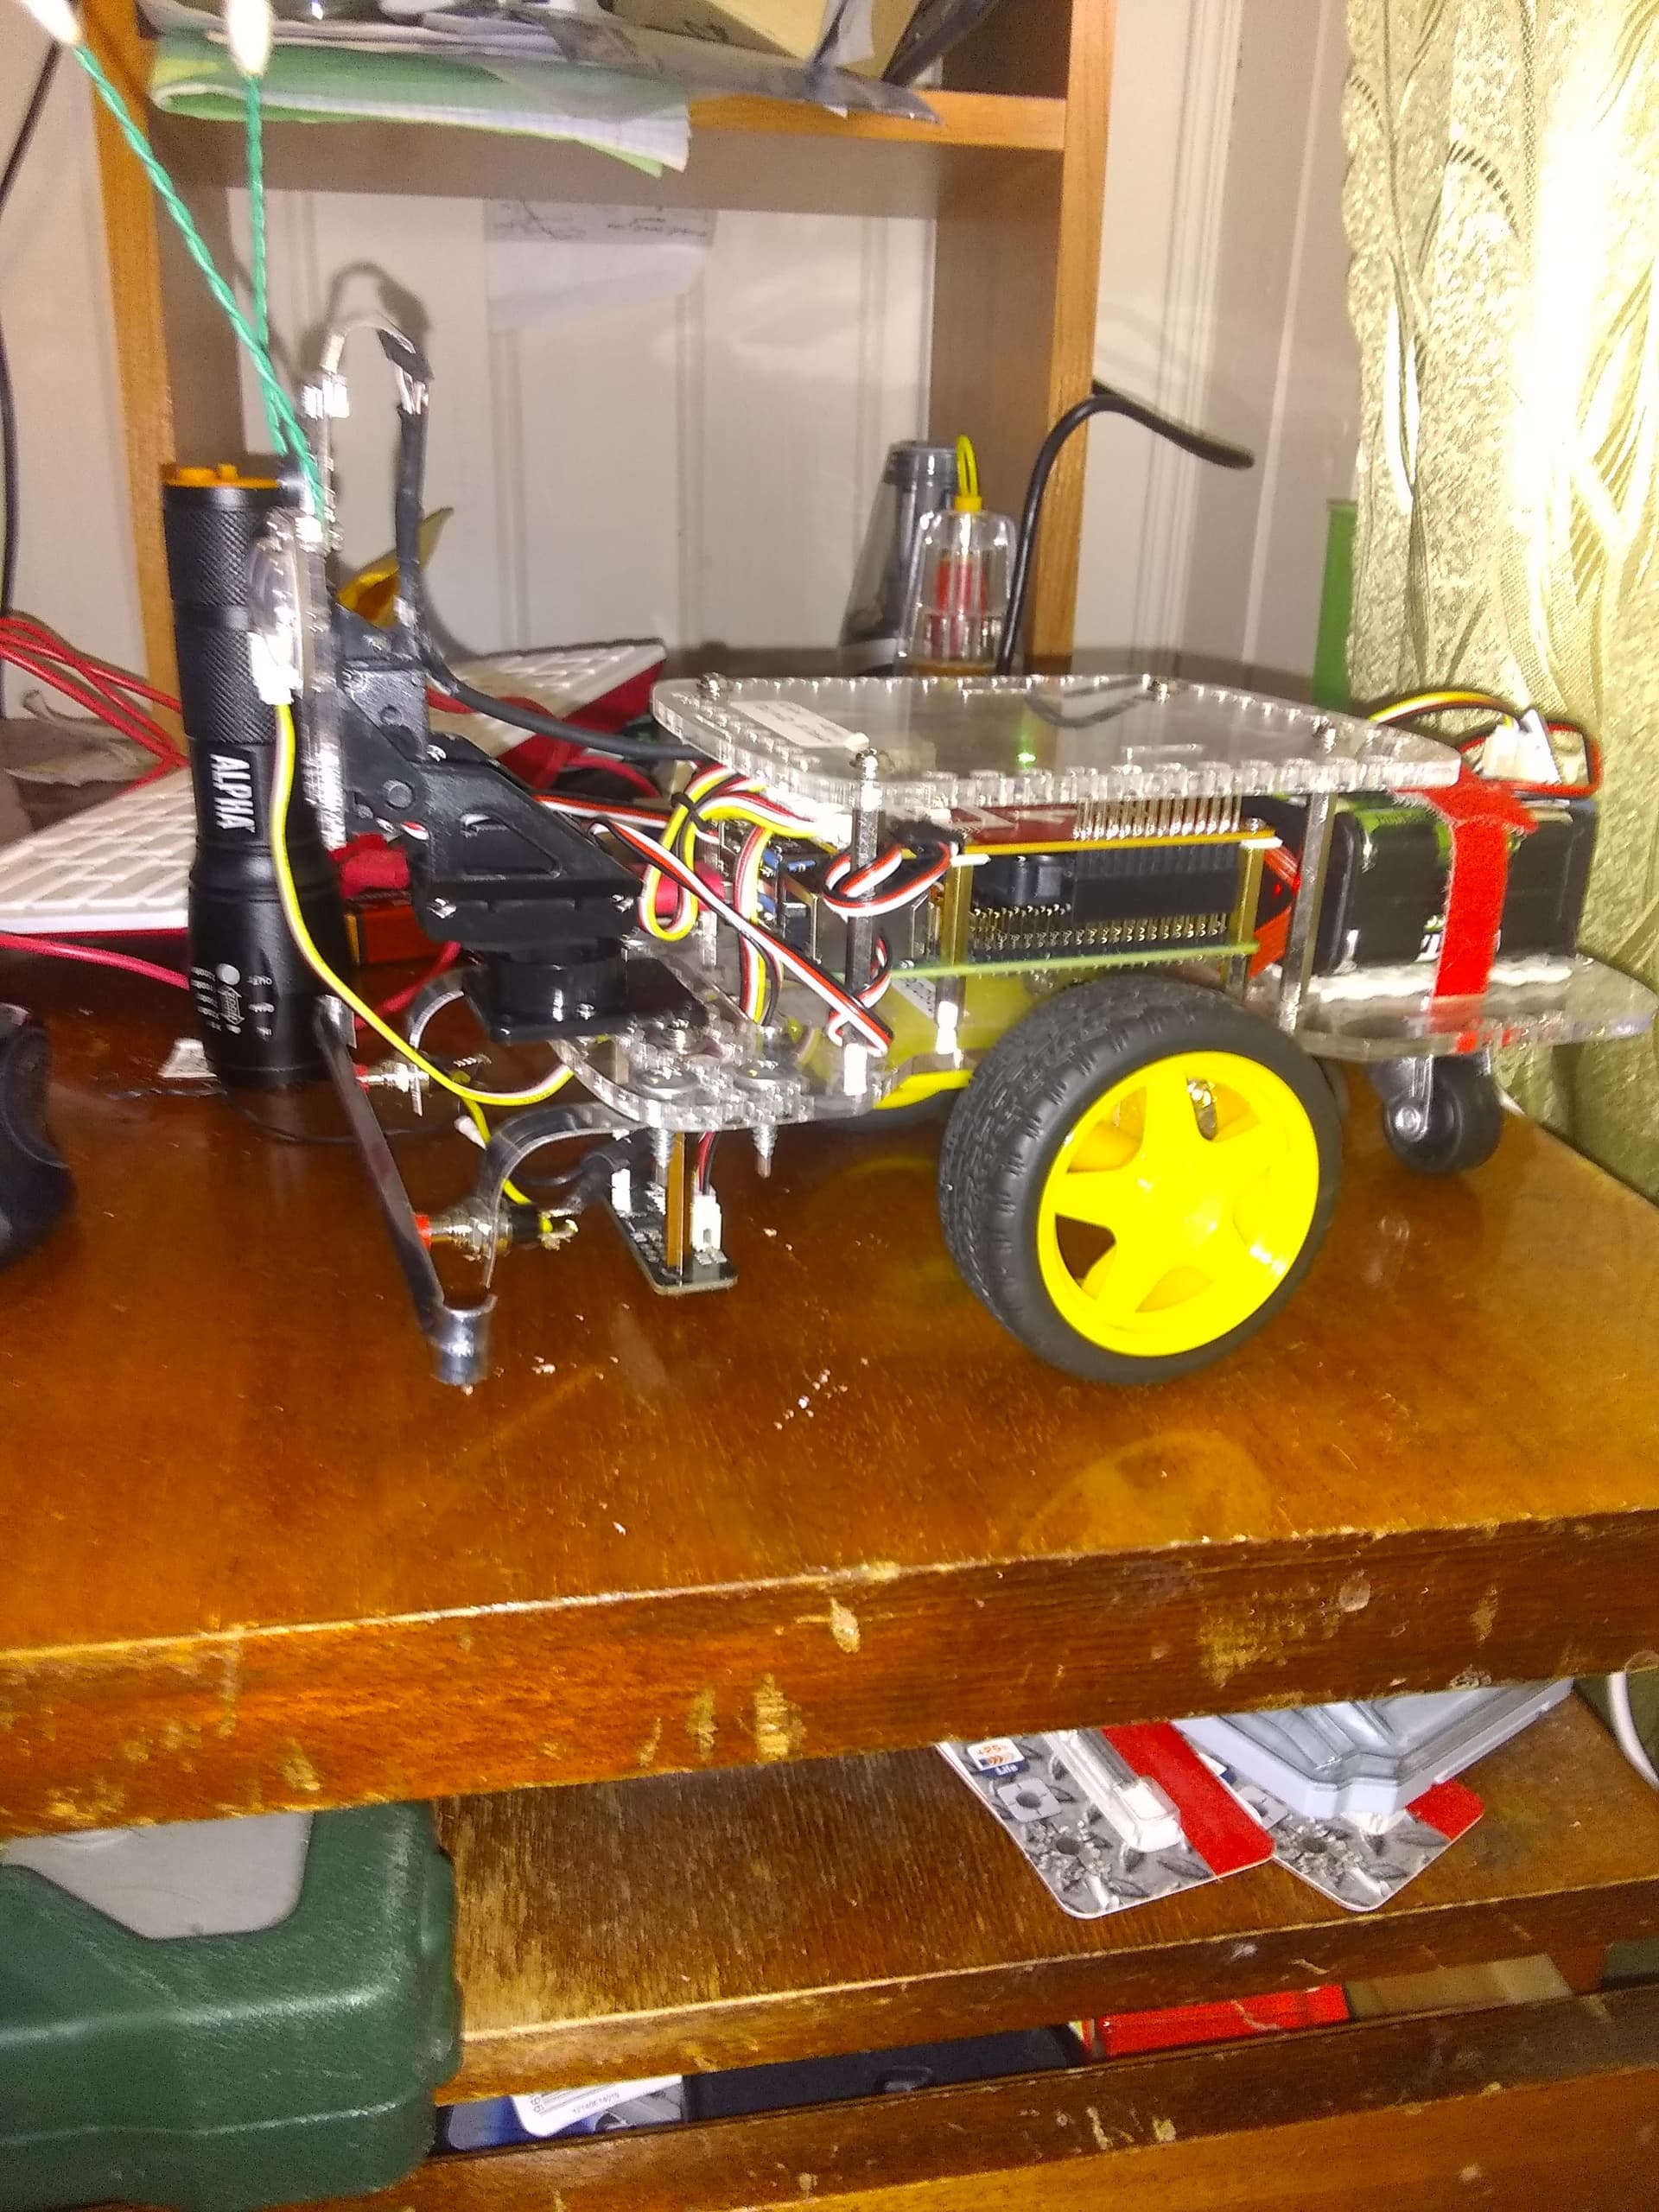
This is the hapless Charlie showing his pan-and-tilt, along with his front bumper that I made from a cheap barbeque, (shashlik), skewer a resistor, and a couple of normally closed push buttons to help protect him from inadvertent face-plants into chairs and walls.
I bought 3 - 4 skewers for about 14₽ each, (about 10 cents US per skewer), to make the bumper.
A rear bumper is planned, but hasn’t been done yet.
The one I use was purchased several years ago from “Amperkot” here in Moscow. (I think).
I am going to be ordering another for Charline soon so I will know then who has them and what it costs.
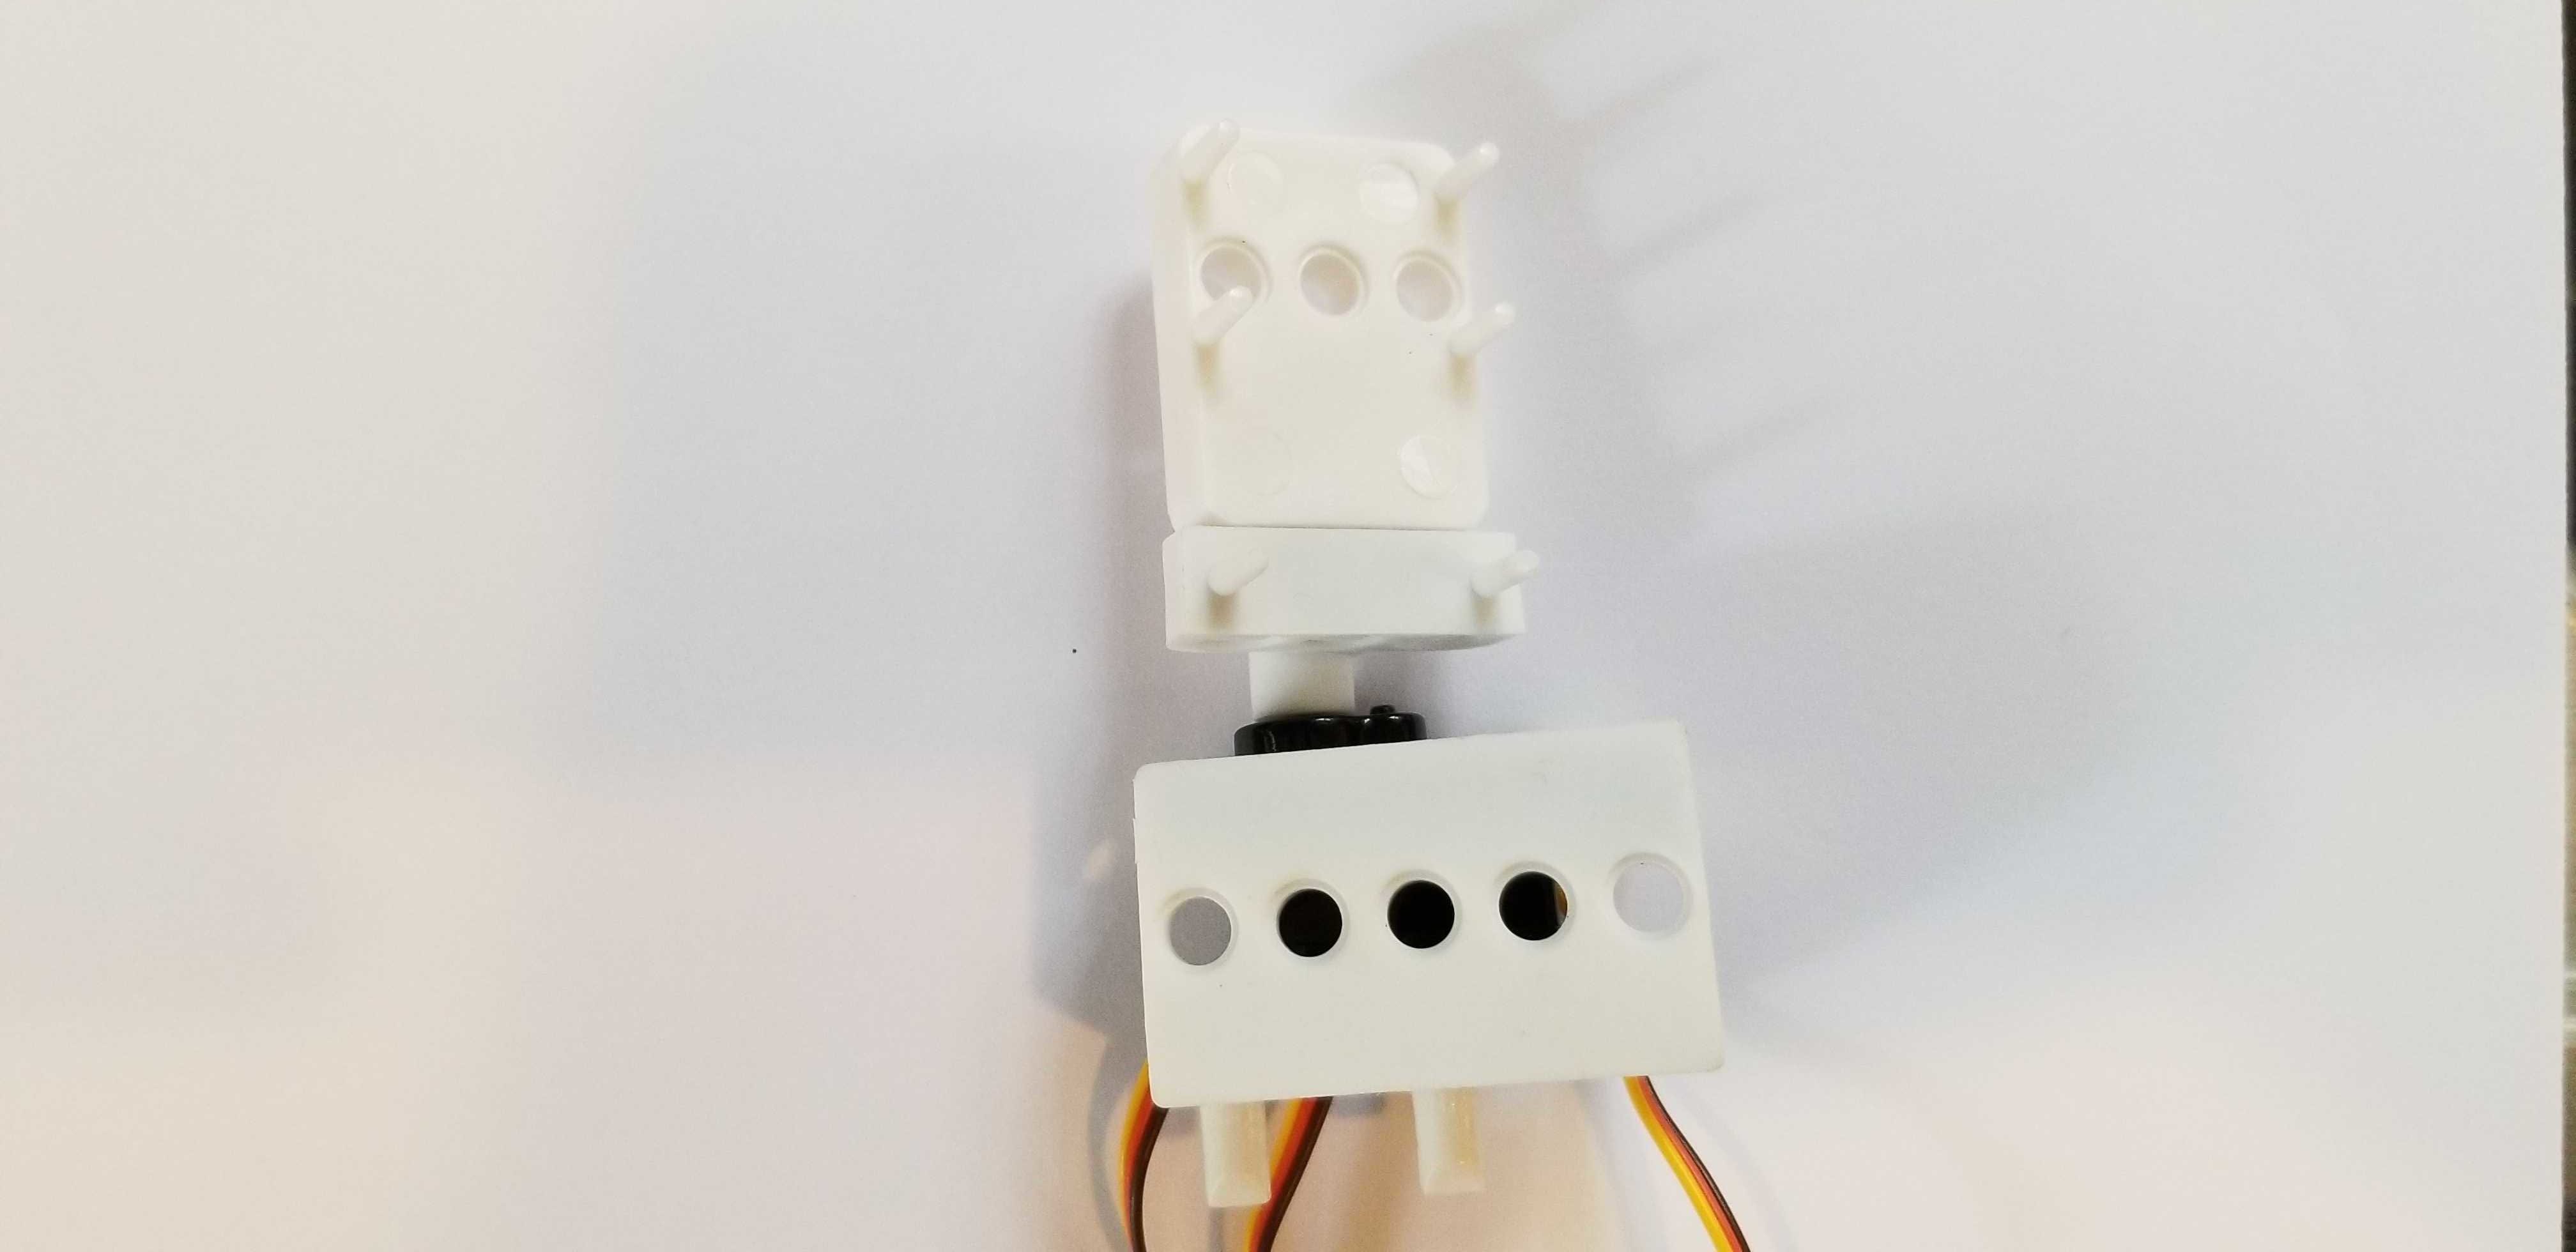
In my case I mounted both the Raspberry Pi camera, (using an extra-long ribbon cable), and the distance sensor to the pan-and-tilt.
Once I get Charlie back out, I will take pictures of how it’s arranged.
One thing I do remember is that I have the horizontal pivot axis connected to the first servo output and the vertical pivot axis connected to the second servo.
Servo’s require calibration because of the way the gear is pressed onto the servo and the position of the teeth on the gear, 90° isn’t always exactly centered.
What I do is, while the servo is being installed, I set both servos to “centered” or “90°” and adjust them mechanically as close as possible. I them add/subtract a small offset to make it square in both directions.