Hi everyone,
I am using a IMU Sensor from Dexter Industries on my GoPiGo robot. But now I want to connect the IMU Sensor via UART to my Raspberry Pi computer.
I followed the post here [SOLVED] DIMU Datasheet? read through the BNO055 data sheet.
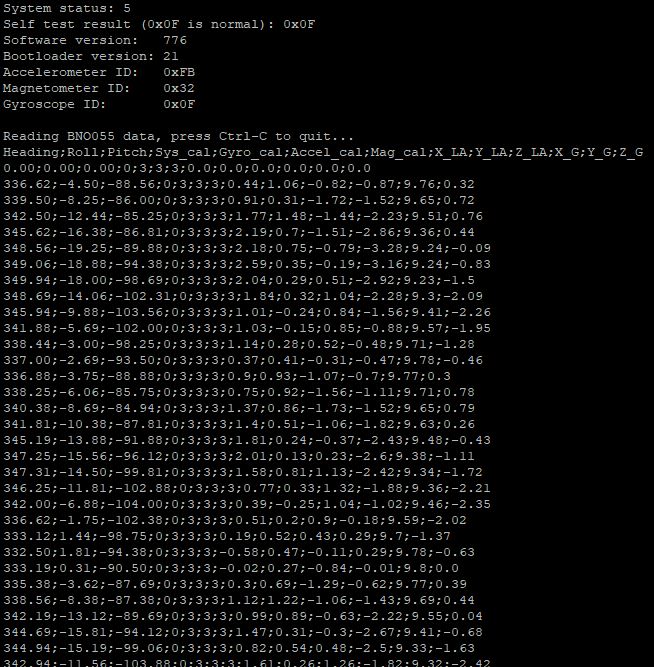
After reading page 99 and the description which pin I have to set high (3,3V) I tried this out. I wired the PS1 pad to the 3.3V pad with a short wire. But the chip gets now very hot and I disconnected the sensor imidiatly.
The picture below shows how I wired the PS1 pad with the 3.3V pad.
After disonnecting the cable the IMU sensor is working via I2C again.
Question: How is the wiring to get the UART interface working for the Dexter Industries BNO055 IMU sensor?
I’m curious; why do you want to connect the sensor with UART instead of I2C? We don’t support using the IMU sensor with UART.
At a quick glance, I see a problem with the way you wired it up. There is a 10k pullup from PS1 to 3v3, and a closed jumper from PS1 to Gnd. By connecting 3v3 to PS1, you were shorting the 3v3 through the jumper straight to Gnd (thus making the board get hot).
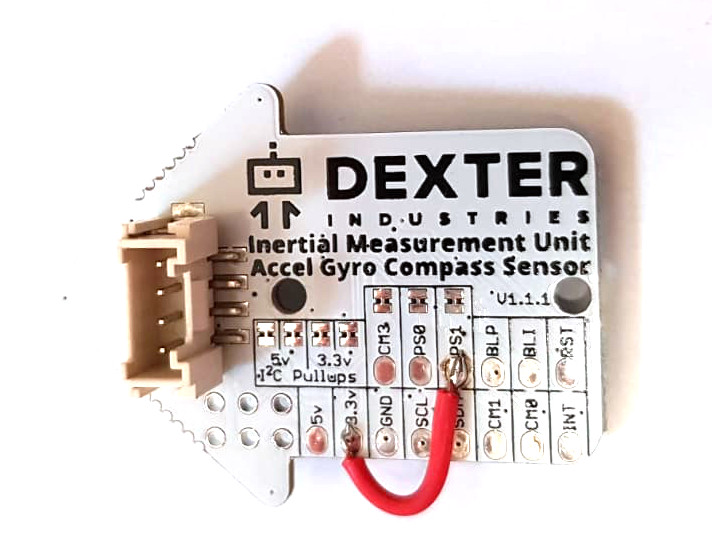
To bring PS1 high, simply cut the jumper and let the on-board pullup pull it high. Make sure you use care when cutting the jumper, so you don’t hurt yourself or damage other traces on the sensor board. I’ve added a green box around the jumper that needs to be cut:
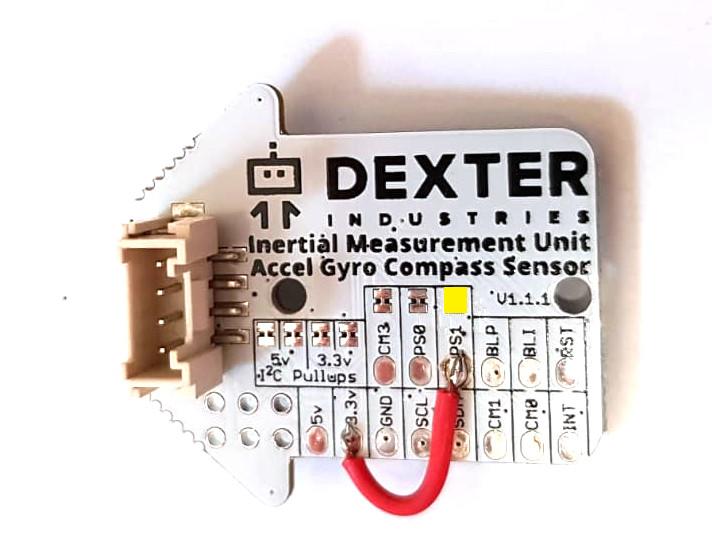
If you later wish to re-enable the jumper (pull PS1 low again), you can simply add a bit of solder to the pads as seen in yellow here:
Hi Matt,
thank you very much for your support. Since your reply I do not have the time to cut the jumper and to wire the sensor via RX/TX to my Raspberry Pi.
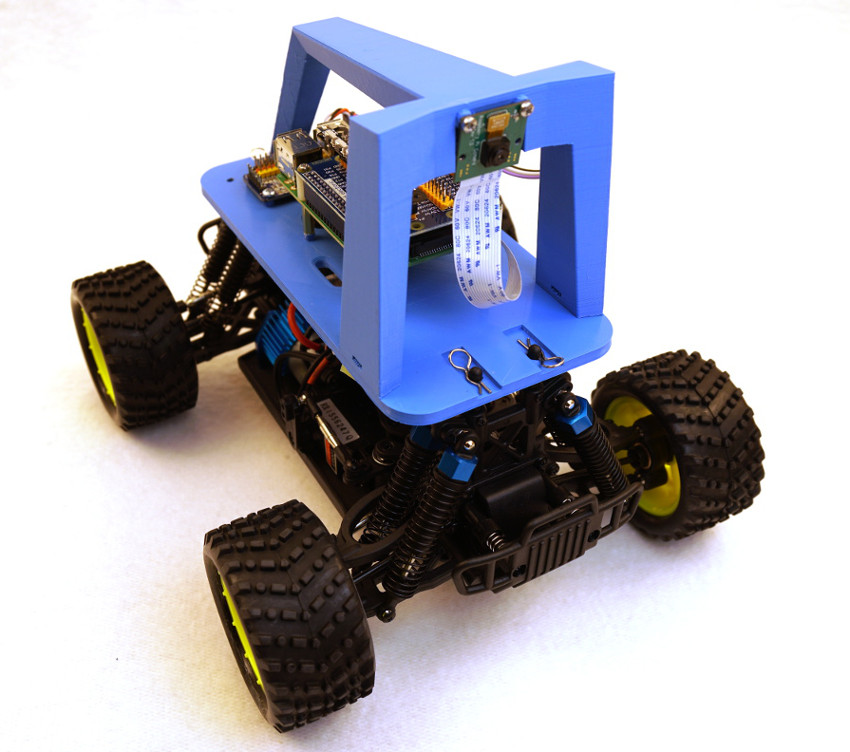
You asked why I am interested in using the RX/TX serial connection. I am building a Donkey Car Donkey Car project homepage.
To enhance / optimize the training data I am interest in some gyro and accl input for the neural neutwork I am training to steer my Donkey Car. The picture below shows the IMU I mounted on my Donkey Car.
(sorry I am not allowed to upload two pictures because I am new in the forum )
As well I bought the RGB sensor from Dexter industries and I will try to use the sensor to measure the ambient light to optimize the camera input / white balance.
If your are interested in the project and everything is working with the IMU sensor I could update the post here how everything is working.
Ingmar
That still doesn’t explain why you want that to be done via UART. It certainly looks like you’re using a Raspberry Pi 3, so that makes things even more simple: you only have to adapt your connectors to the one used by our sensor, which is less work than having to adapt it to communicate over UART.
Is there any particular reason why you want that to be done over UART?
Sorry that I missed to explain it. I already connected the BNO055 via I2C with some male2female jumper wires directly to the Raspberry Pi 3 Model B+ without the Dexter Industries HAT from my GoPiGo bot. But I need so configure I2C Clock Stretching to get the sensor working on the Raspberry Pi I2C bus. At the end with my additional I2C sensors attached I got messed up with the clock stretching thing and the best solution was to switch to a serial connection to get rid of that thing.
Now with the explanation from Matt the Sensor is working perfectly via the serial interface since a few minutes. Now I am able to read the data and in a next step I will write a part for the Donkey Car framework to get the BNO055 up and running as an input for my training data and for my neural network.
I hope that explains the idea why to switch to UART ?
I hope that explains the idea why to switch to UART ?
Maybe, but we have a software-implemented I2C that works really great, it uses a minimum amount of CPU time, it’s almost as fast as the HW I2C and doesn’t share the same bugs as the HW I2C. This is why we are using the SW I2C everywhere now and we’re no longer relying on the HW one.
This implementation still hasn’t been pushed to the master branch (in one or two days it’s going to be) in the DI_Sensors repo, and if you want to use it, check out this PR’s description:
Or if you still want to implement this on your own, here are the 2 modules you need:

 )
)