jimrh
August 3, 2024, 5:59pm
1
Continuing the discussion from Wanted: A good SPI mutex :
Test cover:
I have two now. One that fits Charlie’s 26 pin header, (which I have had for awhile), and a “new” one that fits Charline’s 40 pin header.
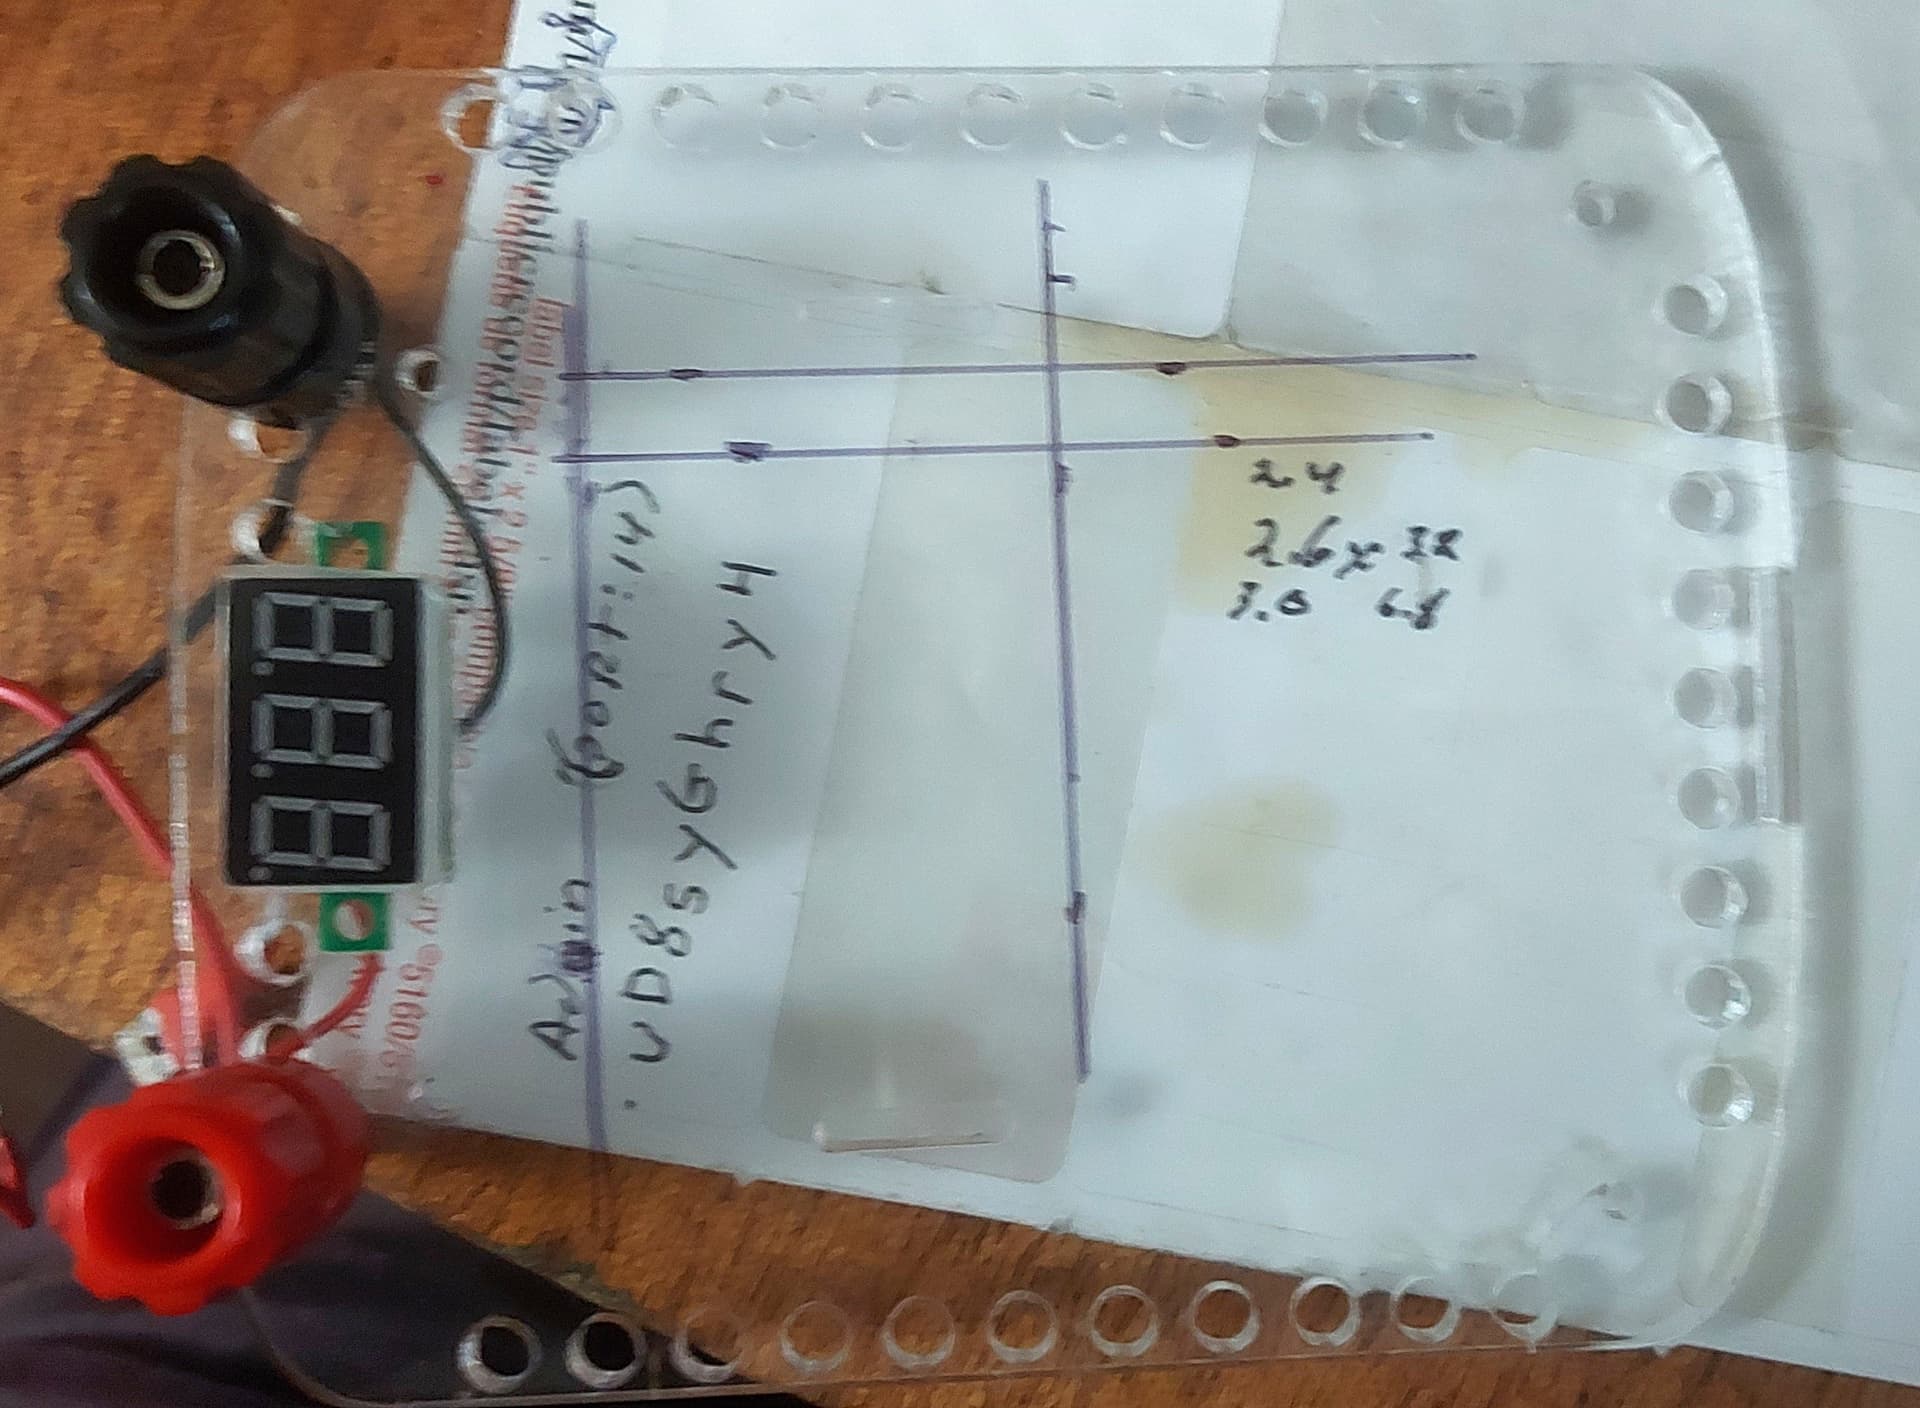
Here’s me making a replacement test cover for Charlie. (I lied. It turns out that I confiscated his original test cover and cut it to fit Charline’s 40 pin header.)
First I measured from the edges of the top cover to the four corners of the header and marked the plastic.
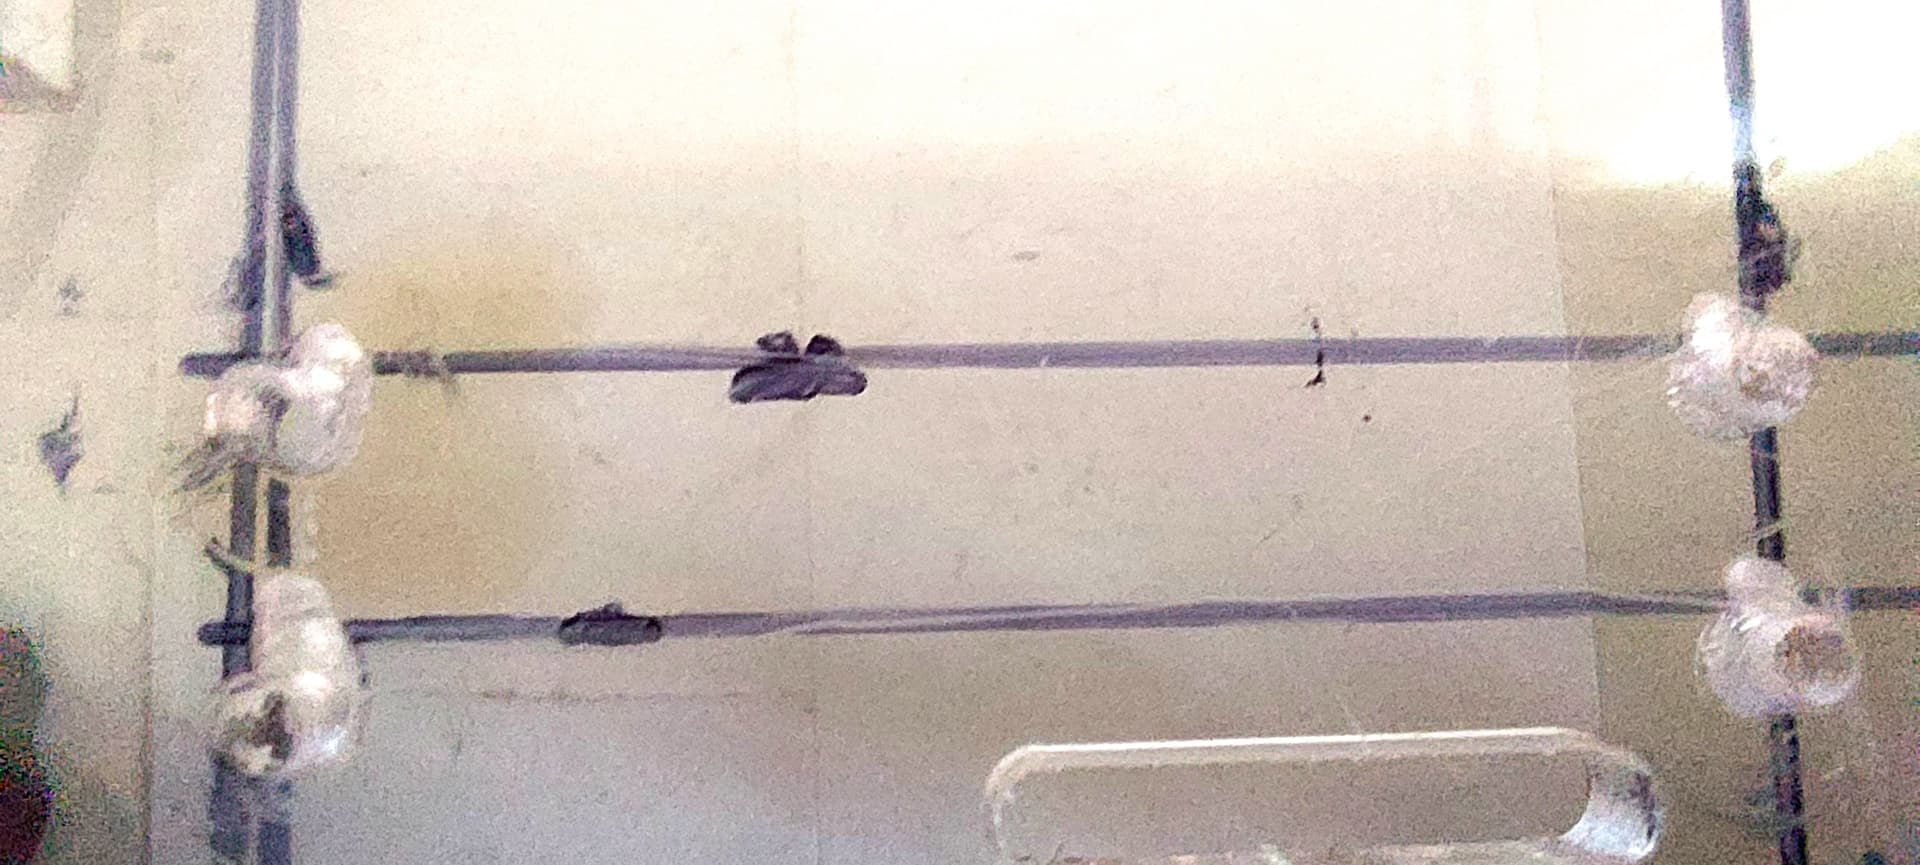
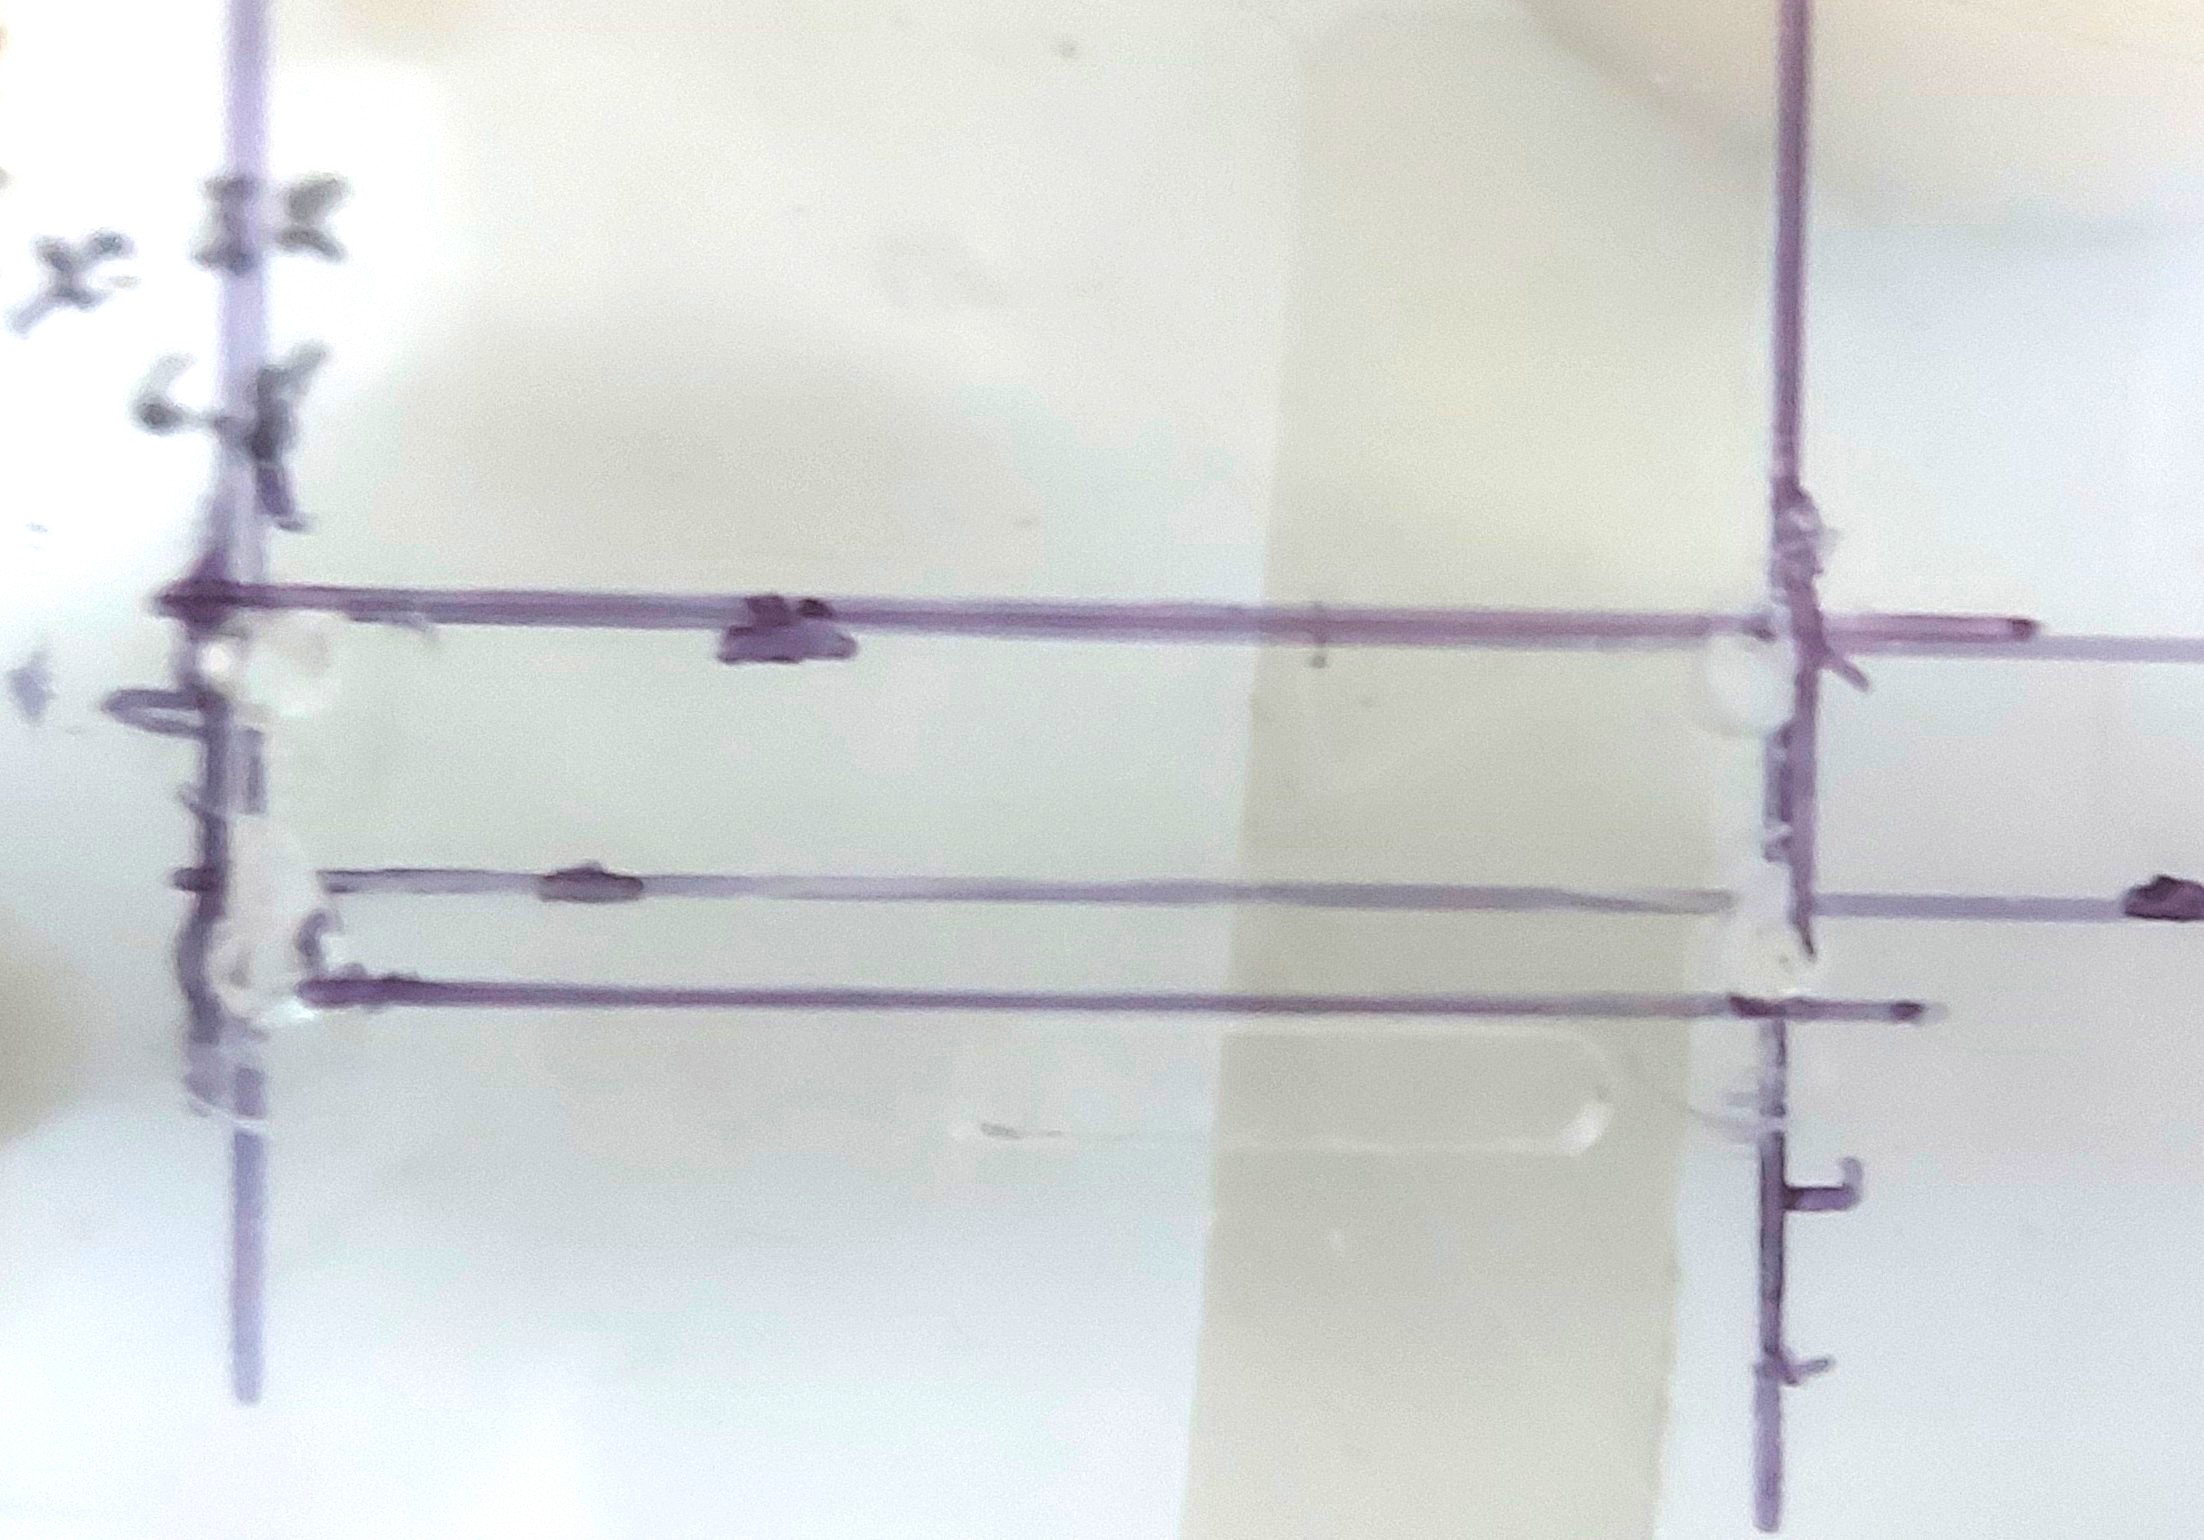
After carefully measuring and drilling the holes, they’ve moved off-center since I’m doing it by hand.
So. . . . .
I adjusted the cut lines.
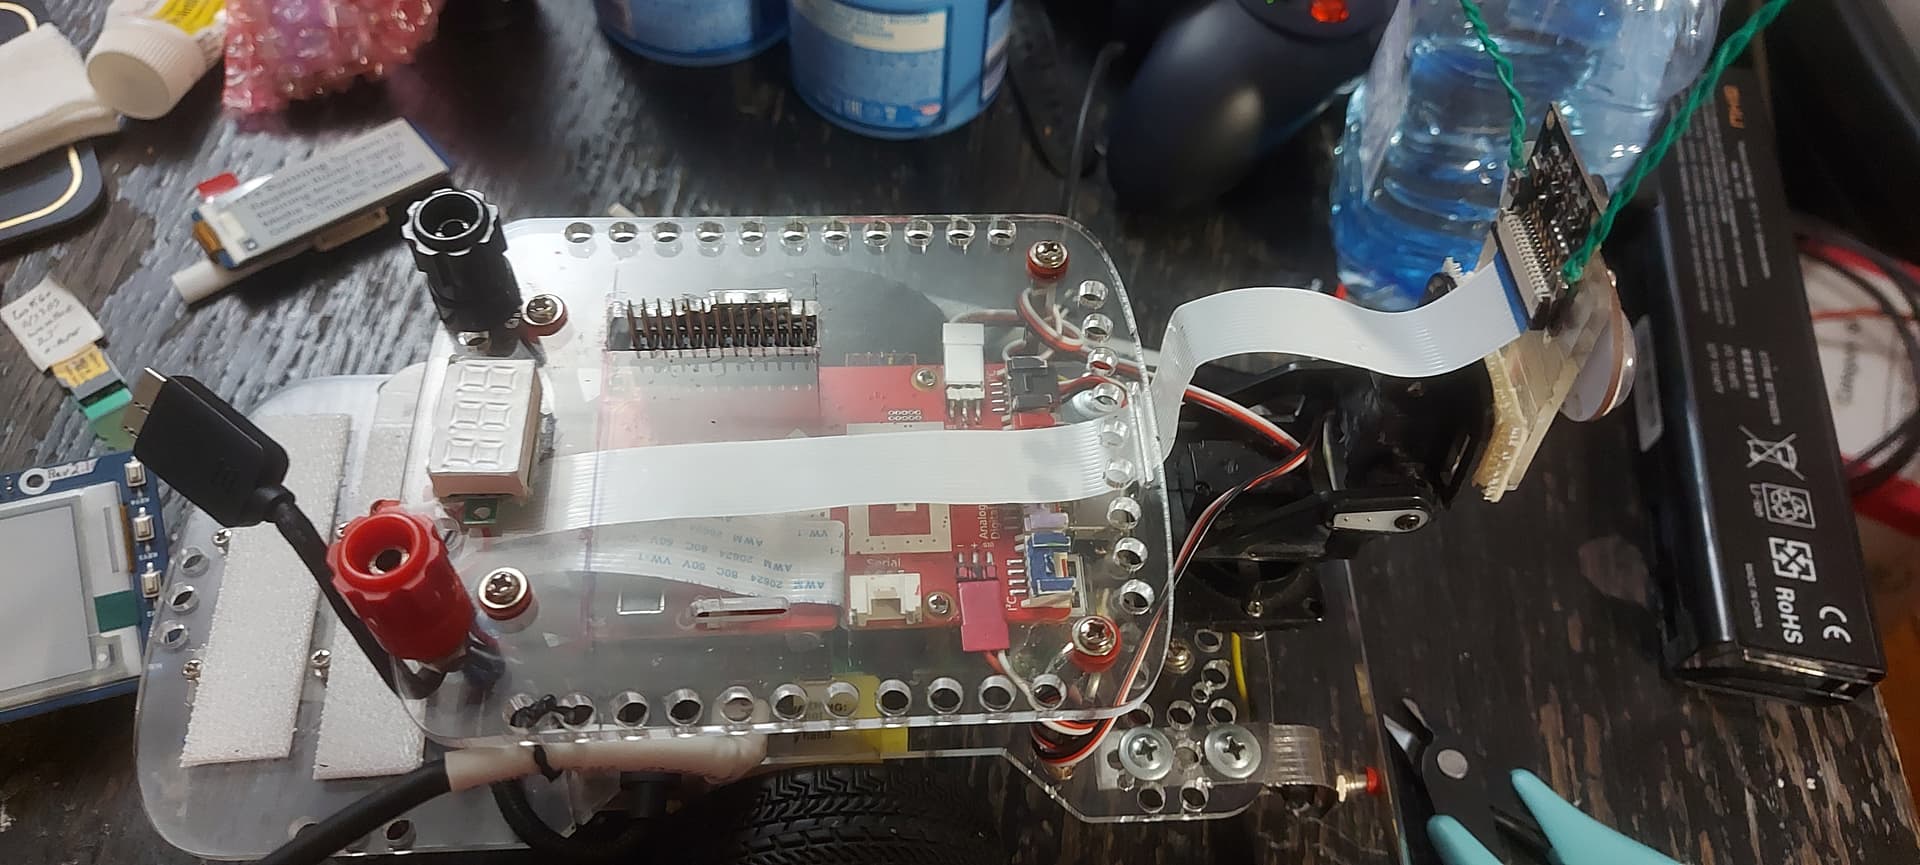
After cutting with a coping saw, sanding, and trimming with a heated x-acto knife, we have the test cover and a 26 pin tall stacking header sticking out of it.
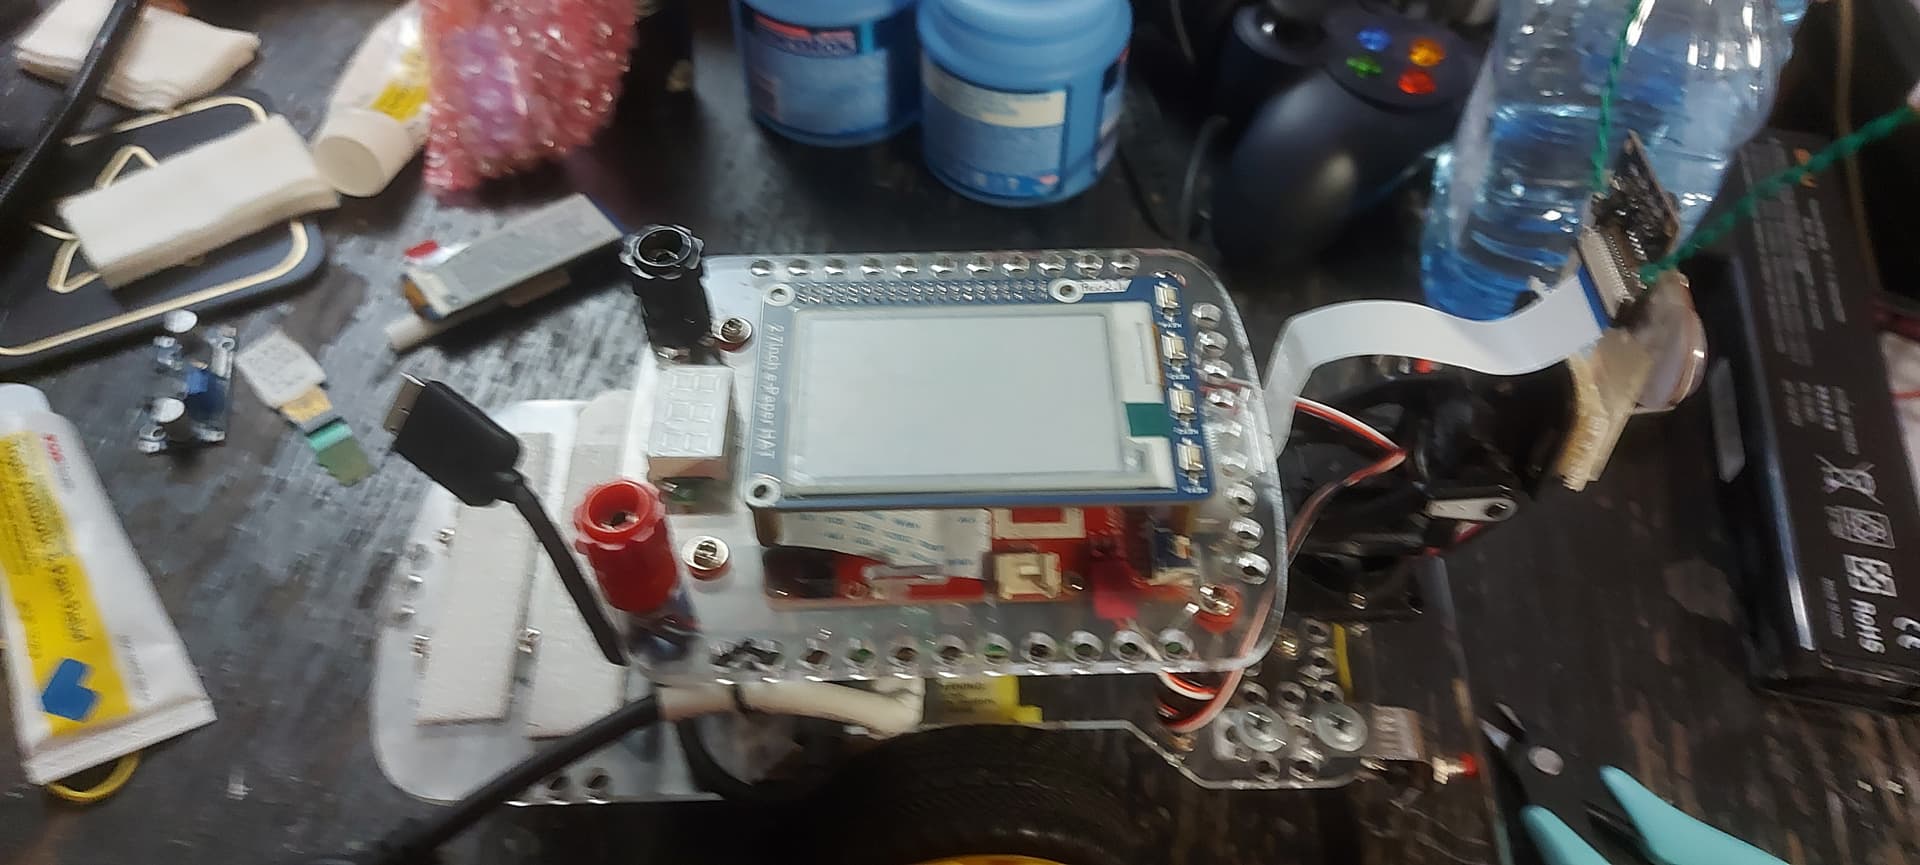
Here’s the stacking header with a display in place ready to run a test.
This makes it really easy to substitute plug-in auxiliary devices.
2 Likes
KeithW
August 9, 2024, 11:59am
2
Very nice - love the DIY solution.
1 Like
jimrh
August 9, 2024, 1:12pm
3
KeithW:
love the DIY solution
That’s what makes the GoPiGo great. There’s really very little you can’t do with it and a scoop of imagination.
A new political party?SMACK!
1 Like
KeithW
August 16, 2024, 12:39pm
4
Ok - that one made me laugh out loud. Have a great weekend.
1 Like
jimrh
August 16, 2024, 6:02pm
5
Charlie for President!
At least they’ll never lie to you or try to take over the government. . . Sounds like impressive enough qualifications to me.
MGGA!!!
P.S.
1 Like