One of the “mods” I like for my GoPiGo3 robots is to replace the metal ball castor with a Pololu plastic ball castor. It turned out much easier than I imagined it would be.
The secret to mounting the ball on both robots has come from scrounging through our plastics recycle bin to find a plastic jar lid or container for a thin, but stiff, flat area the size of the top of the existing metal ball castor assembly.
I decided to give the Pololu caster a try. I had ordered one a while back, but just hadn’t gotten around to mounting it.
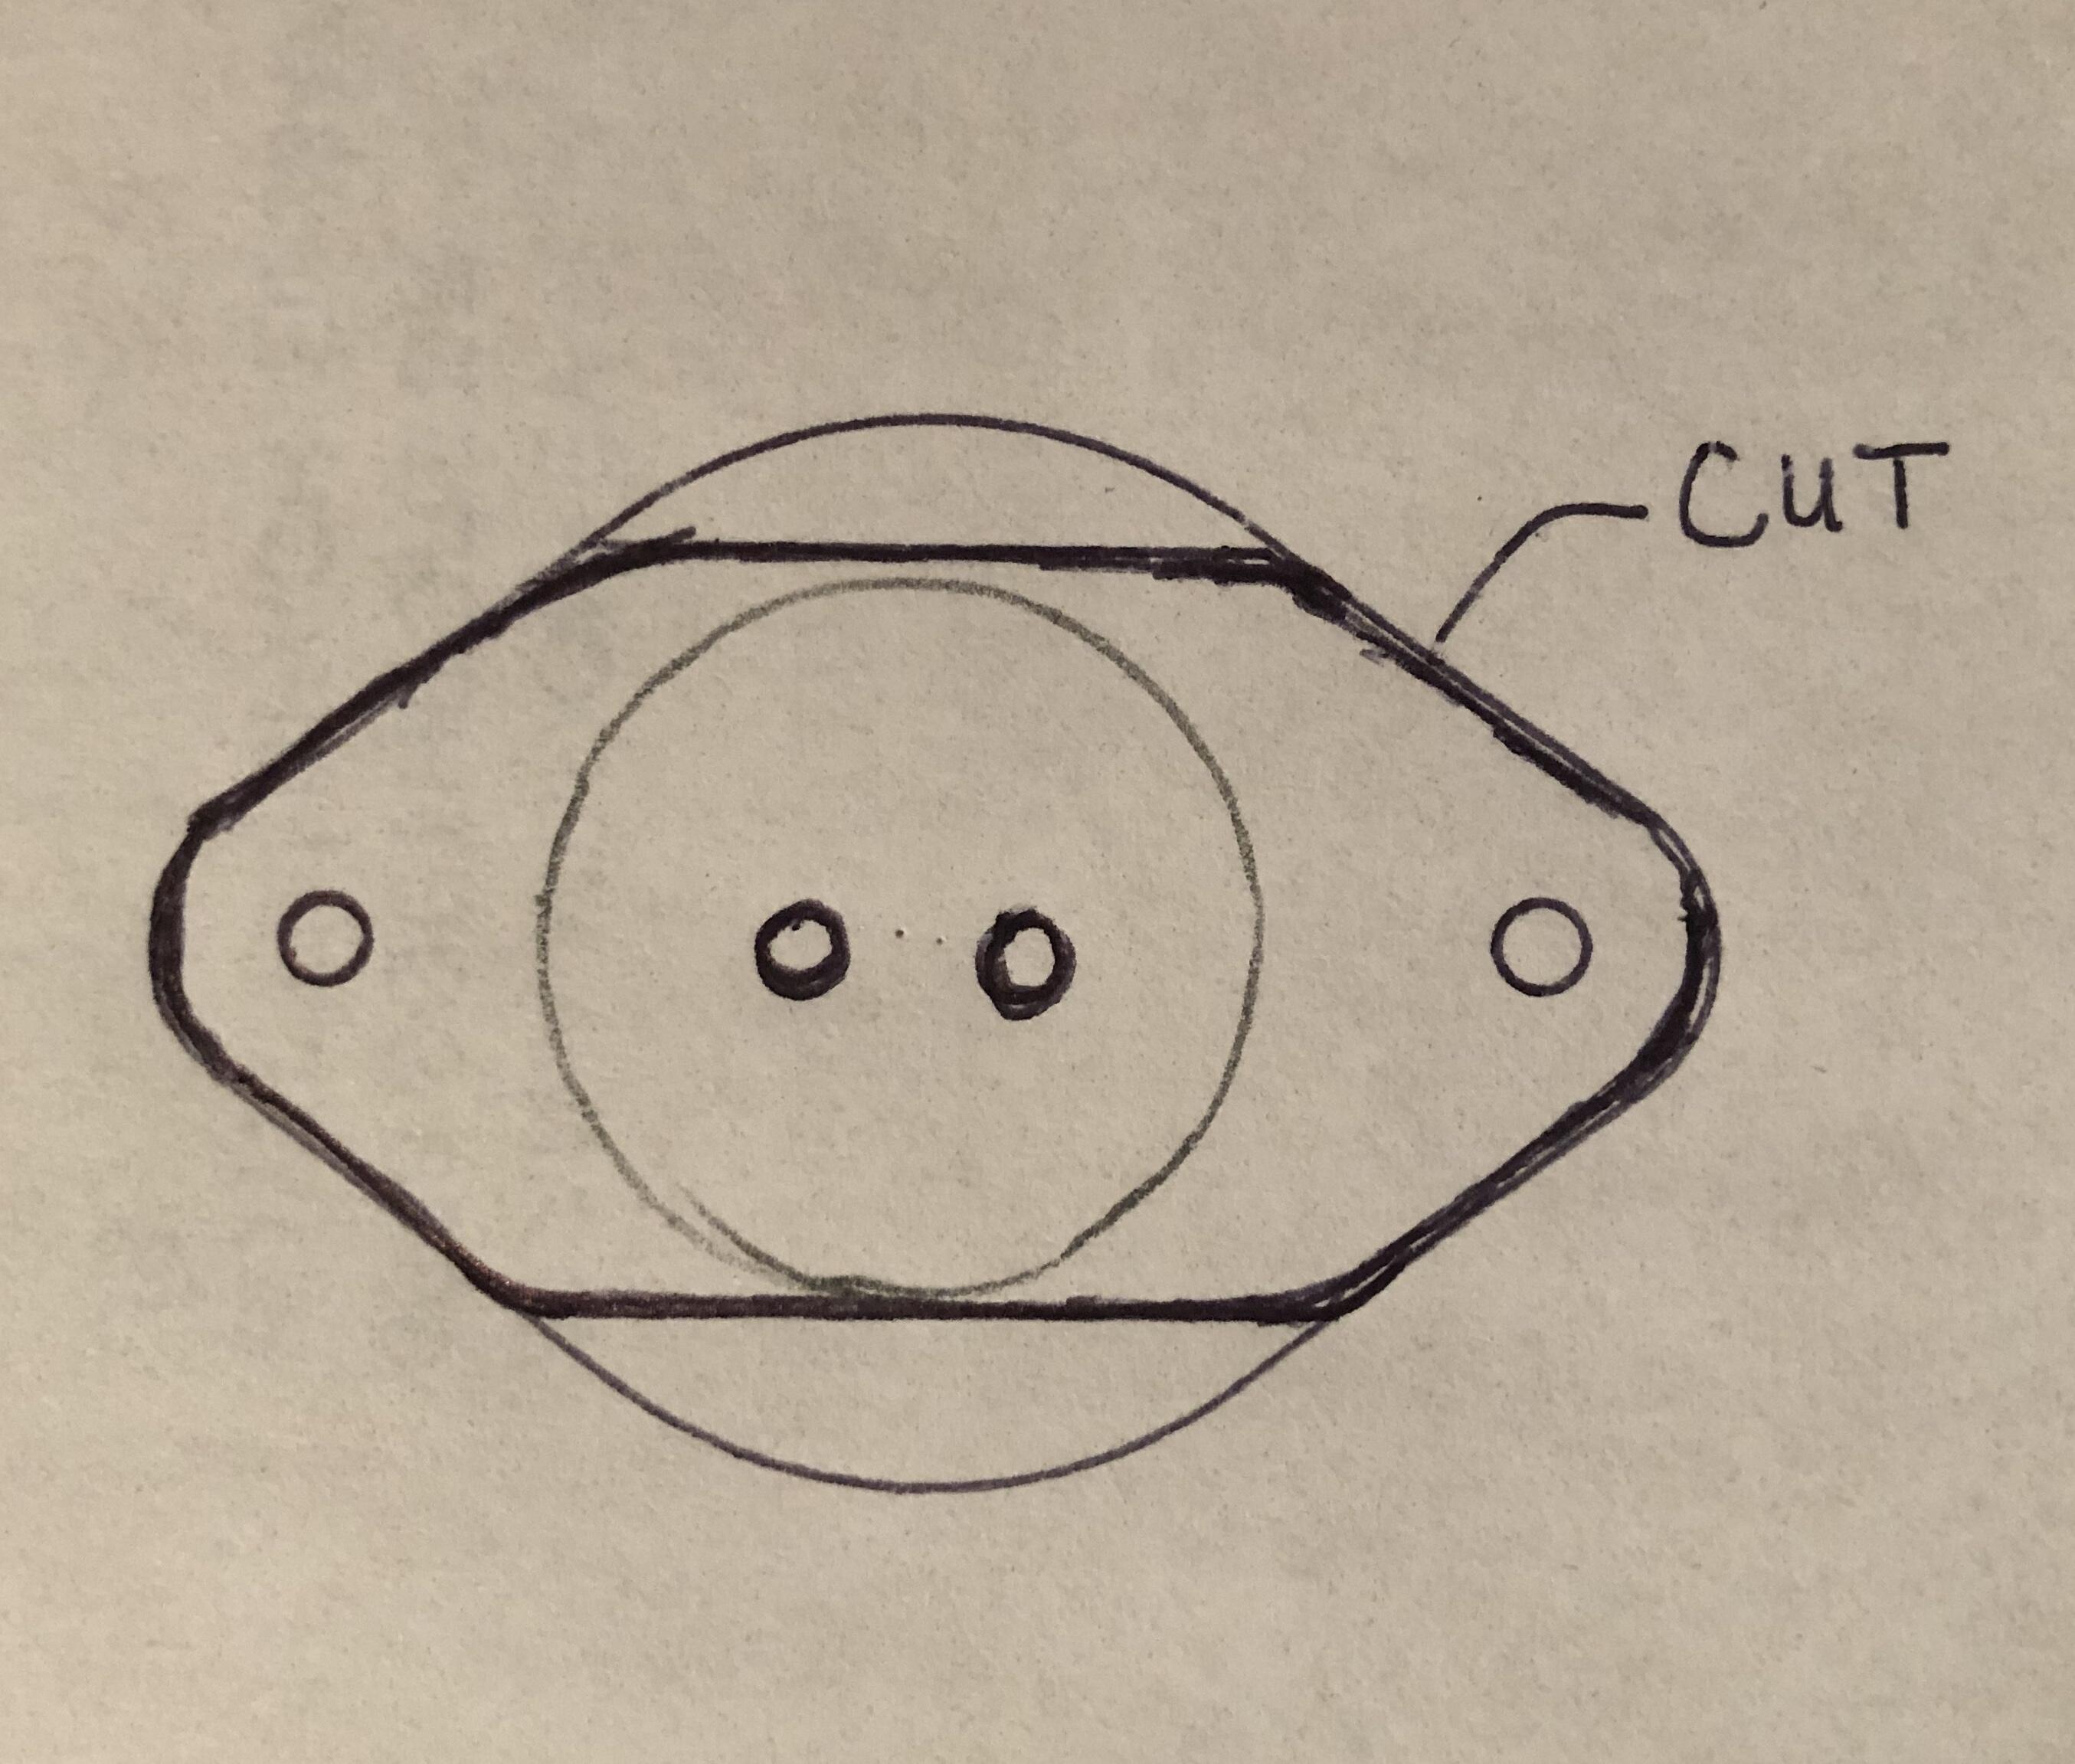
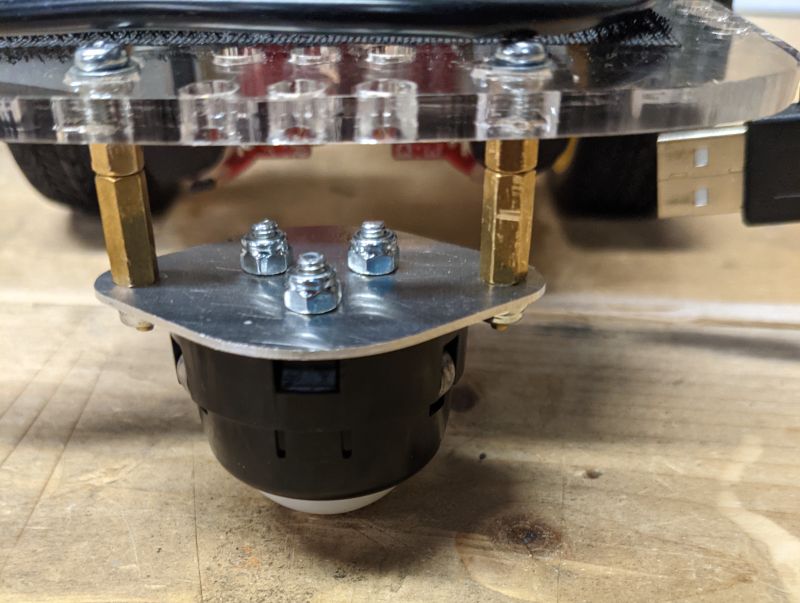
The style has changed a little. I have access to a CNC machine, so I designed the mounting plate in Fusion 360 and cut it out of some aluminum I had. Turned out pretty well:
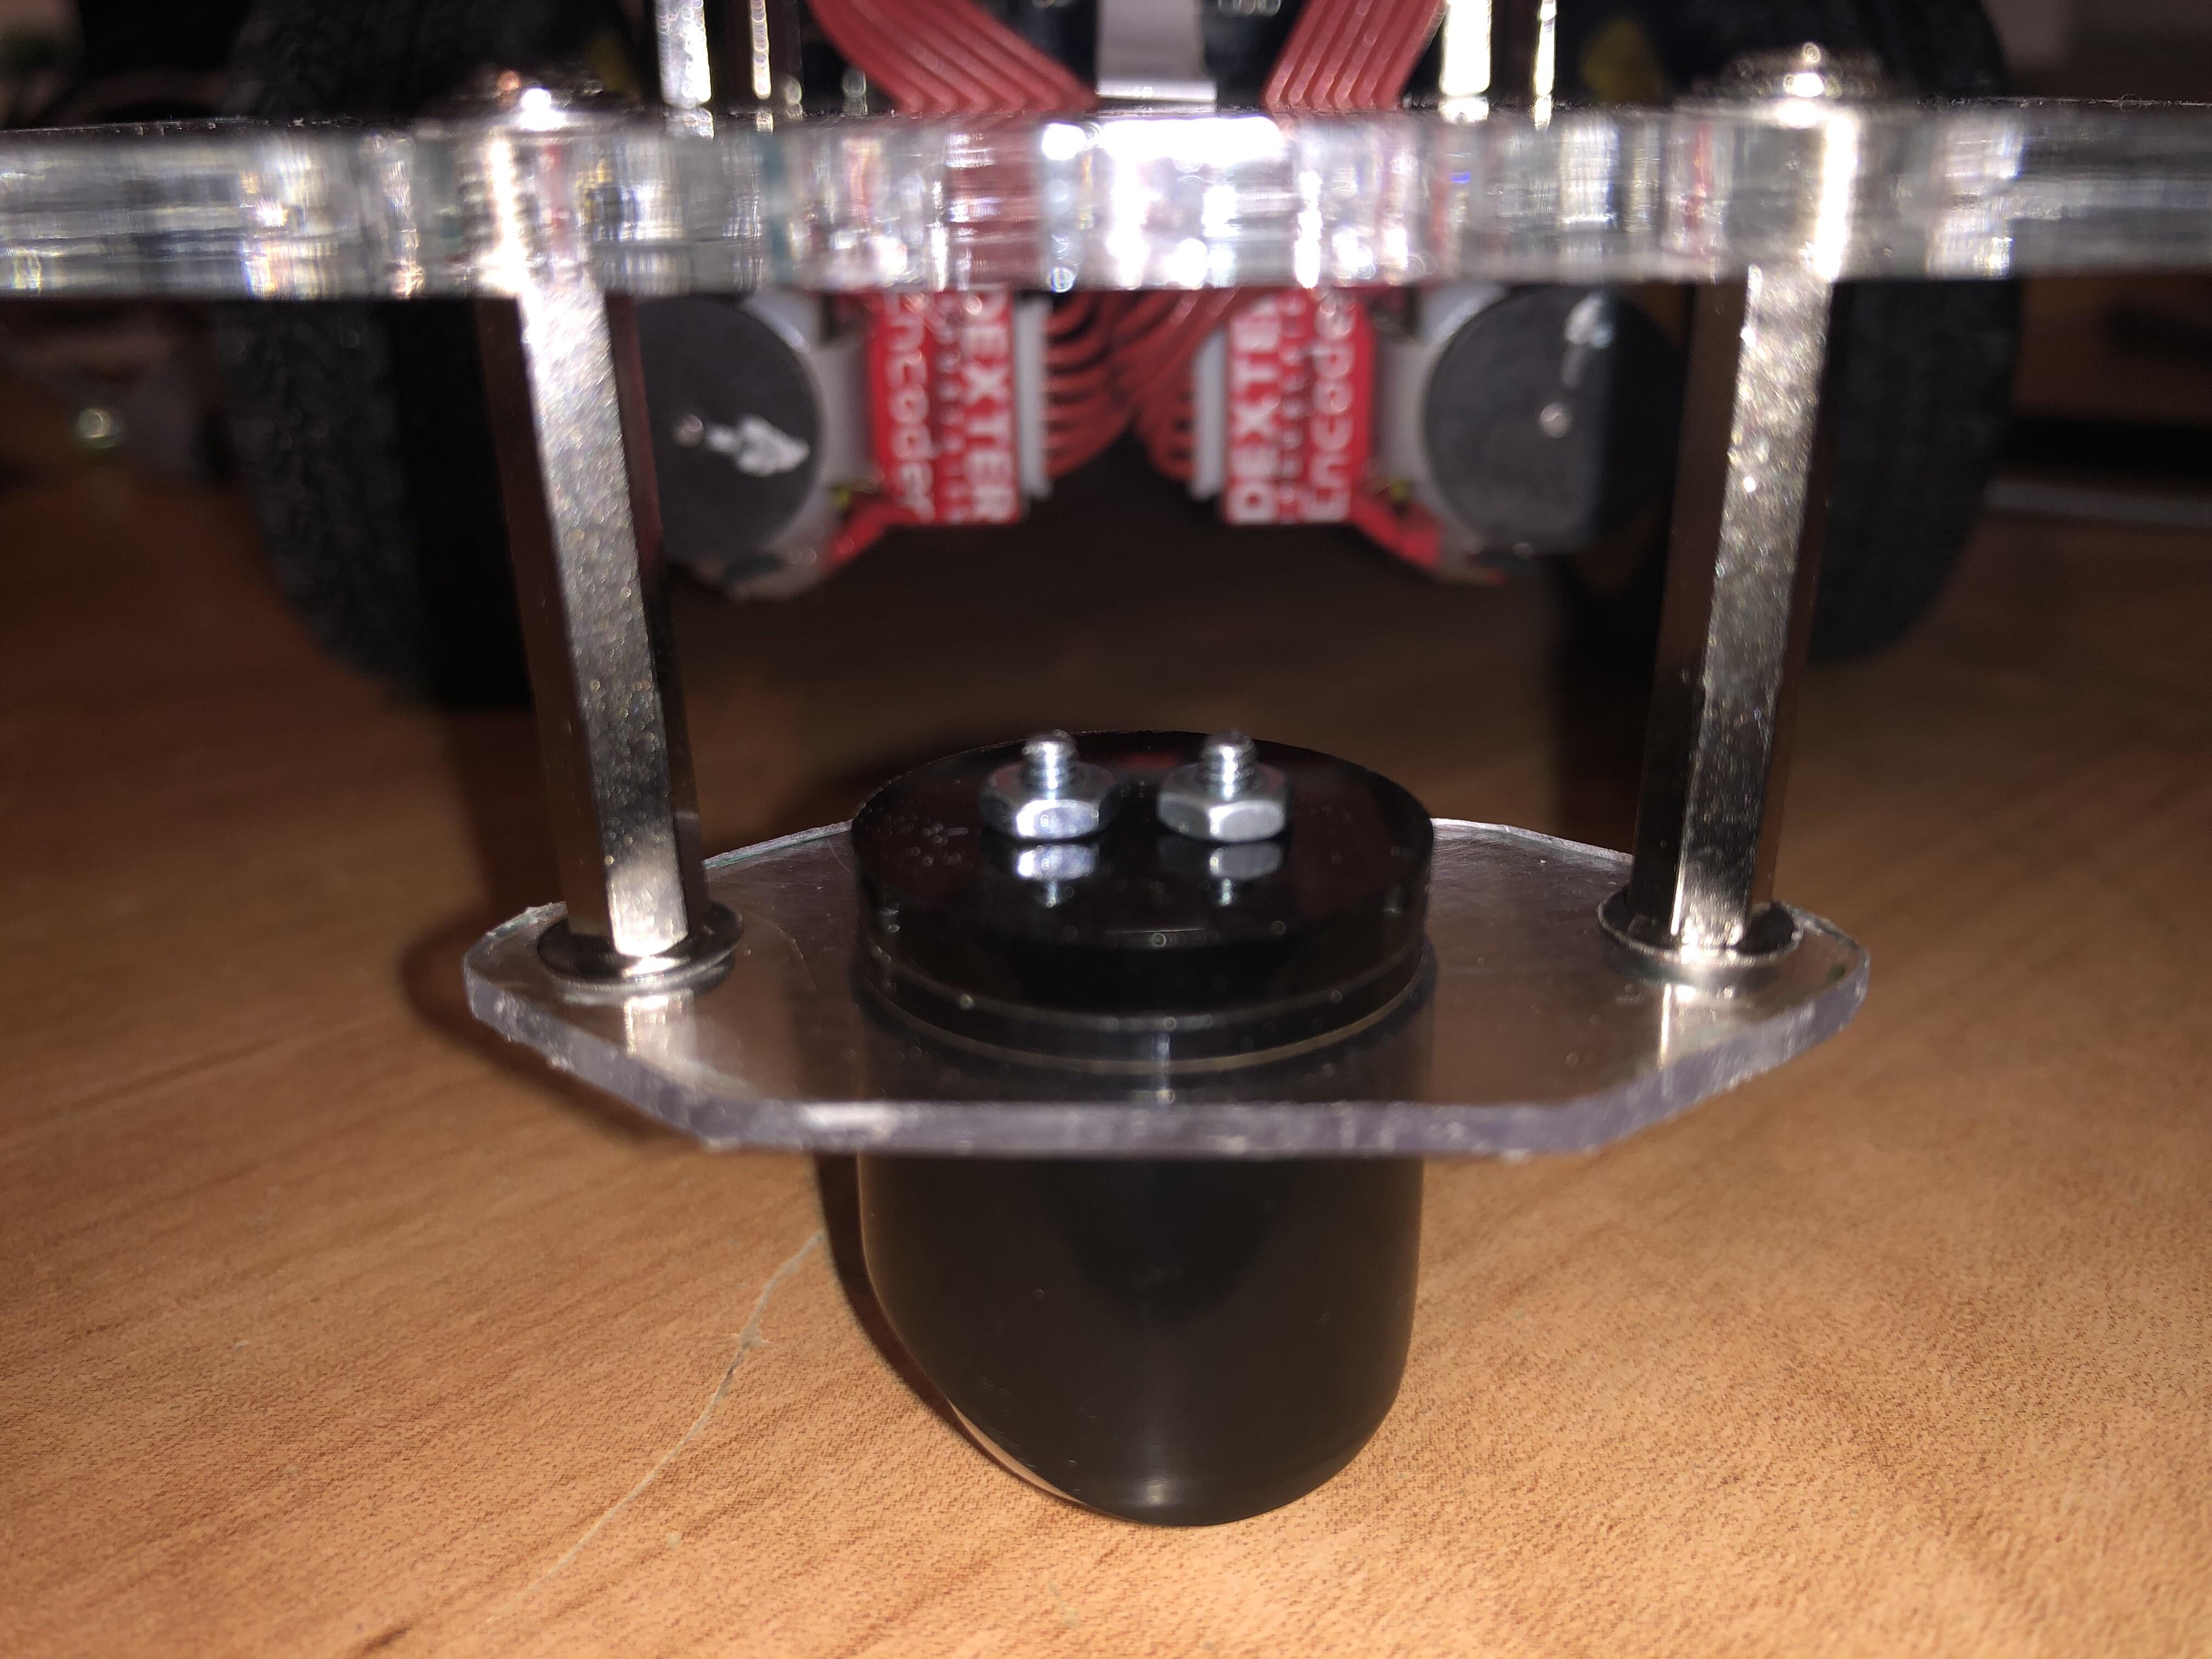
In the process I discovered that Finmark had a slight tilt upward at the front. The new assembly is a bit taller than the metal caster, so the old standoffs wouldn’t work. I really lucked out that some standoffs I were just the right length (when stacked), and even cured the slight tilt.
I was going to test it out this evening to see how much quieter it is, but now Finmark won’t consistently join the wifi network. This is the new Raspberry Pi ( as discussed previously). These intermittent hardware issues are getting really tiresome…
/K
PS - happy to share the design file to anyone who’d like it
I had already bought the 1". It would have been smarter to look at my options. I got very lucky - I thought I was going to have to cut down the standoffs some how, or find new standoffs.
/K
It’s worse with ROS, since the robot depends on the remote connection with my laptop for navigation. Would be nice to have the whole navigation stack running locally. But that would take more horsepower than the Raspberry Pi can provide.
/K