Voltage characteristic of the first generation GoPiGo-3

@cleoqc
@cyclicalobsessive
@KeithW
@mitch.kremm

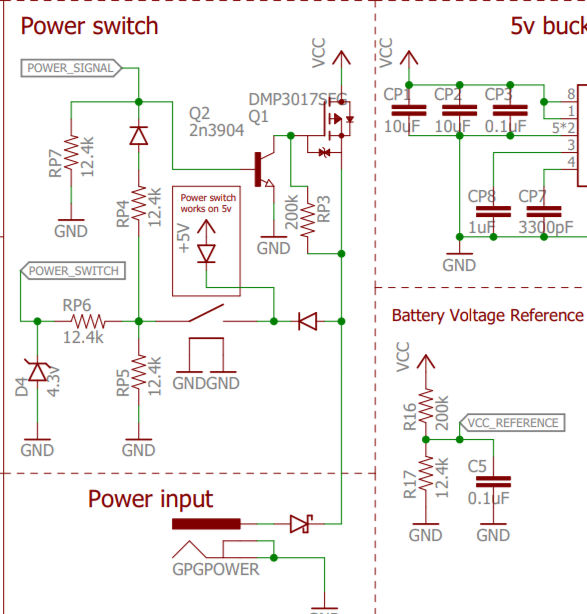
I have finally gotten around to characterizing the voltage curve for the GoPiGo-3 first generation red board.

The data is as follows:

  1. 12.00 to 7.85 - power LED green.

  2. 7.80 to 6.67 - power LED yellow.

  3. 6.63 to shutdown - power LED red.

  4. At about 6.4 volts, the Raspberry Pi appeared to start shutting down but the power LED was still steady red.

Steady state current draw was about 0.5 amps using Raspbian for Robots Buster on a Pi-4 with nothing happening.

Notes:

  • This is a sample of a single board. Resistance tolerances and individual IC characteristics may cause your readings to vary.

  • Readings are ±0.01v

  • Hysteresis is about 0.05v from the beginning of a state change until it became solid at the next color, both ways.

  • Voltage readings are across the input terminals of the GoPiGo board itself. I did not have a screen attached and do not have voltage readings from within the GoPiGo’s software.

Anyone who feels like shipping me a bunch of GoPiGo boards, go right ahead and I will add additional data.

Conclusion:
Especially with the new Lithium battery packs, these trip points should be changed, and there should be an option to automagically shut down (with a flashing red LED) when the voltage becomes critically low.

Hope this helps.

What say ye?

2 Likes

Update: (errata)

  • Voltages are ±0.02v

  • I did not progress until the GoPiGo board itself shutdown.

  • It would be nice if there was:

    • A dip-switch/jumper
      – or –
    • A firmware update
      . . . to switch between NiMH and Lithium battery switch-points for the power LED.
       
  • A firmware update that would shutdown on voltage critically low, (and would respect the battery type being used), would be valuable.

What say ye?

2 Likes

Update:

Measurements taken with the new, calibrated, power source.

Measurements taken:

  1. Indicated voltage on the supply.
  2. Battery voltage as indicated on the Raspbian for Robots (Buster) control panel.
  3. Lamp indication on the GoPiGo board.
  4. Power indication on the desktop.
  5. Anything else that seemed relevant at the time.

System:

  • GoPiGo-3 (old board)
  • Pi-4 4gb
  • Raspbian for Robots, Buster. I am assuming the latest version, but I did not check.
  • Boot device is a Seagate Expansion SSD.

Booted with monitor, keyboard and mouse attached.

Current measurements are not calibrated and are for comparison only!

Results:

PSU reading  Control panel  light on PCB
12.00v         11.4         solid green
07.82v         07.2     flipping yel/green
07.76          07.1         solid yellow
06.63          06.0     flipping yel/red
06.61          06.0         solid red
06.57          05.9         solid red  first appearance of⚡ warning
06.56          05.9         solid red  low voltage warning banner with ⚡
06.46          05.8         solid red  ⚡ is steady, not flashing. Low voltage banner.
04.90          04.3 (calculated)  blinking red

At that point, (4.9 volts), the screen went blank, the GoPiGo’s LED began flashing red, and the Raspberry Pi board LED’s began blinking furiously. They ultimately stopped with the green LED flashing a double-blink code and the red LED on solid.

Rapidly spinning the voltage back up resulted in the Raspberry Pi attempting to reboot. I noticed this at 5.50 volts indicated, but I was not monitoring the voltage closely.

Note that I did not allow the Raspberry Pi to reboot as that was not a part of the testing I wanted to do and was therefore out of scope for this test.

I turned off power, reset the voltage to 12.00v indicated, and restarted. Everything was OK.
 

Current measurements during testing:

Current draw was casually monitored during testing to provide a broad-brush indication of the relationship between applied voltage and current consumed.

Initial indicated current was appx. 0.3 amps.

Indicated current was inversely proportional to voltage, rising to about 0.75 amps at 6.00 volts, then it stabilized at about 0.7 amps until shutdown.

Note that the current readings fluctuated over a range of 0.2 to 0.3 amps, sometimes more. I suspect this is due to the varying load offered by the Raspberry Pi and the GoPiGo board itself.

I did not attempt the quantify the current readings with any degree of precision as the current ranges have not yet been calibrated.

What say ye?

2 Likes

Additional commentary specifically addressed to @mitch.kremm and @cleoqc:

The currently implemented voltage characteristic is correct and suitable for the original NiMH battery pack which was part of the original design.

It is NOT suitable for use with the new Lithium Ion battery pack because the total range of the battery’s useful voltage is much narrower and the GoPiGo will still be indicating “green” when the battery’s voltage is at its critical shut-down value.

Recommendation:

  1. Update the firmware to use settings appropriate for the new Li-Ion batteries.

  2. Add a jumper on the GoPiGo board to select either the Li-Ion or NiMH battery power characteristic.  This would allow the user to select the correct characteristic for the power indication based on the battery supply being used.  This could be implemented using a single-pole slide-type surface mount DIP switch.

====================

Additional interesting observations:

Note the section of the GoPiGo schematic shown below:

  1. The absolute voltage delta between the indicated battery voltage and the measured voltage was always 0.6 volts.  Since the typical voltage drop across the germanium junction of the Schottky diode in series with the barrel connector is 0.4v, and since the typical fully saturated, (fully-on), forward drop across a power switching MOS-FET like Q1 is 0.2v, the 0.6 volt drop is consistent with the expected drops in the circuit.

  2. However, the control panel and the GoPiGo APIs indicate that the voltage being measured is the battery’s voltage, not the internal VCC voltage.  As a consequence, all battery voltage measurements are 0.6v too low.

Conclusion:
This resistor divider network should be adjusted to take into account that VCC is always 0.6 volts lower than the voltage across the battery connector and should measure that voltage correctly.

What say ye?

3 Likes

4.5W sounds right for a starving pi 4

2 Likes

Thanks for this Jim! I’ll bring it to our Products team.

3 Likes

@mitch.kremm,

On second thought, perhaps the method for measuring the battery voltage can be modified to add a constant 0.6v offset?

I/we will have to look at the battery voltage method and research this as it would be much simpler than a PCB component change.

2 Likes

Actually, (at least by gross visual inspection), it seems the power draw is reasonably constant across the full range of input voltages.

I wonder if the Pi-3 family has a similarly constant power characteristic across its usable voltage range too?

2 Likes

Yes, the amperage draw fluctuates exactly as you saw but the wattage average is constant for any given processor load.

2 Likes