Controlling second pivotpi with scratch

Hi all
I have made a robot for my daughter to play with and start coding

It has two pivotpi boards connected and i can controll all 16 serves and 16 leds in python while testing

I would like to know if there is a command to controll the second pivotpi pcb in scratch
Eg ‘’ pivot 2 90’’ will controll the second servo on first pcb
What command do I use to controll the servos and leds on second pivotpi pcb ?
I tried putting address in eg, ''pivot(0×41) 2 90 ''with no luck

Would like my daughter to play with scratch first before diving into python.

Hope some one can help

Derick

3 Likes

Excellent question!

Normally one of us here on the forums can help, but the pivot-pi is not something I’ve played with.

Maybe @cleoqc can suggest something?

@derickgreyvenstein It sounds like you made yourself a robot.

Strongly suggest getting a giggle-bot for young students, and possibly GoPiGo3 for older ones. There is already plenty to learn on a manufacturer-supported robot, that other people can share wisdom from experience with.

Asking a student to learn on a “one of a kind”, “not yet proven in educational use” robot is putting hurdles in front of progress.

Kudos to you for exposing your daughter to robotics.

Regards,

CyclicalObsessive (No connection to DI/ModRobotics - just a robot lover)

 
GoPiGo3

 
Giggle-bot

1 Like

Count me in on that too.

I have a GoPiGo 3 for me and two gigglebots for the granddaughters.

With the upgraded micro:bit, the gigglebot is a real piece of work that the daughter can have fun with.

I agree with @cyclicalobsessive, tossing a home-brew robot with little to no support available to someone who hasn’t messed with this stuff before, is asking for disaster.

Even a fully supported and documented 'bot like the GoPiGo is a mouthful if you’ve never done this kind of stuff before.

(Ask me how I know! :wink:)

I admire your pluck, but it might be a little bit too much of a mouthful.

Especially if you want a scratch-like environment, there’s the Dexter O/S for the GoPiGo and Make:Code with the gigglebot extensions for the gigglebot and the micro:bit.

Teen and up - GoPiGo
Pre-teen and younger - Gigglebot.

Feel free to ask anything you need to know.

1 Like

Hi thanks for the reply
I live in south Africa and the gopigo is not locally available here and it would cost me over 450$ to try import it .

Besides we are a long way in to building this robot and she is eager in controlling it .
That’s why was hoping for just a comand to controll second pivot pi pcb in scratch
Here is a pic of the bot we are building

4 Likes

Very Impressive Indeed!

You have solved a lot of challenges already with excellent results visible.

I have no experience with Scratch (or Bloxter which I believe is the latest ModRobotics supported graphical programming language.) Perhaps you will have to live with coding in graphical language setting a variable for which PivotPi the block is for, then “exporting” to a “markup script” which personalizes each graphical command to the appropriate PivotPi. Debugging would be a pain, and one of the goals of the graphical programming step is probably rapid feedback, so this would not be optimal.

You don’t have much room, but perhaps adding a second PiZeroW in the base to run one PivotPi at a different IP address. This introduces advanced concepts of asynchronous processing immediately, and if you add a messaging system (like ROS) can investigate distributed processing concepts where the PivotPi/RPi processors are controllers, and a laptop is the brain fusing information from the mobile platform and providing reasoning and high level control.

(BTW, my robot does not run ROS, and nearly daily I feel the trade-off I made by having to write everything for my robot myself.)

Here is my GoPiGo3 bot “Carl” with a message for you and your daughter:

3 Likes

WOW!

So, how old is this daughter anyway?  23 and going for her Doctoral degree in Robotics?

Hate to break the bad news to you, but you’re way beyond me on this one.  Not only have I never messed with the Pivot-Pi, (though the latest GoPiGo O/S releases support it), I’ve never messed with a home-brew 'bot of this complexity before.

Was that a kit?  Did you 3-D print this beastie?  Looks like a cross between something from A Bug’s Life and Disney’s Tomorrowland.

Nice, um, whatever it is! (laughing!)

You definitely have my curiosity riz, as they used to say, but you’re in uncharted waters as far as I know.

As far as getting stuff is concerned, “Ah feel yer pain!” - being stuck in Moscow Russia makes it difficult too.  Unfortunately all the political jealousy and back-biting, not to mention adding the pandemic to the mix, makes what should be a simple thing virtually impossible.  If I want another GoPiGo, the closest one is a early-version GoPiGo-3 that someone in Poland wants to sell for something like $300+ USD.  Nobody, and I mean nobody, wants to ship to Russia and incur the Wrath of Kahn.

I already asked Nicole, (cleoqc), to chime in, maybe @mitch.kremm can offer advice, or - absent all of that - you may have to go direct to the Modular Robotics support e-mail: support@modrobotics.com.

If you do hear from them via the support e-mail, cross post here for everyone else to learn from.

You may want to give 'em a few days to reply though, being the New Year’s Holidays and all. . . :wink:

Whatever you do, please keep us in the loop!  This is one Butt-Kickin’ 'bot you got there, pardner, and I want to see how it works out.

P.S.

Here’s Charlie, wishing you a wonderfully politics and disease free New Year. No voice yet though. . .

1 Like

Hey guys thanks for the feed back
I am a novice when it comes to coding ( only google trained :grimacing:)

I can get all all 16 servos and leds working when doing python coding, aswell as the eyes ,speech and track movement. Only testing.

The scratch part of it would just be more simpler for my daughter (12 years old ) to try cope with in the beginning stages .

I am now busy with trying to conect a nrf24l01 to the pi and arduino mega for a remote control, the problem is I need to activate the spi1 port on the pi as the spi0 port is been used for the eyes :man_facepalming: headaches of note

It is a 3d printed self designed robot on a track based bot
Still need to sort out how to
Get remote aerial working
Design and print remote
Stream video to phone
Mount hands
Mount pi ,batteries and electritions
Program mouth leds to be voice activated
And loads more , going to lose my hair with this project

Anyway will have to take a break for now ,out of town for the next two weeks on business

Regards Derick

3 Likes

Are you absolutely SURE this isn’t a Ph.D. dissertation project? :wink:

Oh, and while you’re at it, add voice control to cook breakfast and fetch you a cold beer!

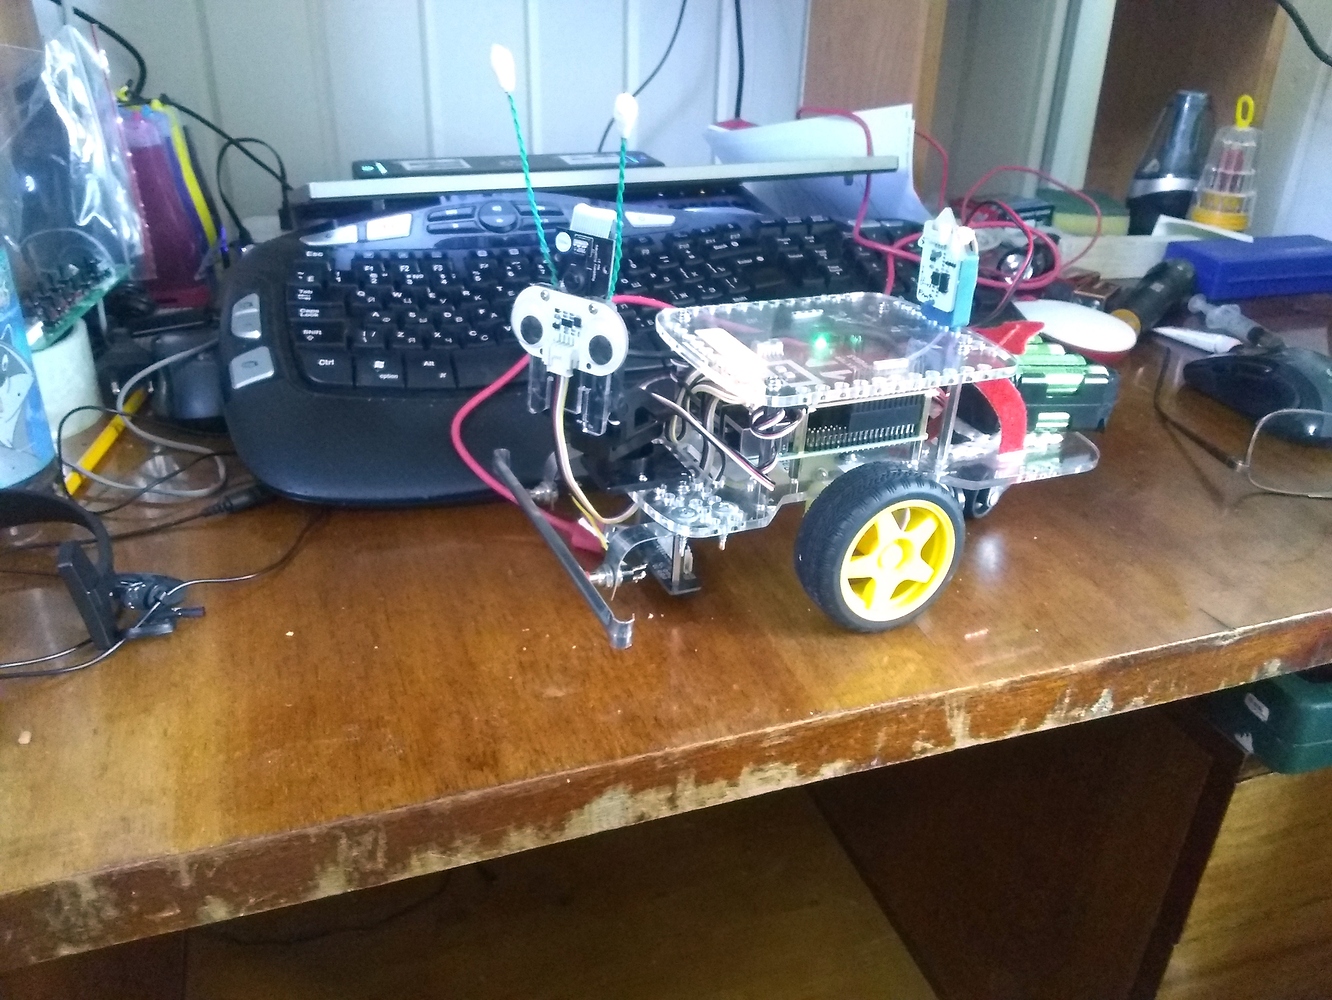
Regarding “stream video to phone” - there is a program for the GoPiGoi called “remote camera robot” that streams video to a specific web page while allowing the robot to be driven by the mouse.

Fair warning:  It’s a gnarly mess that I’ve been trying to hack for a while now.  Even the folks at Dexter/Modular Robotics aren’t exactly sure how it works anymore!

Getting it to work with a non-standard configuration isn’t something I’d be willing to tackle, but you’re welcome to try.
 

I am not sure what you mean by “Get remote aerial working”?

Does that mean you want to get WiFi working?  If so, remind me what version of the Raspberry Pi are you using?  You really want to be using a version, like the Pi3+, that has built-in WiFi as earlier versions with a dongle had no end of troubles.
 

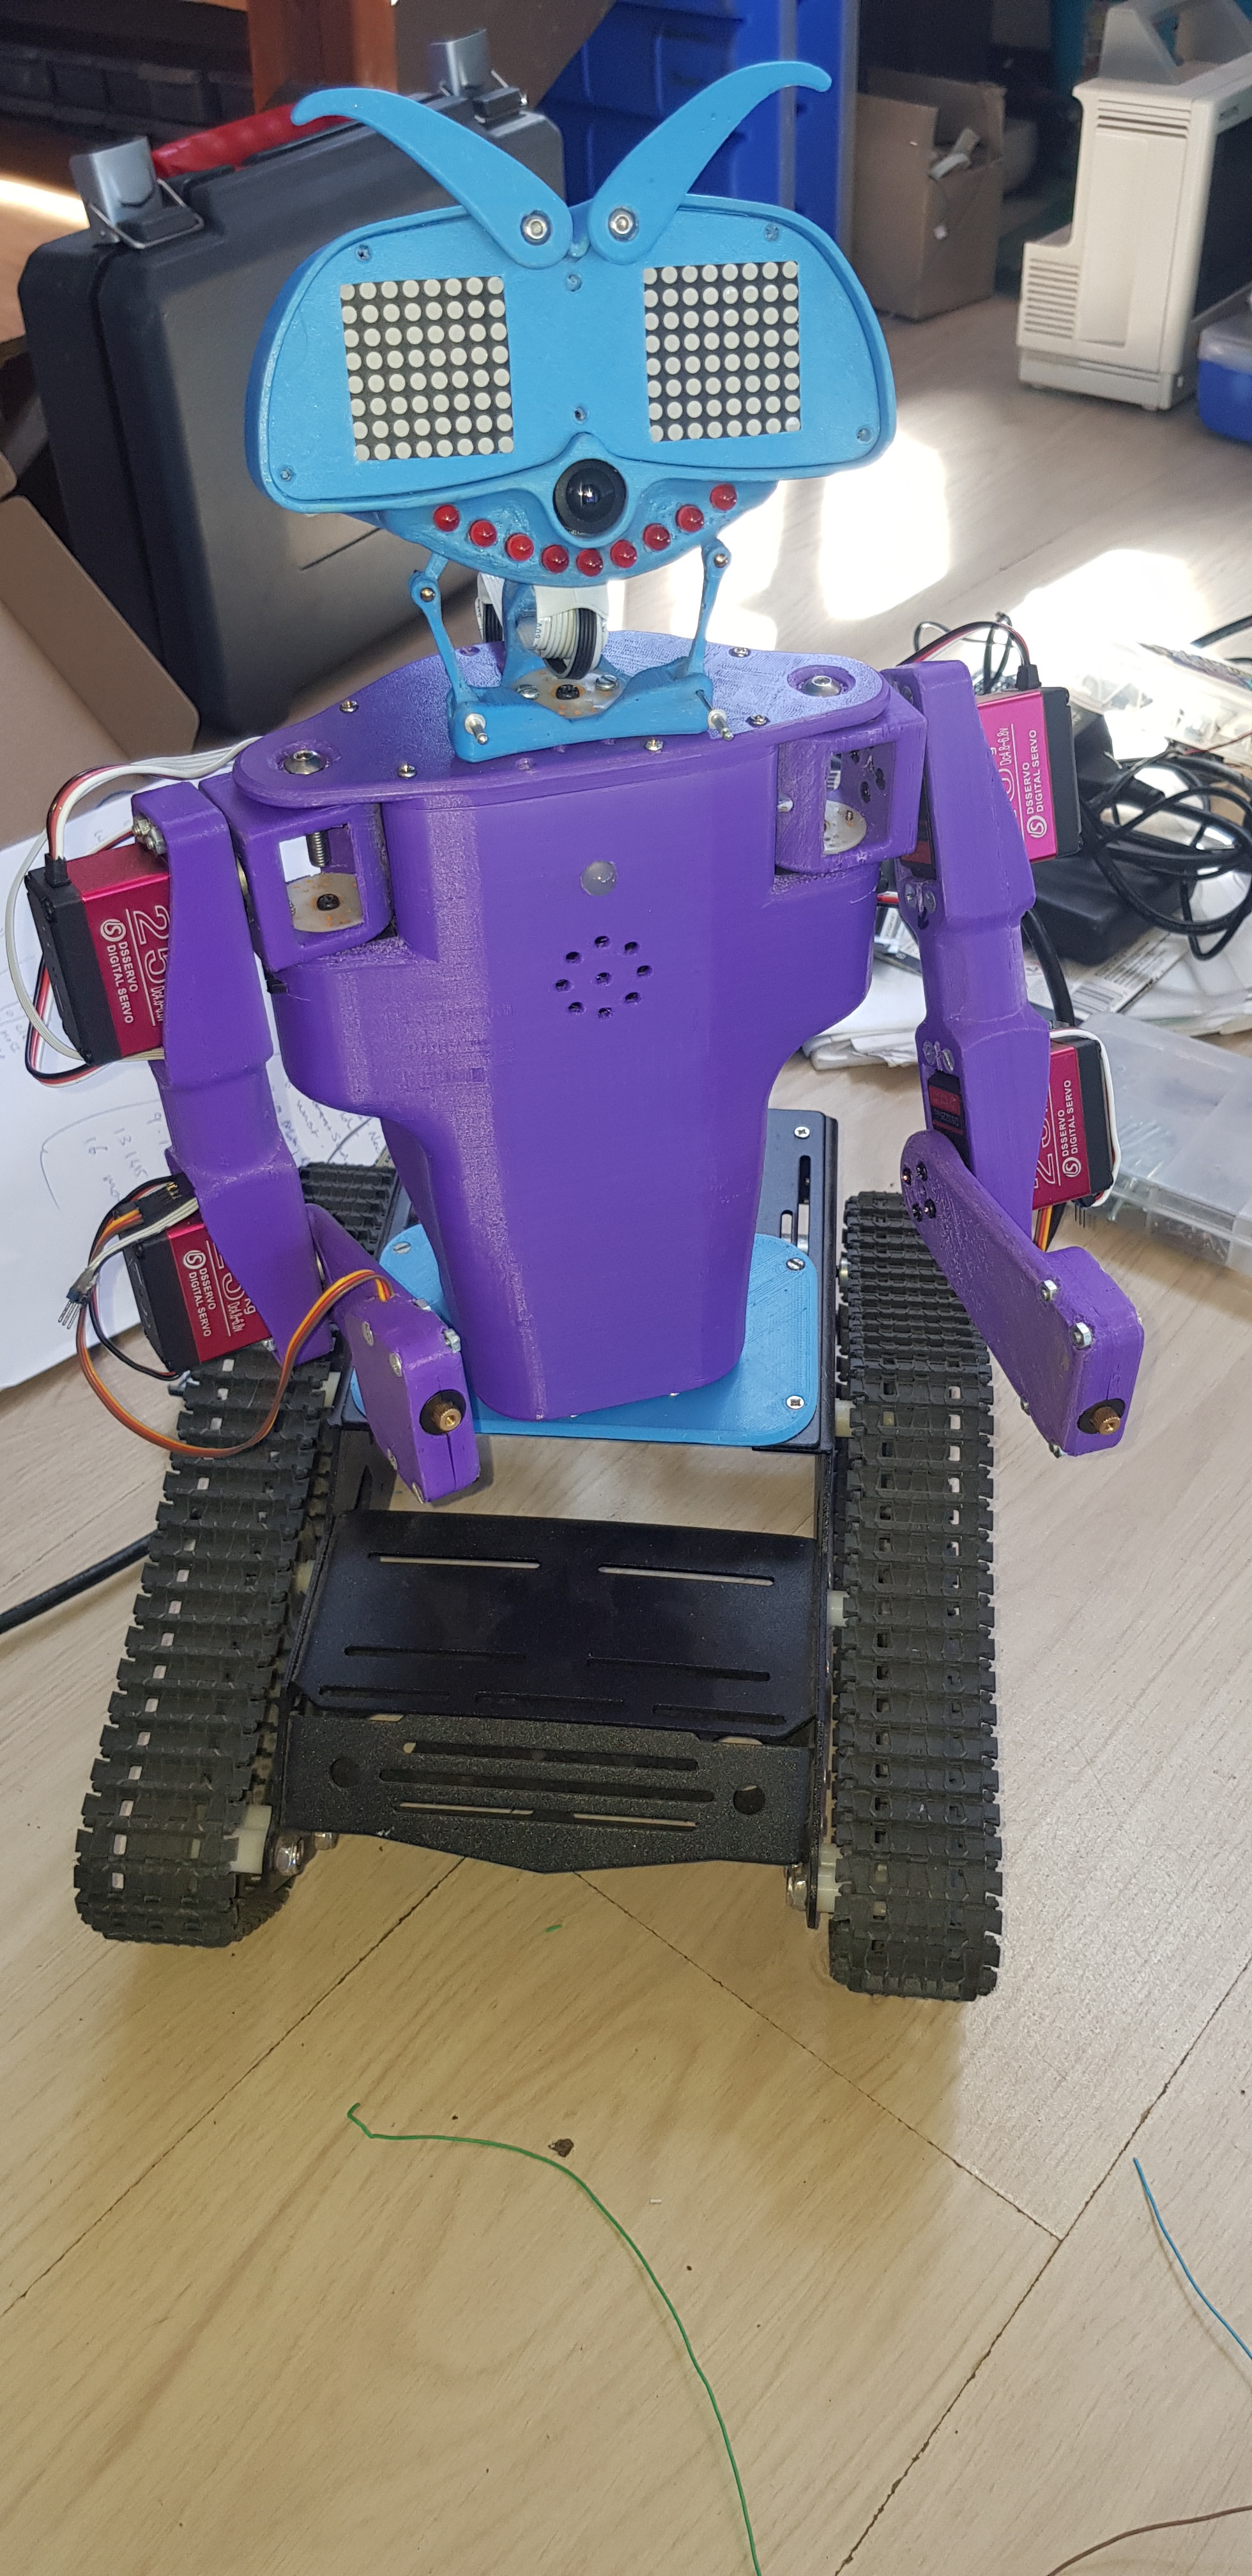
You said “Program mouth LED’s to be voice activated”.

I think what you are asking for is for the mouth LED’s to be sound-activated so that when the device makes a noise - or says something - the “mouth” LED’s flash or move in a pattern timed with the sounds the 'bot is making.  Right?
 

If I could be so bold as to suggest a plan of action, I would suggest collaborating with your daughter and categorizing the tasks you want to complete first by how critically important they are, then by difficulty from simplest to most difficult, so that the simplest most important tasks get done, then more complex important tasks, etc. eventually getting to tasks that are not critically important and/or are unreasonably difficult.

Since it’s not possible to do everything immediately, the two of you need to triage by what’s most important to least important and by simple to complex.  This way, you get the most critical tasks done, and as many of the less critical, but relatively simple, tasks done as well.

Another thought is that the two of you might want to step back a few steps and look at the overall goal - which if I am not mistaken is to get the 'bot to a state where the daughter can begin to play with it.  Right?

You may want to complete the 'bot to the point where the daughter can play with it, even though it may not be totally complete or fully functional in the absolute sense.

Then, as the daughter and yourself become more familiar with the hardware and software, you can collaborate on what, when, and how, to finish the parts that remain to be done.  Maybe the mouth, or even hands, are a “nice to have” but not absolutely critical.  This is a design and implementation decision that you and your daughter can share.

Assuming that your daughter has/wants a software/robotics/Engineering career path in her future, this kind of design review, triage, and rearranging of project priorities as the project progresses will be great “real world” project management experience for her.

If she comes out of this with her sanity - and sense of humor! - intact, she’s a definite candidate for that Ph.D. thesis!

Keep the news coming!

1 Like

Update:

The new version of Dexter O/S (now called GoPiGo O/S), is officially live and is infinitely better than the older Dexter O/S releases.

If you’re using the Dexter O/S, go download the update.

Note that because it’s such a large jump in functionality, not to mention being based on Raspbian Buster, you cannot simply update in-place. This requires a complete re-flash to a new SD card.

1 Like

What an awesome robot you got there!!

As it is, the second pivotpi cannot be controlled via Scratch. If you’re willing to run untested code, I can probably get you something this upcoming weekend.

2 Likes

Are there any hardware diagrams or schematics for the Pivot-Pi?

What’s available here: