Revision 1.1
- Removed reference to objection #3 as adequate charging instructions are provided.
Executive Summary:
The Modular Robotics 12v Lithium battery pack is an especially useful addition to any robot adding a convenient on-off switch, a “charge remaining” indicator, and a long running life. It’s long running life, and (relatively) short charge cycle of six hours, makes it ideal for classroom use.
Certain features of the current version of this battery, (which are markedly different from the original battery holder), may affect how and where you place it on the robot.
===========================
Greetings!
I was recently blessed by the folks at Modular Robotics who decided to send me a few of the new Lithium battery packs as an experimental shipment to Russia.
Having received them, I feel that it’s time for one of my (somewhat) famous “Product Impression” postings.
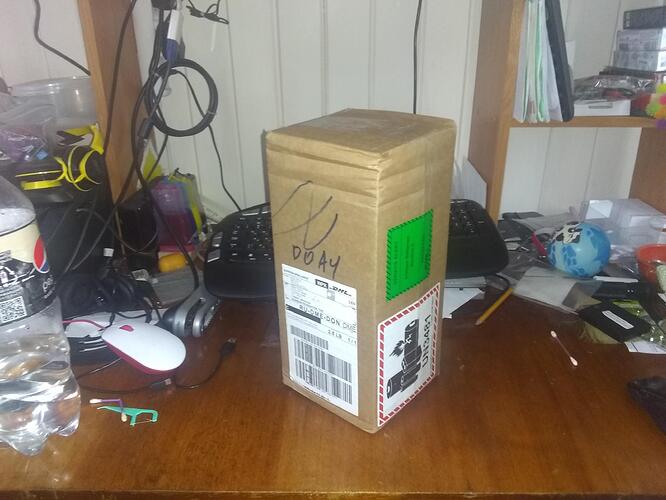
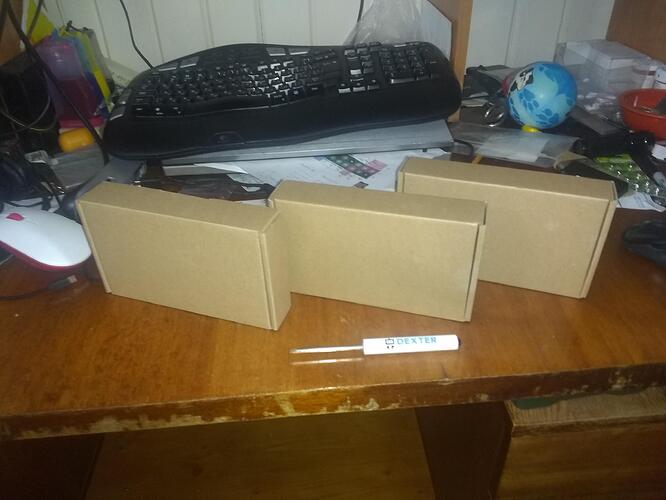
First of all, the batteries were received in good condition.
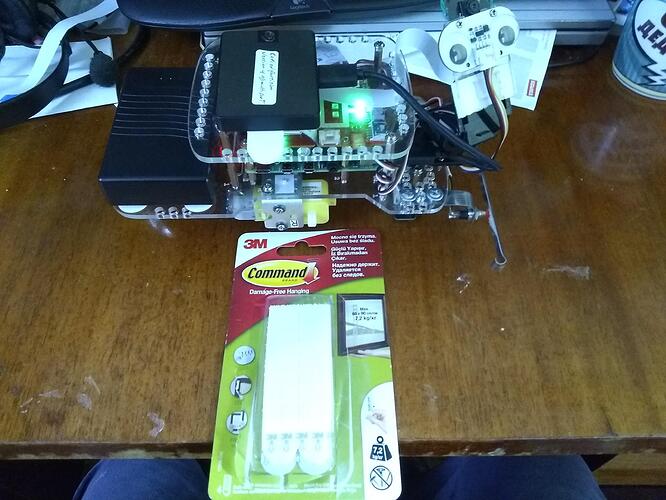
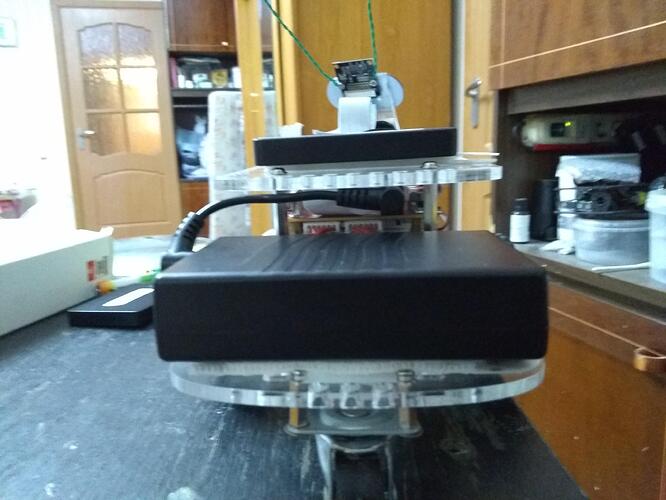
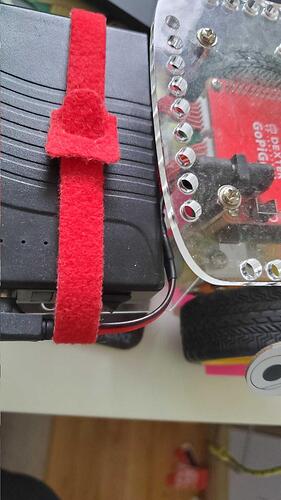
And here is a picture of Charlie with his SSD mounted on his back and the new battery on his back shelf.
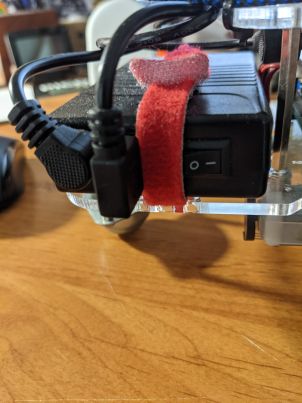
The “Command” strips are how I attach things that I want to be removable. They have a fierce “Velcro-like” fastener on one side and a semi-permanent foam-tape adhesive on the other.
Comments about the batteries:
What I liked about them:
- Assuming that the specs as published by Modular Robotics are reasonably close to accurate, (I have not yet tested their run time myself), they should last a while.
- With a rated six-hour charge cycle, these batteries recover from a “fully discharged” state about twice as quickly as a set of NiMH batteries which have a “from fully discharged” charging cycle of between 12 to 14 hours.
- If you don’t have a 12v adapter you can attach the robot to when doing development or testing, having a couple of extras will ensure you always have a fully charged battery available.
- They already beat the pants off of the NiMH batteries I was using as the batteries hold a charge much longer than the AA size NiMH batteries I have.
- Note that the AA batteries I have are not necessarily bleeding edge chemistry like the Panasonic batteries are, but they were a lot less expensive too. . .
- They have an on-off switch.
- This is especially important as the GoPiGo-3’s controller board draws power even when “turned off”. This prevents the 'bot from draining your batteries when not in use. Previously I had to physically un-plug the batteries to prevent them from draining.
- They have a built-in “power meter”.
- This is also very handy as you can get a relative degree-of-charge indication.
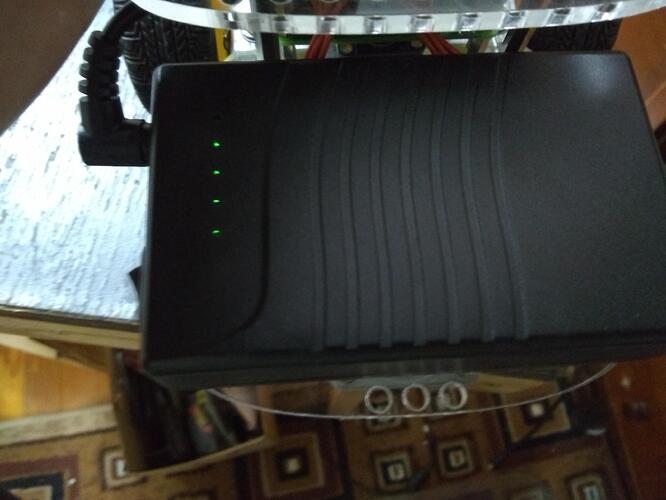
- There are five lights lit when it’s fully charged, but I’ve used this one for a while, so it’s down to merely “four” lights. My old NiMH batteries would be begging for mercy by now.

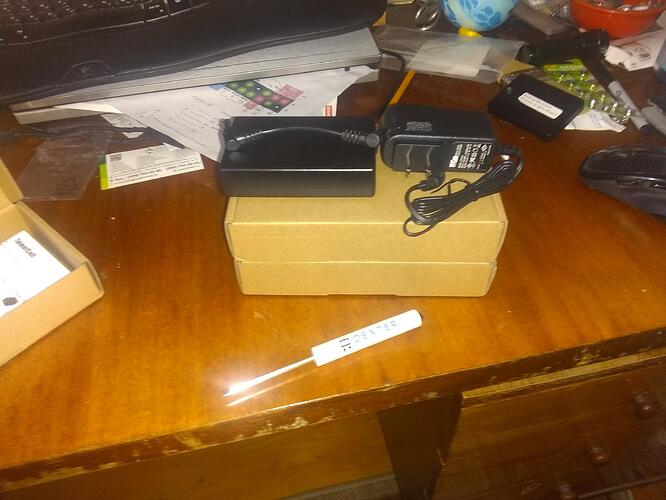
- The power-brick that is provided for charging is included with the battery, which is unusual as many battery manufacturers sell the charger as a separate item.
- The power-brick is a universal power adapter, working equally well on either 110v or 220v mains power. This means you can take your robot, batteries, and charger wherever you may want to go. The only down-side is that the mains power plug is a permanently attached North-American, (blade type), power plug so users in places other than North-America will need a mains power plug adapter.
Things I didn’t like:
- First and foremost - the power cord is too short.
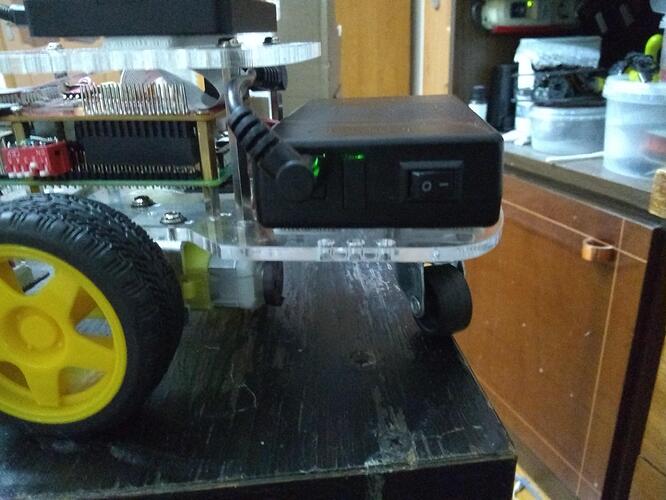
- Here you can see that it barely, just barely, reaches from the side of the battery to the power connector.
- If I try facing the battery “the other way around”, the mounting post for the top acrylic panel prevents the plug from being inserted.
- If the design of your robot is such that you want the batteries on the top instead of the back, the cord won’t reach.
- Placing the battery as shown, the cord just barely reaches the side of the battery. You actually have to both pull and twist to get the cord attached unless you remove the battery first. This places strain on the power connector cord that worries me.
- The cord is a right-angle cord at both ends.
- The GoPiGo’s power connector is a non-trivial distance from the edge of the connector, which complicates things when using this cord.
- The original power cord was a relatively long barrel connector with the cord coming directly out the back. This made the cord and connector easy to grasp and remove even with the connector considerably behind the edge of the acrylic.
- The cord for the new battery, with the right angle connector, is extremely difficult to remove because it sits so far back behind the acrylic edge. (As in “removing the Pi’s SD card” difficult.)
- I actually expect to have to use a tool to remove the power connector when I decide to plug Charlie into “ground power” for extended development sessions.
- The right angle connector itself creates problems because it interferes with the stand-off post next to the power connector unless faced to the left.
3. There are no charging instructions for the battery as received.
Update:
A closer inspection, (in better light!), of both the instructions and the label on the bottom of the battery contain clear instructions for charging the battery and how the various indicators indicate end-of-charge.
Annoyances:
(Things that would have been nice, but aren’t a reason not to get the battery.)
- The battery is not the same size and shape as the original 8-cell AA battery pack. Depending on how you attach it, it either prevents you from using the Velcro battery strap, or it sticks way out past the end of the robot.
- I don’t know if the newer versions of the GoPiGo will have a different way of attaching the battery or not. I ended up using sticky Velcro strips on both the chassis and the bottom of the battery to hold it in place.
- The battery is lighter than the original battery pack. Depending on how you have your 'bot configured, and where the 'bot’s center of gravity is, it may have a tendency to tip forward.
- In my own case, and in the more typical configurations, the robot is still rear-heavy enough to not tip forward when standing or coming to a rapid stop. However, the change in weight is something that should be noted and accounted for.
- The battery is much wider than the original 8-cell battery pack. This prevents you from using the mounting holes on the sides or back edge of the rear of the 'bot for anything without sliding the battery pack a significant distance to the side.
- The batteries come with a North American power plug, though the adapter is 110/220v rated. The absence of other power mains plug configurations makes this battery more difficult to use in places other than North America.
- In Europe, I am using it with a blade-to-pin-plug adapter, which is doable but inconvenient.
Overall impression:
The idea of a long-life rechargeable battery pack is an excellent one, especially for classroom or serious hobby use, as the original battery arrangement was woefully inadequate without super-premium cells which are a significant expense. Based on the limited experience I have had with it so far, I expect it to considerably outlast the original NiMH cells I had in the original 8-cell battery holder, both in run-time and useful life expectancy.
If I were buying the GoPiGo robot for classroom use, I would seriously recommend using this battery both for the extended run-time and the rapid recharge cycle time.
Unfortunately, this excellent idea is considerably diminished by the extremely short power cord which prevents you from choosing alternate battery mounting configurations based on design or need. (The previous battery pack had a long enough cord to allow several alternate positions and configurations.) Likewise, the fact that the battery cord’s connector that fits into the GoPiGo controller board is both short and a right-angle makes it virtually impossible to use without tools.
This is partially mitigated by the fact that the barrel connector is a standard size often used for 12v adapters and the advanced user can either modify the existing cord or fabricate a custom one of their own using off-the-shelf parts.
Recommendations:
- Make the power cord at least 50% longer.
- Make the one end that plugs into the GoPiGo controller board a straight barrel connector instead of the right-angle connector currently there. Note that the end that plugs into the battery is a right-angle connector and should remain so.
- If you plan, or desire, to sell these battery packs to places outside of North America, they should have either different power adapter versions, or replaceable mains plugs for the adapter itself, to correspond with the various power receptacles in different countries/regions.
4. Make sure adequate charging instructions are included with the battery set. - (Nice to have) Include the “Y” charging adapter with the battery so that the battery pack can be charged without removing it from the 'bot.
What say ye?
