Back to the Gazebo environment. Pretty straightforward. The sample files from the book are copied in, so that saves a lot of typing. It’s worth reading through the launch files, etc. to understand what they’re doing.
Note that if you’re using the book’s files, when you run the rviz launch the first time you won’t see what’s shown on p 258, but rather what’s on p 263, since both models are already included.
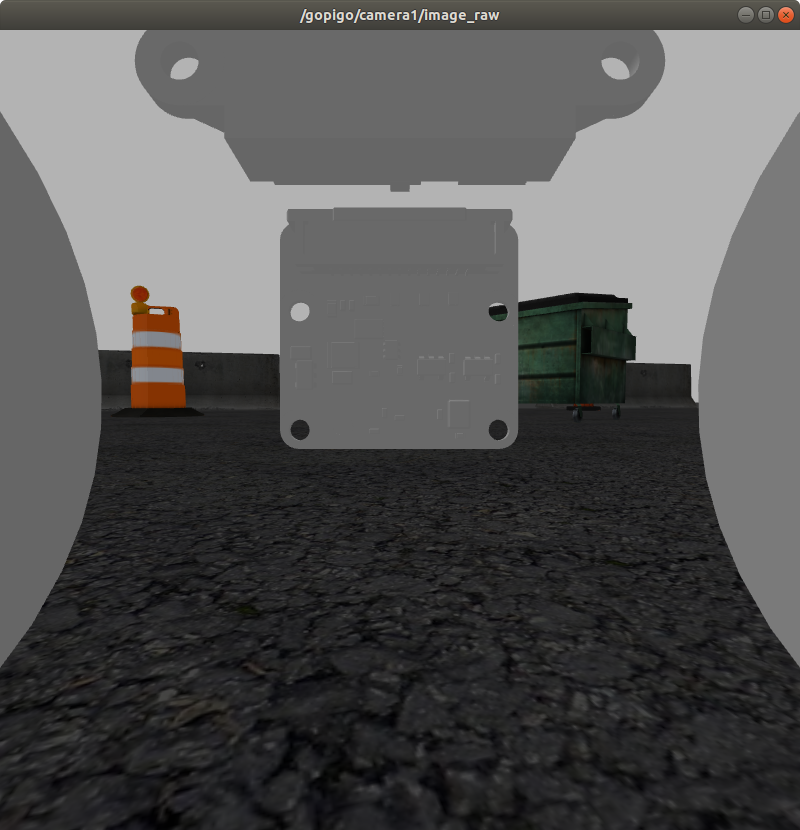
One thing that is confusing is why the camera and the distance_sensor_solid have their origin at the robot’s origin (base_link). It’s pointed out that if you do that the solid model will block the sensor rays, so you have to build a separate sensor from the visual model. But with the camera at the origin, you also get the view blocked (that’s show in the pictures, but it’s a little hard to see. Here is a better picture:
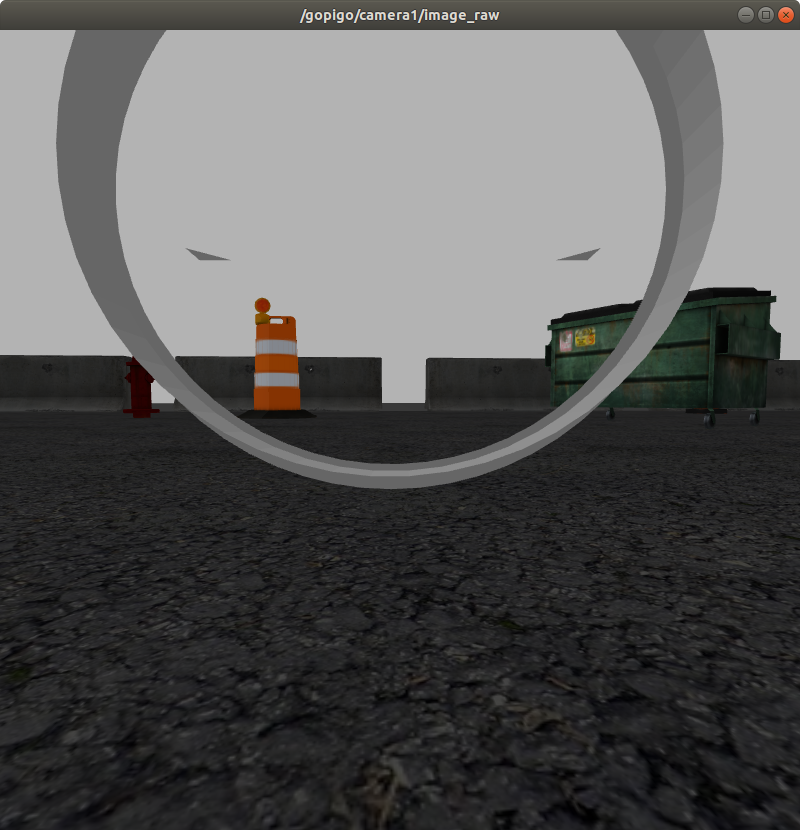
This really annoyed me, so I played around with moving the origin (learning a fair bit about how the urdf works. If you move the origin of the joint, then you have to also change the coordinates for the visual, etc. I ended up just moving the camera joint to where the visual link had been located. Still get some obstruction from the virtual lens housing, but still a better picture I think.
I’ve attached my version of the gazebo file. I’m sure I could get rid of the rings, but would have to tweak where the visual is located with regard to the joint, so I didn’t bother.
If you want to use the modified gazebo file, be sure to first save a copy of your original so you can revert back, and then change the filename on the modified file.
Also note that on p264 the topic isn’t “/gopigo/distance_sensor” but “gopigo_distance”.
More to come as I get into the Navigation section of the chapter.
/K
The URDF snippets in the book vary a bit from the file that is downloaded. One big difference is that the downloaded file version is half size in each dimension (so 1/8 volume). I’ve been using the downloaded version.
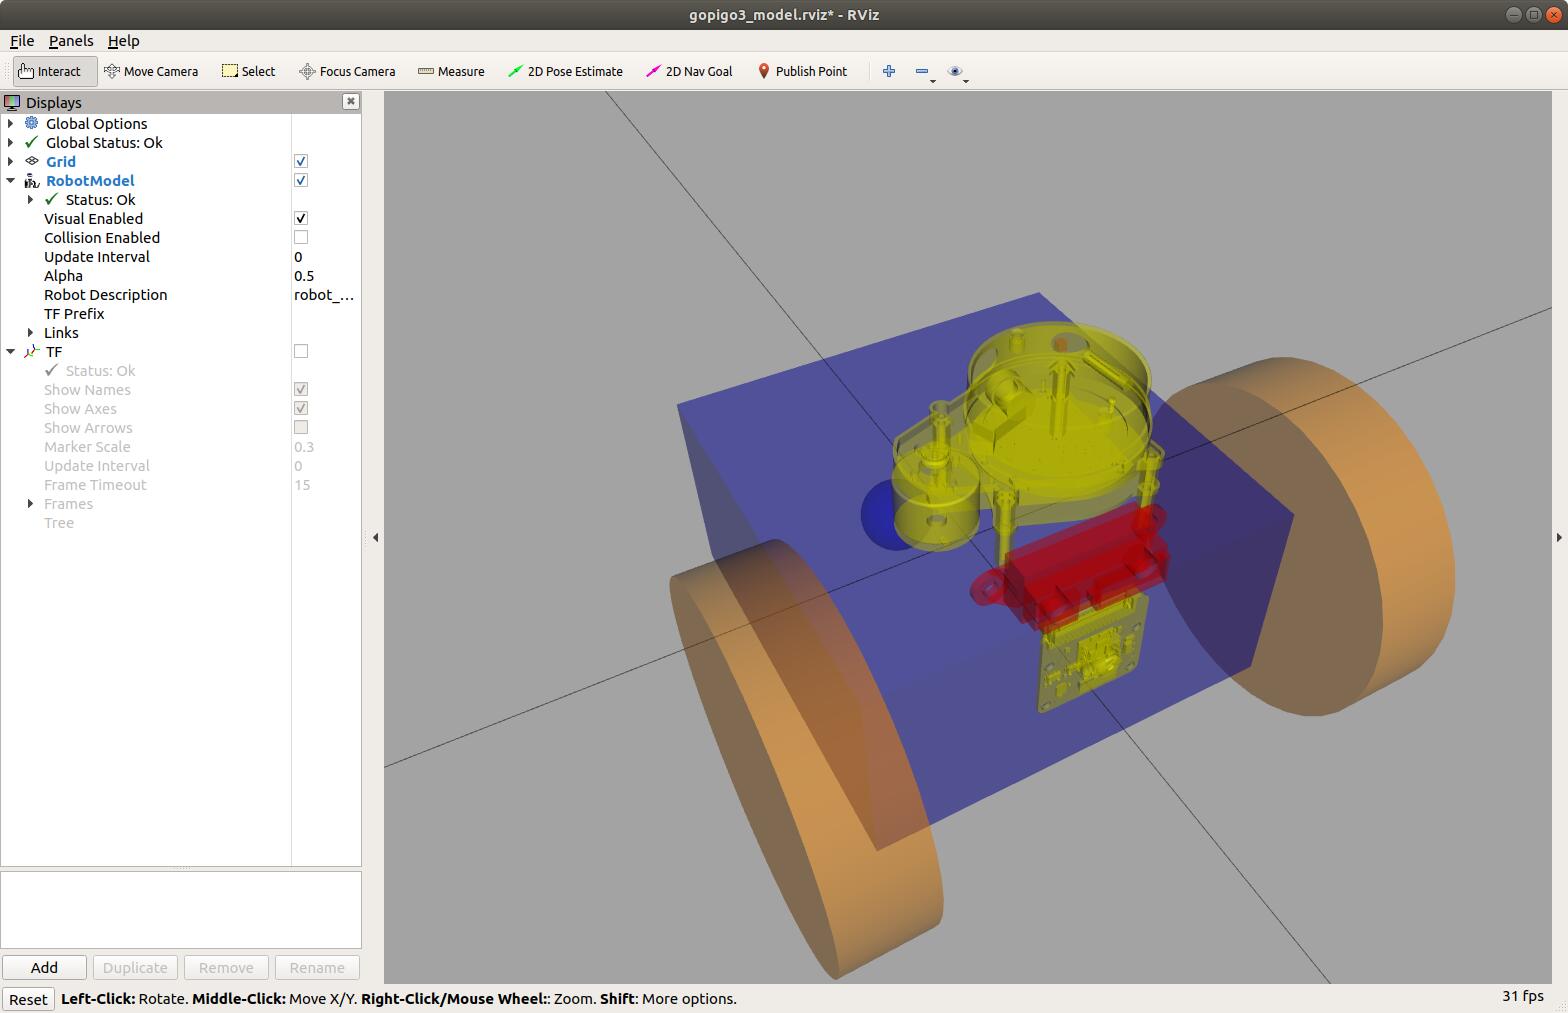
The downloaded version from GitHub does not have the “support” section mentioned on p267. But the model seems to work OK. It does look a bit different from the images in the book - the LDS is rotated 90 degrees.
Note that the LDS is half buried in the robot body. I played with this, but it didn’t actually seem to make a difference - the scan appears to be coming from just above the image, so it actually clears the wheels and distance sensor, even though it looks like it might not. I didn’t mess with the distance sensor, but did tweak the camera as before (accounting for scale), which seemed to work (although there aren’t any visible bits of the camera, so I need to go back and double check why). I’ve attached the modified gazebo file I used. For p 272 note that the scan is actually being published on the “/scan” topic, not "/gopigo/scan. I don’t yet know if this will mean tweaking upcoming scripts, but something to be aware of.
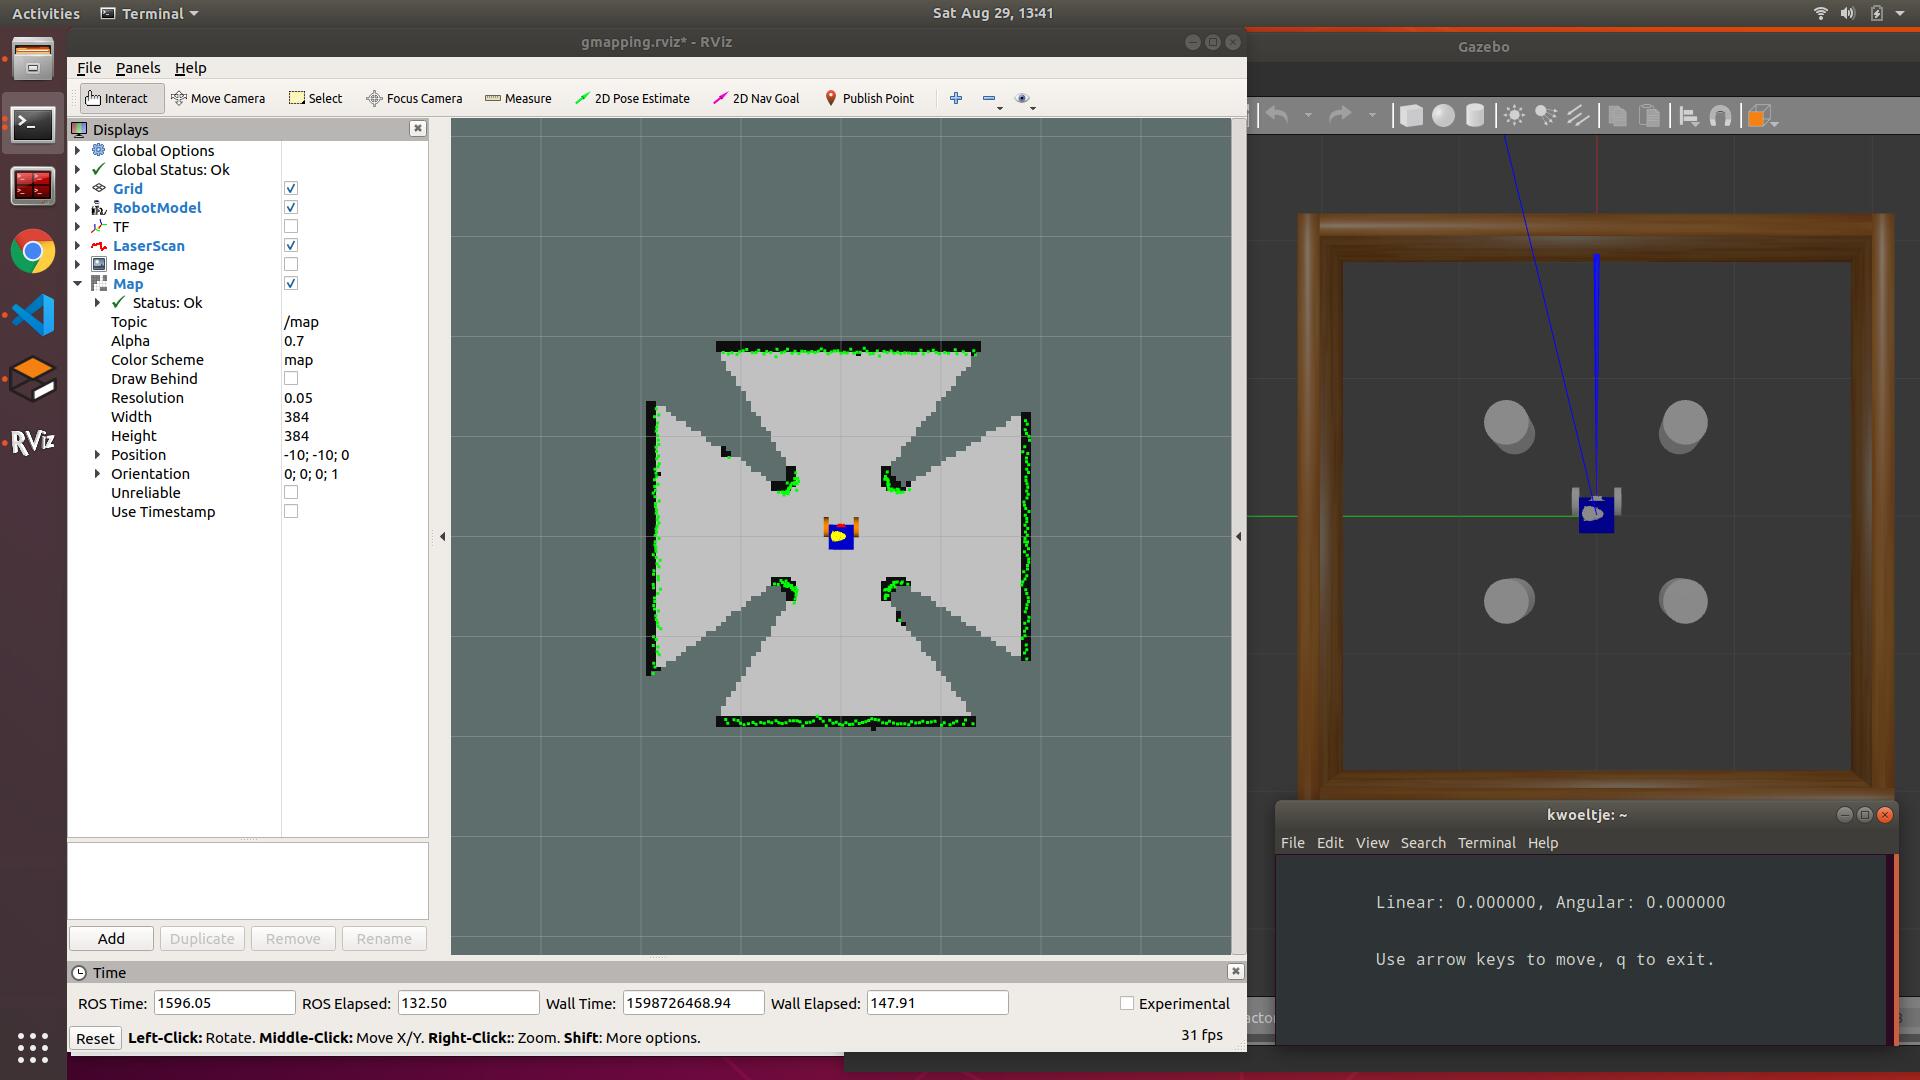
For the original wanderAround.py program, the robot gets trapped int the corner pretty quickly. It’s actually fun to tweak the different parameters to change behavior - I ended up slowing down the initial turning quite a bit, and made turns when sensing an obstacle much more dramatic. Depending on the settings it can escape or get stuck (I’ve yet to tweak it so that it never gets stuck - may not be possible without adding additional code, or maybe I just haven’t given it long enough to get unstuck). I’ve attached my latest version, but it keeps changing. Run it both with and without the laser scan visible - it’s interesting. Also don’t forget you can have a camera view showing like you did before.
Another thing to note - in order to stop the python program Ctrl-c doesn’t work. Ctrl-z will stop it, but it’s still in the background. On my laptop I’m running Ubuntu - the best way to stop the program is Ctrl-Shift-\
The robot does seem to oscillate a bit side-to-side. I think it’s just the physics modeling on the rough surface, since there’s nothing in the code per se that would make it do that.
The book’s instructions were fine, and the positioning of the LDS didn’t seem to be a problem. The only error I found was towards the bottom of p280. The command for launching the world to try out navigation should be:
You have to specify the world like you did on p277. Navigation was a bit slow, but it did run.
I tried the exercise mentioned on p278 to map the larger world. It proved to be an exercise in frustration. At least for me the key_teleop.py program didn’t work very well. When I’d try to go straight the robot would swerve left or right, often dramatically. This made it hard to aim and keep straight, so I couldn’t effectively drive to build the map. I also installed and tried teleop_twist_keyboard with no better results. No angular messages were being sent by key_teleop, so I’m really guessing it’s an issue with the simulation. I decided not to waste more time on it, so just be aware.