Navigation: Are we missing something? Are we making things more complicated than we need to?

Continuing the discussion from Finally, GoPi5Go-Dave Navigated Away From Home:

==================================

I don’t have “stereo depth perception”, yet I can navigate.

================================

There’s the argument that “We got to the moon using computers less powerful than a HP programmable calculator” with the implication that this kind of stuff is easy.

The reality of the space program is that we didn’t get to the moon using computers “less powerful than a HP programmable calculator”.  We got to the moon using a custom computing cluster infinitely more powerful than even the supercomputers of today - a network of human minds providing real-time analysis and control - both in space and on the ground.  The “computers” of the day were - essentially - the equivalent of programmable calculators that did the data pre-processing for the computing cluster of human minds.

AI is interesting.  However the most powerful and real-time adaptable computer is still the human mind.

=============================

However, (seemingly in contradiction of the above), I’m wondering if we’re not seeing the forest for the trees.

I had a friend who wrote a software plotting package[1] that could create, draw, and rotate a 3-dimensional wire-frame model with a point of view that could move and rotate anywhere within the field of view of that object.  More important, he did this with an Atari 8-bit computer that had limited precision trig, 64K of RAM, and was slow as molasses in February.  (8 MHz clock)

He did this by reducing the complex trig to simplified integer arithmetic in a way I don’t remember nor did I understand it then, but I do remember it was absolute genius.

I’m not claiming to be a genius, but this makes me wonder:
Are we missing something?  Are we trying to do too much with the limited resources we have?  Is it possible to simplify the model in such a way that, though it might not be able to do incredible mapping and such-like, it appears to be able to do the incredible mapping?

Super 3D plotter took advantage of the fact that the Atari display, even in its highest resolution modes, had a limited resolution that was less precise than the mathematics.  As a result, he could simplify the mathematics to match the limited resolution of the display and use that to produce the effect of higher resolution mathematics.

Can we do the same thing with the GoPiGo-3?  Can we use the processing capabilities of the human mind to “simplify” the process?  Instead of trying to duplicate the processes used by the human mind, can we simplify the process so that we get the same effect - even if not so precise or technically clever and accurate?

What say ye?

=======================

  1. It was called “Super 3D Plotter”.  It has since been released to the 8-bit Atari “Pool Disk” CD, (an archive of Atari 8-bit software from that era), and you might be able to find it on-line if you look for it[2].

  2. Atari 400 800 XL XE Super 3D Plotter II : scans, dump, download, screenshots, ads, videos, catalog, instructions, roms
     
    Pool Disk Too (Disc 2) : Bit Byter User Club : Free Download, Borrow, and Streaming : Internet Archive
1 Like

@cyclicalobsessive
Maybe I should set my display project aside and take a crack at ROS and/or navigation using the GoPiGo-3 O/S?

Display feedback is interesting.  Navigation sounds even more interesting now that I am really thinking about it.  But only if you’re willing to help guide my way through the maze of ROS, etc.

Here’s a thought:
It might be interesting to simplify the navigation process to its fundamentals:

  • Is it a door, a wall, or some other kind of obstruction?
  • If we find a door, and if we navigate through it, can we “remember” both the door and the order we went through it if there’s more than one door?
  • If a location has more than one door, can we remember which one we went through?
  • If we have a defined “home” position, (some kind of light signal?), can we find it after we’ve navigated through the first door in the other direction?
  • Can we use a database that contains path information to keep track of where we are?[1]

Here’s my idea:
In order to navigate from here to there, (Worcester Ma. to Daytona Beach Fl.), it is not necessary to have a detailed map of the entire trip.  It is sufficient to know the path you take to get from here to there.

  • Local roads to interstate 190/395 south.
  • Interstate 395 south to Interstate 90 west. (the Mass Pike)
  • Interstate 90 west to Interstate 84 toward Hartford Ct.
  • Interstate 84 toward Hartford Ct. to Interstate 91 south.
  • Interstate 91 south to route 15 west, (the Wilburcross and Merrit Parkways)
  • Route 15 west to route 8 south toward Bridgeport, Ct.
  • Route 8 south to Interstate 95 west, (it says “south” but actually is travelling west), toward NY.
  • Interstate 95 west (south) through NY/NYC to the George Washington bridge.
  • Continue to the New Jersey Parkway south, (also Internstate 95 south), toward Deleware.
  • After reaching Deleware, continue on Interstate 95 until you reach Florida.
  • Continue on Interstate 95 until you reach the exit for Daytona Beach.
  • Continue on that route until you reach the city of Daytona Beach.

IF
You want to actually continue to the beach and/or find a beachfront hotel.

THEN

  • Continue until you cross the Intercoastal Waterway and reach US Rt. 1
  • Turn either right or left on US-1 depending on where you want to go.

All that is necessary is to remember the path.  Navigating the path doesn’t require a detailed LIDAR map of the entire east-coast of the Unites States.  As a result, the dataset is much smaller and easier to traverse.

Extra credit:
Be able to name endpoints and/or points along the path so that the robot can follow the remembered path to that location.

What say ye?

==================== Footnotes ====================

  1. There is the problem of “knowing where you are” if plopped into a location that’s not the defined “home” position.
     
    This can be solved by the simplifying assumption typified by being transported bodily to somewhere else - you ask where you are.
     
    With that knowledge, you can determine your relative position with respect to everything else.
     
    Note that it’s not necessary to know your exact position with 20 digit accuracy; it is sufficient to know where you are with respect to your goal.  Knowing that, you proceed toward your goal, refining your position by the use of landmarks/signs as you proceed.
     
    Viz.:
    • Where am I?
      • [Answer]:  Kansas City.  [Current location = “Kansas City”]
    • [Database query]:  Where is Kansas City with respect to Virginia Beach?  [Goal = “Virginia Beach”]
      • [Database response if known]:  Virginia beach is east of Kansas City.
        • [If exists]:  Pointer to database entry with the path to Virginia Beach.
        • [If not exists]:  Travel east and create a database entry with the path you take to Virginia Beach.
      • [Database response if not known]:  Ask for directions.
        • [Answer]:  Virginia beach is east of Kansas City.
    • [Database query]  How do I get there from here?
      • [Database response]:  Travel east.
    • Therefore I have to travel east until I either reach Virginia Beach or find a sign telling us to change direction.
      • If I become confused I repeat the process of asking where I am and, (if necessary), how to get to the goal from here.
1 Like

Only if you find that this code generates the wrong quaternion, fix it, and prove your GoPiGo encoders can dead-reckon with your equation to be off by less than a meter and less than 15 degrees when return to your start point. (The create3 could dead-reckon around my house to under 200 millimeters and under 5 degrees, BTW.)

1 Like

First the GoPiGo3 cannot reliably follow a path more complex than a black line painted on a white floor. After commanded to drive straight for 2m, the GoPiGo will be 10cm from where it thinks it is, and several degrees off the original heading. After the “dead-reckoning path plan” includes “turn 37 degrees, then drive forward 2m”, the robot will be another 5 degrees off in heading and will crash into the open door of the doorway it was supposed to pass through.

I am not interested in finding fragile, human tuned paths. The robot needs to “find its way on its own”. “All that is necessary” has been figured out by the ROS2 navigation “god” and it is an ungodly amount of math, and software, combined with more accurate sensor information and better compliance to the planner’s commands than the GoPiGo3 can muster. (Create3 fuses wide-set, sticky wheels, with 300% more encoder ticks, with IMU turn information, with an optical floor “mouse” to create it’s dead-reckoning odometry for input to the ROS 2 local and global planners.)

The GoPiGo3 is an excellent educational robot, and even can be used as an introduction to the basics of ROS. It cannot be a general purpose ROS platform for continued study in complex environments. (By me.)

1 Like

Where can I buy that “self-learning, reasoning, vision processor “ between your ears that runs on 5v and fits in 25 cubic cm?

(Not the obstinate version that thinks navigation is easier than I think it is, though)

1 Like

My next question is “now that I have it, what do I do with it?”

I installed ROS via your ROS installation script on top of your GoPiGo over Bookworm installation script that I previously installed.

It passes the (very elementary), test script.

What do I do next?  How do I “run” ROS and make it do things?

At least from the desktop, I don’t see any kind of interface to ROS or ways to make it do [something], aside from running a normal Python script that uses the GoPiGo libraries.  (My “test_servos.sh” python script runs wonderfully.)

Should I assume that what is called “ROS” is simply another set of libraries that overlay the original GoPiGo libraries that you call to do things? (or start as system services?)

1 Like

My thinking here is that, supposedly, the GoPiGo software can run [at least a limited version of] TensorFlow, and can recognize things.  (i.e. “This” is a “door”.  “That” is a “chair”.  Etc.)

https://forum.dexterindustries.com/t/tensor-flow-lite-on-gopigo-fun/7907

If it is possible for the image recognition software to know if the object is centered in its field of view, (and which way it’s offset if it’s not), it should be possible to re-center the robot by adjusting the direction of travel until it’s re-centered.

Maybe I should research that?  Or continue with ROS over Bookworm as installed?

Isn’t that a calibration issue?
As I remember there are three parameters:

  1. Wheel diameter:  (How many revolutions = 2 meters.)
  2. Wheel-base distance:  (How many revolutions in opposite directions makes a 360° revolution.
  3. Wheel-motor offset constant(s):  (Hidden - defines the ratio of the power to each wheel to make them spin the same amount when driven.)

I have not researched this to any realistic extent, but it seems that the robot being calibrated in all three ways, (and repeated until they all don’t require additional calibration adjustments), is a prerequisite for any kind of accurate motion, (odometry).

I would also suggest that by using my model accurate odometry isn’t really necessary since the robot would be navigating by pilotage, (the presence of visible waypoints), instead of dead-reckoning, (calculating where you are based on your previous movements).

Even when flying a plane, “dead-reckoning” is always much harder than pilotage, and is often backed-up by the use of waypoints, either visual or “virtual” points on a chart, and indicated by beacons.

As is known in flying, and as you discovered with Dave, the enemy of dead-reckoning is “drift”, caused either by winds aloft or by errors of calculation caused by the inevitable instrument errors.

Part of the navigation equation has to be measuring drift dynamically, (while travelling), and correcting for it.

1 Like

Reflash that card! “Follow the yellow brick road” at :

1 Like

I tried installing over the Bookworm image using your ROS over Bookworm script, re-using the bookworm image on my SSD. . .

I’ll flash the card, get it running, and then copy it to my SSD where it will have some breathing room.

1 Like

Yes, the TFlite YOLO v4 model will recognize over 80 objects - like the bicycle and automobile in your living room, or the banana when you get close enough to it to fill 300x300 pixels. The model will think it sees chairs all over your home with 60 to 95% confidence. I tried it - it works just not reliably or accurately for general purpose navigation. You could figure out a fragile, one off technology demonstration but the robot cannot do it.

The research on visual waypoint navigation concludes you should paste ARuCo markers all around your home, and write custom navigation code knowing where the markers are.

I spent weeks on my wheelBaseRotateTest.py and wheelDiaDriveTest.py programs (both included in systests/gpg_config/ on the ROS2-GoPiGo3 image and found a sweet spot of 150 degrees per second to minimize the errors on the wood floor of Carl and Dave’s office home. As soon as they fly over the humped floor junction strip and land on the rough tile squares with 3/8" grout dips every 18 inches, all the calibration was for nought.

Yes, a smart robot would notice there are lines in the wood strip floor, and lines in the tile floor that could be used to correct the heading accuracy, and even allow a “custom local planner” to run under the ROS global planner, but that is a project for a PhD robotics candidate, not me.

Built into the ROS 2 navigation package, BUT it needs something that reliably tells the truth. LIDAR will tell you distances to non-black, non-reflective surfaces, (well there are those constant nasty randomly occurring in the 360 degree scan, zero distance readings ) and the ROS 2 navigation package can deal with some level of missing data and variance if the target environment is regular, like flat walls. but introduced cabinet doors with non-flat surface, and round corner furniture, and planar data that cannot detect 3D obstacles above and below the plane.

AND I told you - I don’t want to write it, I want to use what someone else wrote. Turns out I needed to use their sensors and their environment in order to use their software.

1 Like

Waste of time - play with the flashed image till you get as far as desired on the yellow brick road, and then wipe ROS from your mind and robot.

Setting up a desktop ROS environment to run the rviz2 visualization application would be a replacement for your joystick web browser, that will display your camera, allow you to send driving commands, and visualize the robot track all without a certificate, but really - it is ROS and ROS is just not the place for us.

1 Like

Well. . . .

Having found that I managed to (partially) nuke one of my robot’s controller boards working with the display stuff, I’m a bit down on display testing right now - so I figured this would be a good time to try some of your stuff - trying to come up with some kind of navigation package that would be a simplified version of the map-everything-within-twenty-miles paradigm that seems to be the rage in ROS-land.

It’s a known thing that we don’t have a quad-Nvidia-Xavier cluster to run ROS on, so maybe we can do something a bit simpler?  I don’t have all the fancy stereo cameras and LIDAR equipment you have, (and I’m not running the Pi-5 yet), so I thought I’d take a crack at it in my own, simpler, environment.

The idea there being that the SSD is much faster than the SD card and - running on an 8g Pi-4, it will want all the help it can get.  And putting an image on the SSD isn’t any more complicated than re-configuring ROS every five minutes.

Let’s see what happens.

1 Like

Neither the disk speed, nor disk space, nor the memory, nor the processor speed are a limiting factor - especially in your case not running a LIDAR or the Navigation package. Your processor will probably not see a load over 25%, ROS memory use around +300MB, and logs perhaps 100MB disk space.

1 Like

Downloaded and installed.

Now, how do I configure it? (i.e. wifi, etc) as it’s been a long time since I ran without a desktop.

I ended up using a hard wired network connection as I don’t remember how to configure wireless.

I updated and it downloaded almost 600 updates including some ROS2 updates.

What’s next?

P.S.
Maybe you could include some setup instructions in either the download or on the GitHub page?

1 Like

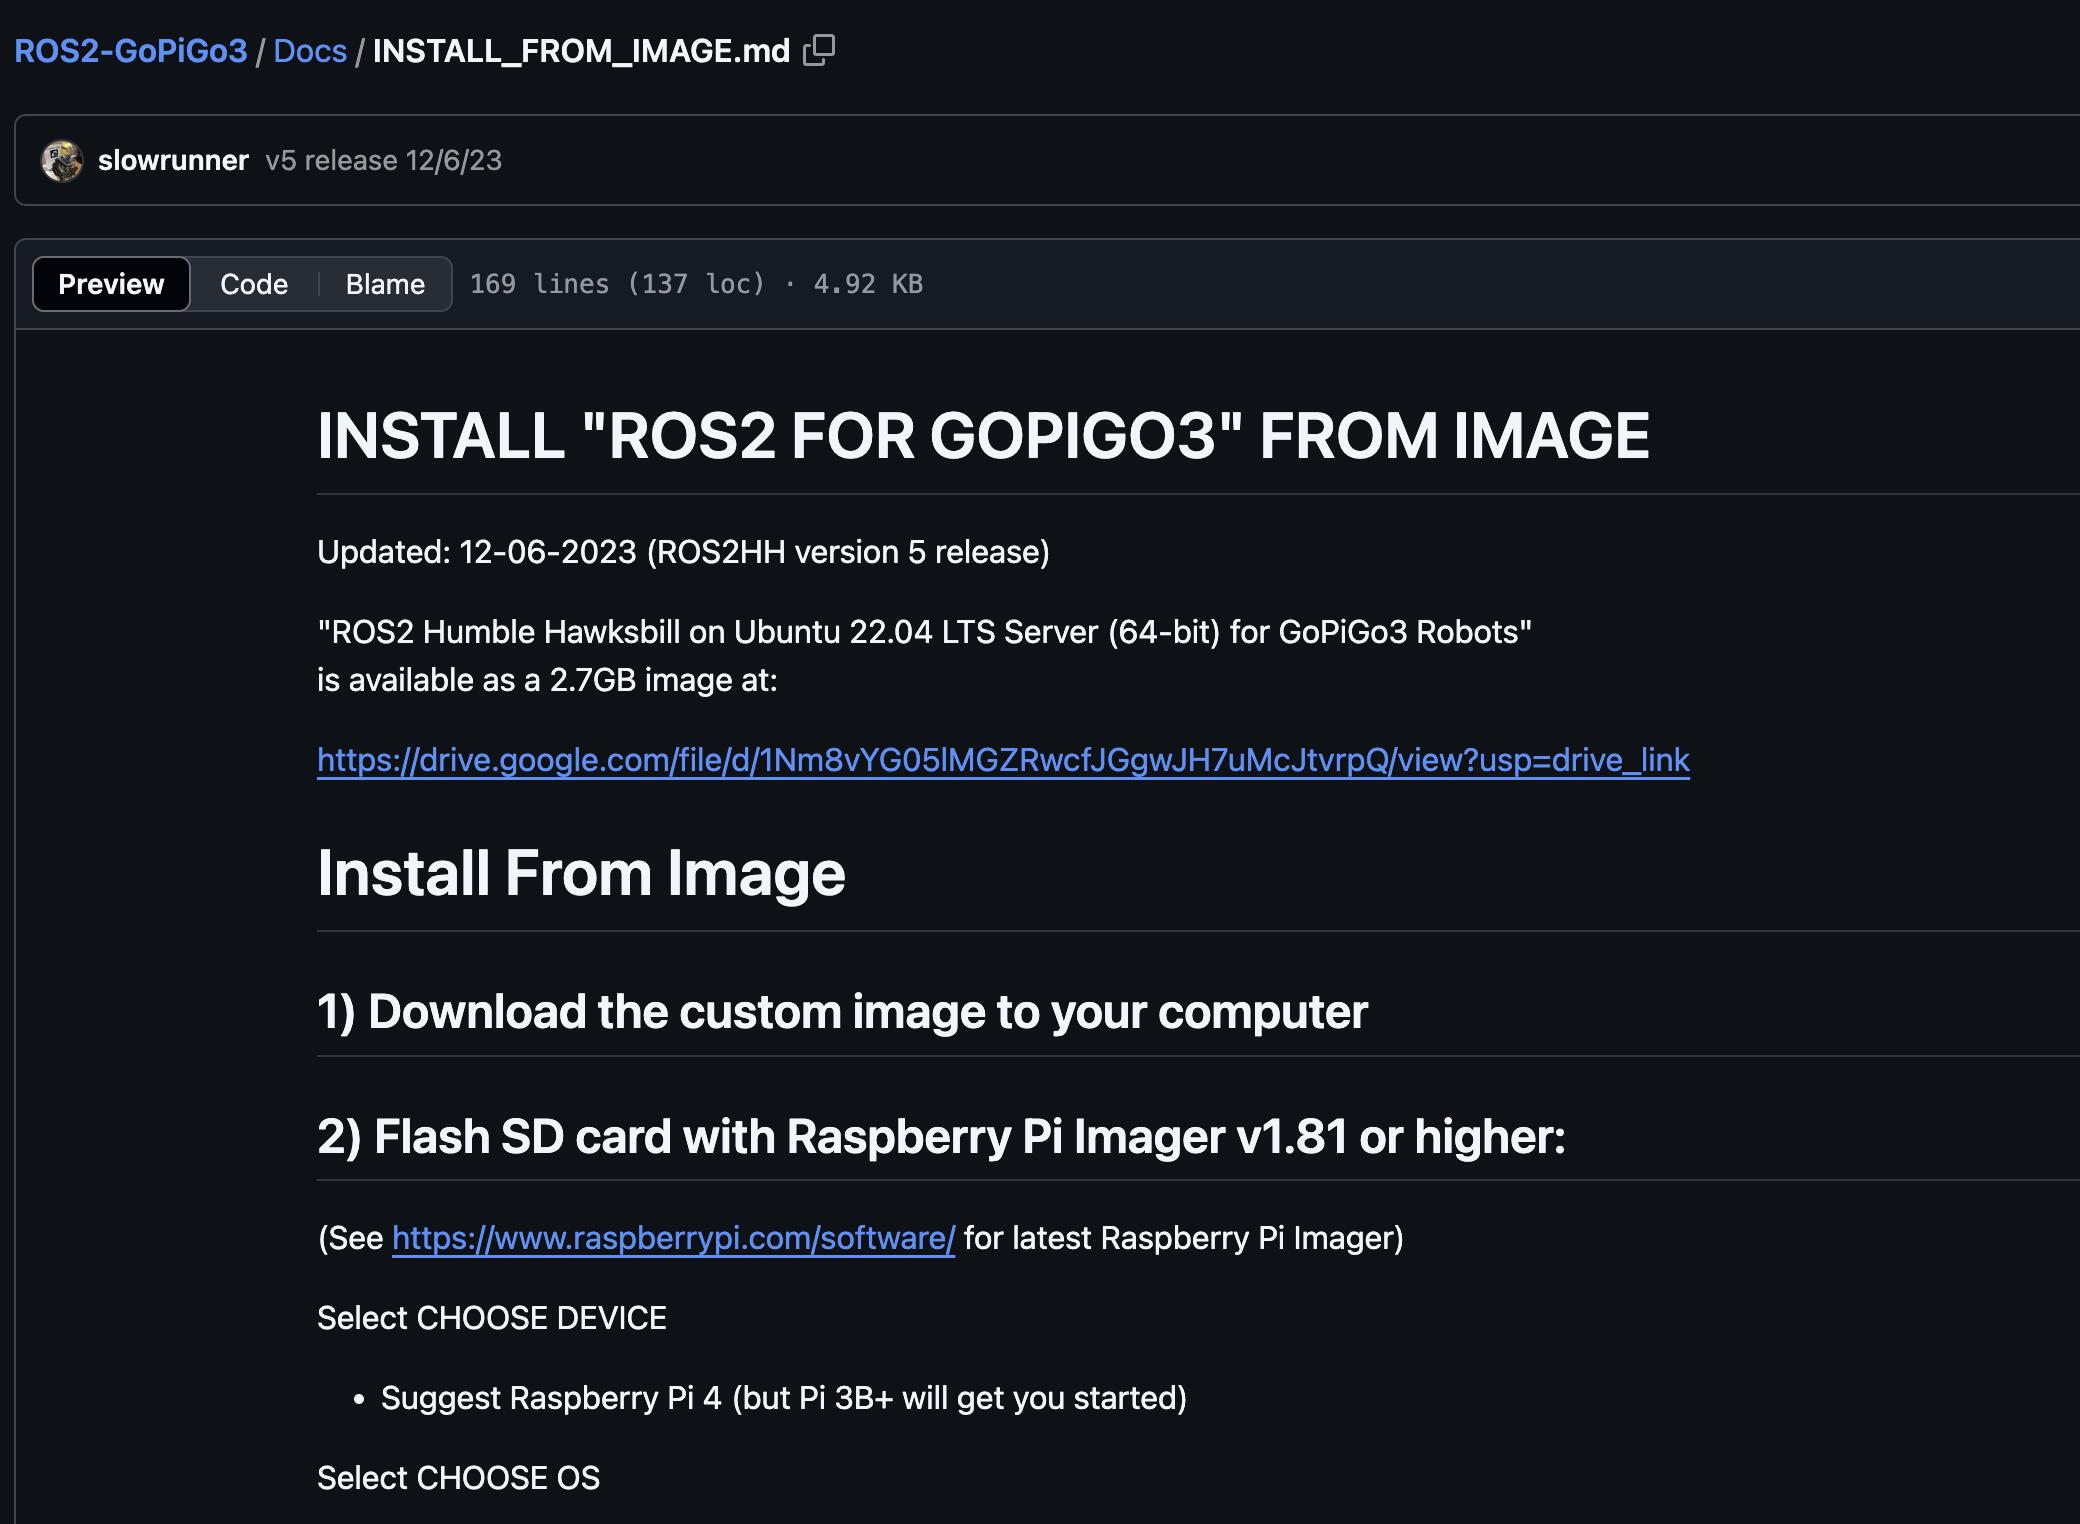
You chose not to follow the instructions I provided?:

2) Flash SD card with Raspberry Pi Imager v1.81 or higher:
(See https://www.raspberrypi.com/software/ for latest Raspberry Pi Imager)

Select CHOOSE DEVICE

Suggest Raspberry Pi 4 (but Pi 3B+ will get you started)
Select CHOOSE OS

(scroll to bottom) Use custom
navigate to the saved location of the ROS2HHv5.img.gz image
click Open
Select CHOOSE STORAGE (DANGER! - CHOOSE WISELY)

Select your __GB SD Card (Minimum 16GB - image will expand to ~10GB)
Select SETTINGS Gear in lower right

Set hostname: ROS2HH
Enable SSH:
Use password authentication
Set username and password:
ubuntu
robots1234 (use this for first boot)
Configure wireless LAN for your WiFi
SSID: "Your_WiFi_SSID"
Password: "Your_WiFi_password"
Wireless LAN country: US
Set locale settings:
Time zone: America/New_York
Keyboard layout: us
Click SAVE
Click WRITE
- PopUp: Enter the user password of your laptop/desktop (you login as)

When complete and "safe to remove", pull the ROS2HH microSD card out

=== Mount the card to allow headless configuration

Pull card out, reinsert for next step
NOTE:  On some computers (e.g. Linux MATE on my 9 yr old laptop)  
       Imager may result in an error message:  
       "Could not mount FAT32 partition for writing"  

       If you see this, the network-config   
       was not rewritten, fix this in the next step.
       
=== Verify WiFi Headless config and add ethernet:
!! MANDATORY STEP CUTS 2 MINUTES FROM BOOT UP TIME !!

Re-Insert the uSD card to your computer:

On Mac:

Browse system-boot partition
Show in enclosing folder
Open Terminal at folder
On Linux:

In terminal: cd /media/<user>/system-boot
$ nano network-config

version 2
ethernets:
   eth0:
     dhcp4: true
     dhcp6: false
     optional: true
wifis:  
  renderer: networkd
  wlan0:  
    dhcp4: true 
    dhcp6: false
    optional: true             
    access-points:  
      "your_SSID":  
        password: "your_netpswd"  (This may be a long encrypted thing if written correctly by Imager)  
exit ctrl-x y
NOTE: this info will be read by cloud-init to generate /etc/netplan/50-cloud-init.yaml on the first boot

unmount microSD card

I don’t know how to mount the card on a windows system and edit the network-config file, so I have no ability to provide further guidance…now if someone wanted to create the verbiage for Windows users to ensure the network-config file is correct for their needs, I would gladly review a pull request.

1 Like

Where was that?

I saw the “download” link and that appeared to be the bottom of the page.

Or, maybe I need to get my eyes checked?

Ahh!

I used etcher to flash the card. . .

I’ll re-do it.

1 Like

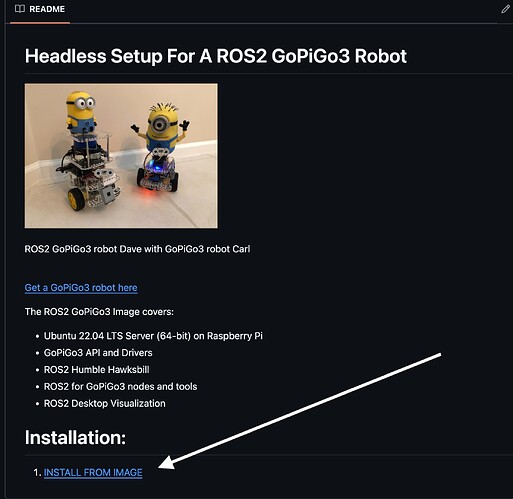
Takes the user to:

Screenshot 2024-11-16 at 12.58.17 PM

Stick to the script.

1 Like

Yes, this definitely needs to be done.

==================== Installation Results ====================

  1. All tests were done with a local keyboard and monitor except for the first SSH test-and-configure login which was done using putty from my Windows-10 laptop

  2. The install appeared to complete successfully during first-boot.

  3. Setting the time-zone during pre-flash config does NOT change the system default time zone.

  4. During first boot, the boot/configuration process continues for a significant period of time, (at least 10 minutes), after the IP address is announced and the login prompt appears.  Is there a way to indicate to the user when the boot process has completed?

    • During IP announce, the voice was so distorted and noisy that it was virtually impossible to understand what was said.
    • Is it possible to modify the announce script?  IMHO it is not necessary for the IP address to be repeated.
  5. The initial tests passed successfully.  (i.e.  The status and movement tests.)
    I am going to do the ROS tests using a battery, WiFi, and remote desktop later after the update is finished.  (See below)

Suggested post-boot utility install:  apt_mirror_updater.
https://askubuntu.com/a/1093473

This utility will allow you to find fast local mirrors for apt/apt-get updates/installs in a way that is similar to the GUI tool.

Selecting and using a local mirror is essential for reasonably fast apt/apt-get installs and updates, especially if you are located outside the United States.  Even within the United States, testing for a fast repository mirror, (and selecting that one instead of the default mirror), can be very beneficial.  This is especially true since many users don’t bother to do this and the default mirror(s) can get hammered.

  • In my case the Yandex and True-Network mirrors are local to me and extremely fast, (very low ping times), so I select them.

One step I am doing that was not specified is a full update of the system to the latest revision of all the packages.  There are something like 576 updates available, including various ROS package updates.  I believe there is a kernel update too that appears after the first reboot after the initial apt -upgrade.  Note that this initial update takes a LONG time, (something like 55 minutes of wall time), to complete.

Note also that I selected “Raspberry Pi-5” as the installation target even though I am using a Pi-4 right now, as that will allow either a Pi-4 or Pi-5 to be used interchangeably.

Also note that there are a number of differences in the installation process.  I don’t know if the differences are due to the raspberry pi imager being installed on Windows, (a software difference), or a different version (1.85?) of the software when installed.

I have forked your repo and, when I get a day-or-two of (mostly) uninterrupted time, I will work on a Windows version of the installation instructions.

Questions:

  1. Why is it necessary for the password to be “ubuntu” instead of “pi”?

  2. Why is it necessary to regenerate the RSA key as it appears to be automagically regenerated at first boot?

Thanks!

1 Like

That is cool - albeit if an update takes a long time, I tend to take advantage of the opportunity to get up and do the stuff I was ignoring to play with my robots.

No - the image will not run on a Pi5. Pi5 requires Ubuntu 23 or higher, the image is Ubuntu 22.04.

  1. Not, but nearly every ROS tutorial assumes the user is “ubuntu” so to get into the “think ROS” mood, I suggest username “ubuntu”.

  2. Perhaps it is not necessary. The headless setup of WiFi has sometimes been unsuccessful for unknown reasons. I got paranoid about not knowing if that RSA really is my correct WiFi password - maybe I typed it in wrong, maybe RSA key doesn’t really work?

Additionally, I can’t remember why I was adding back in the Ethernet config or why RPi imager didn’t set that up in the first place.

1 Like